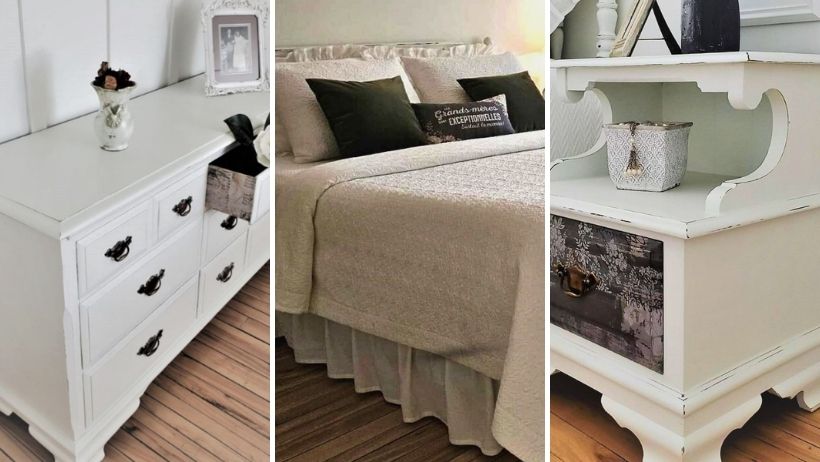
Transfoming Bedroom Furniture
Since our wedding in July 1976, we have had the same bedroom furniture. High quality maple wood furniture manufactured by Vilas, a Canadian company located in Victoriaville.
We still loved this set and for several years, seeing so many refurbishment projects, I also wanted to give it a new look, even if it is still in very good condition.
My husband wasn’t thrilled by my idea, his fear was that the furniture would lose all of its charm. Although my head was full of ideas, none of them were convincing enough to persuade him.
After doing some research, showing him photos and getting a few ideas, I finally had all the right points allowing me to persuade him.
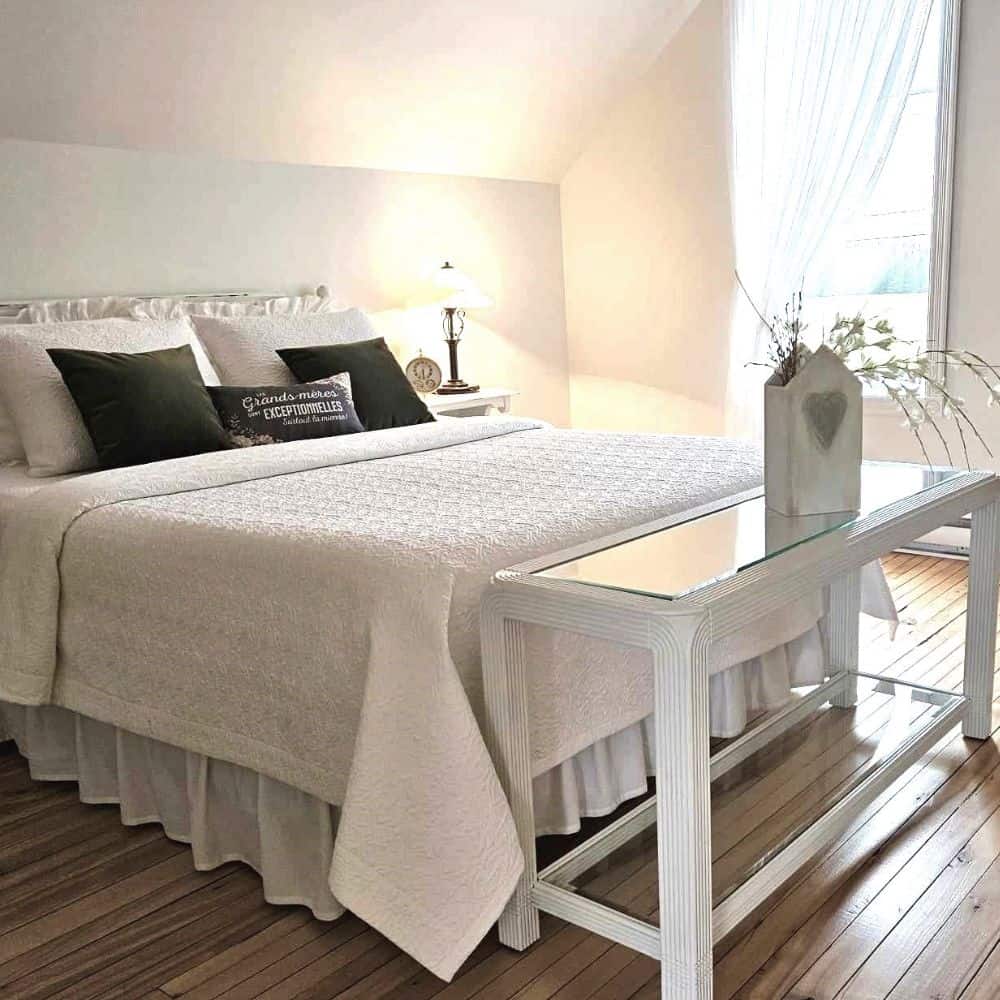
Seeing the photos and knowing my concern for a job well done, he then agreed to my idea of the transformation. On the other hand, he wanted to keep the beautiful wardrobe in its natural state. Even before beginning this transformation, I already knew that there would be a lot of white in the room, so I happily accepted his idea knowing that it would bring a nice touch of warmth in the midst all of the white.
This project took me alot of time to plan out, not being convinced myself that I was making the right decision.
List of Products Used:
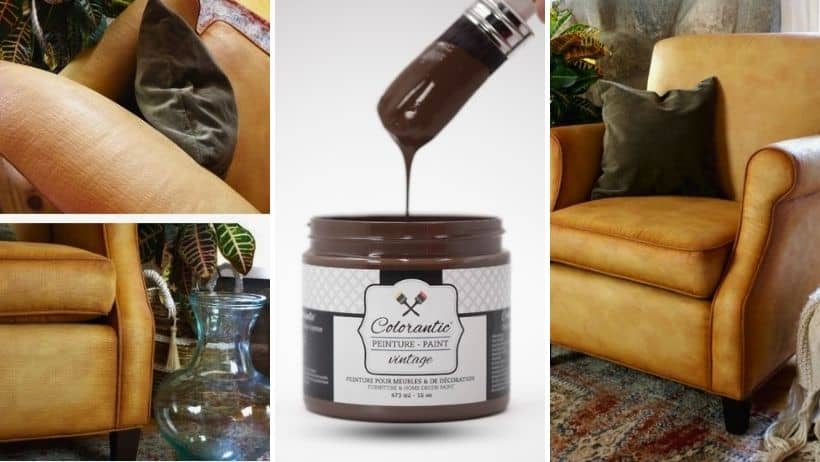
- Colorantic Cleaner and Varnish Remover
- Colorantic Oil-Based Primer
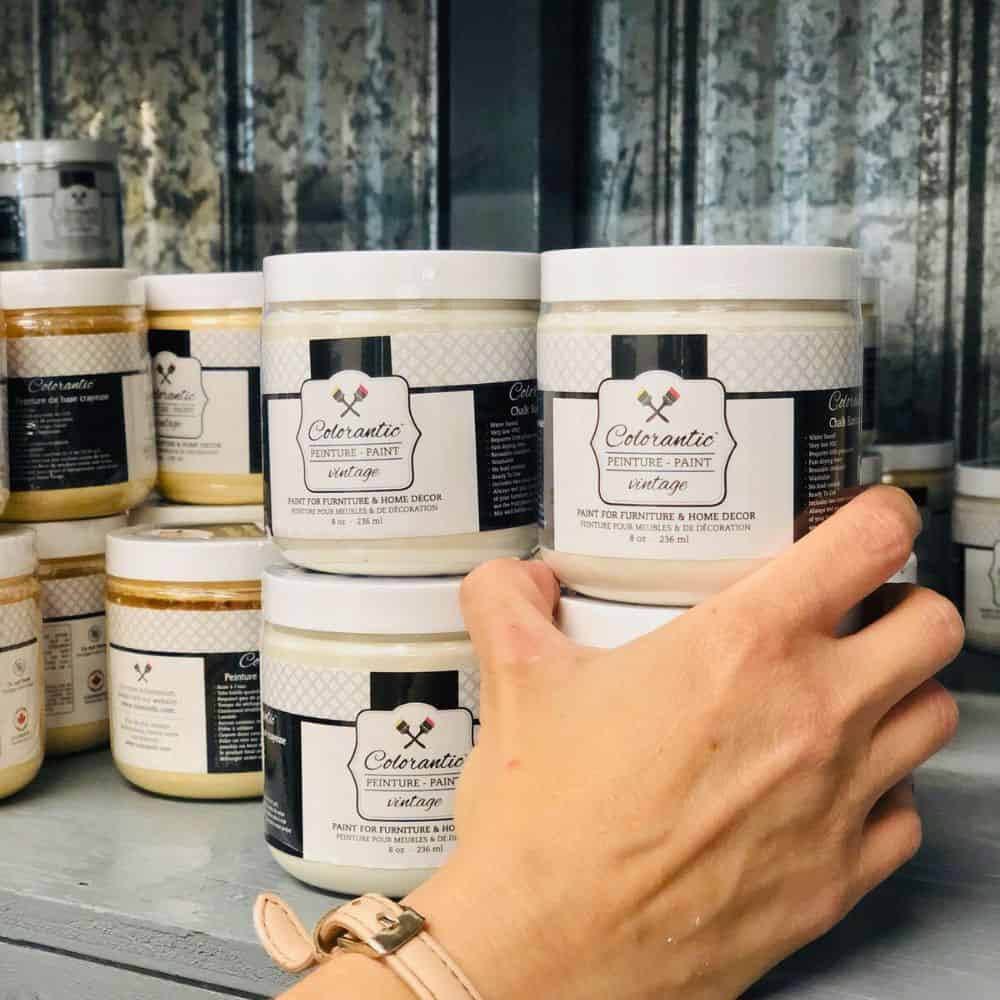
- Colorantic Chalk-Based Paint: Custom Colour (Dulux Delicate White)
- Colorantic Top Coat Matte Varnish
- Colorantic Foam Roller and Microfiber Roller
- Colorantic Natural Bristle Oval 55 mm Paintbrush
- Colorantic Synthetic Oval Purple Brush #6
- Colorantic Sanding Block
- Colorantic Granular Hand and Brush Soap
- 120 Grit Sandpaper
- Cloth (from a t-shirt), Spray Bottle and Water, Shop Towels
Preparing the Furniture
First, I removed the handles.
I sprayed the cleaner and varnish remover on all surfaces and left it on for 30 minutes. I sprayed twice during the rest time.
After the rest time had passed, I took care to rinse well with hot water twice to remove all residue.
Using the sanding block, I scratched the surfaces to allow the primer to adhere very well. I was sure to wipe off all of the dust before continuing.
Then I applied a coat of primer using a foam roller and followed the recommended drying time before applying the paint.
Now comes the most fun, that of applying the paint.

Paint Application
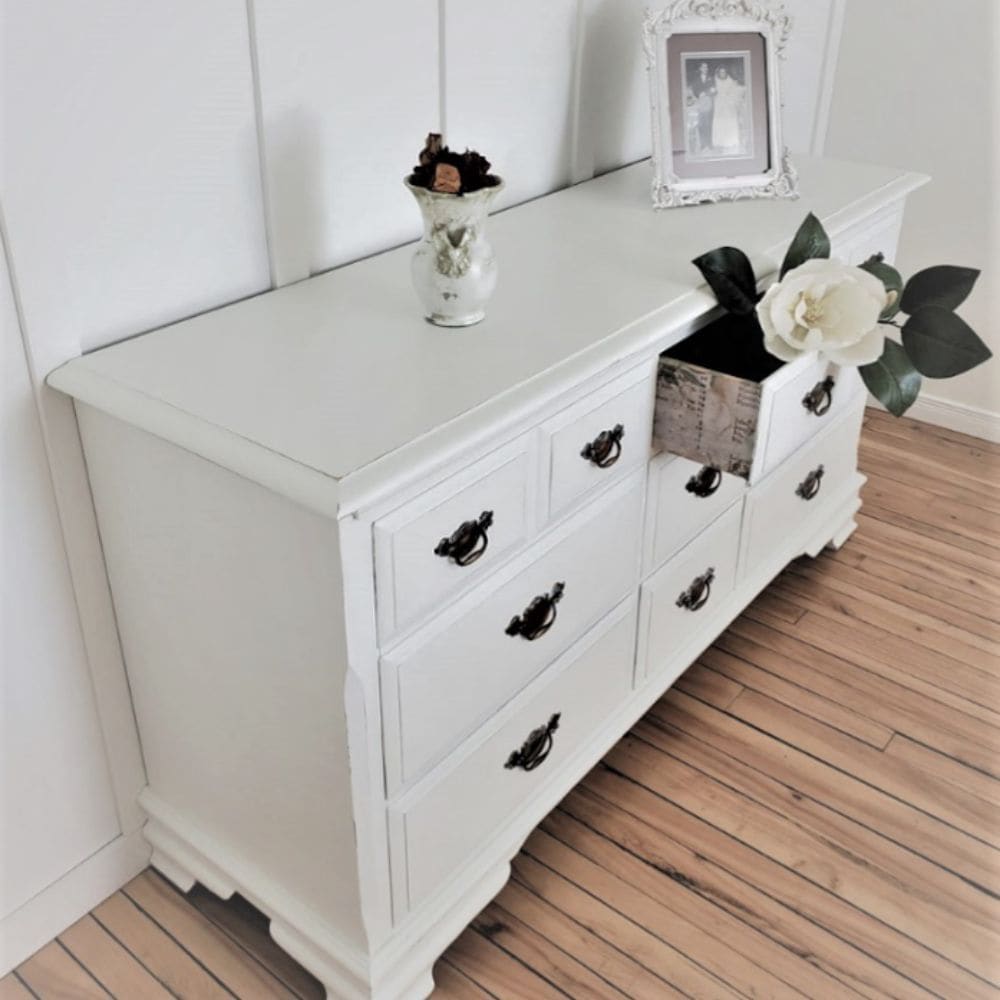
Using the microfiber roller, I applied the first coat of paint, Delicate White.
Using the brushes, I applied a second coat of paint while gently sprinkling a little water on the surface to allow the paint to glide easily.
I created wear in the desired areas using the sanding block, sanding paper and a damp cloth (t-shirt).
Finishing
After letting the paint dry, about five hours, I applied the varnish using a foam roller and the #6 oval brush.
Image Transfer
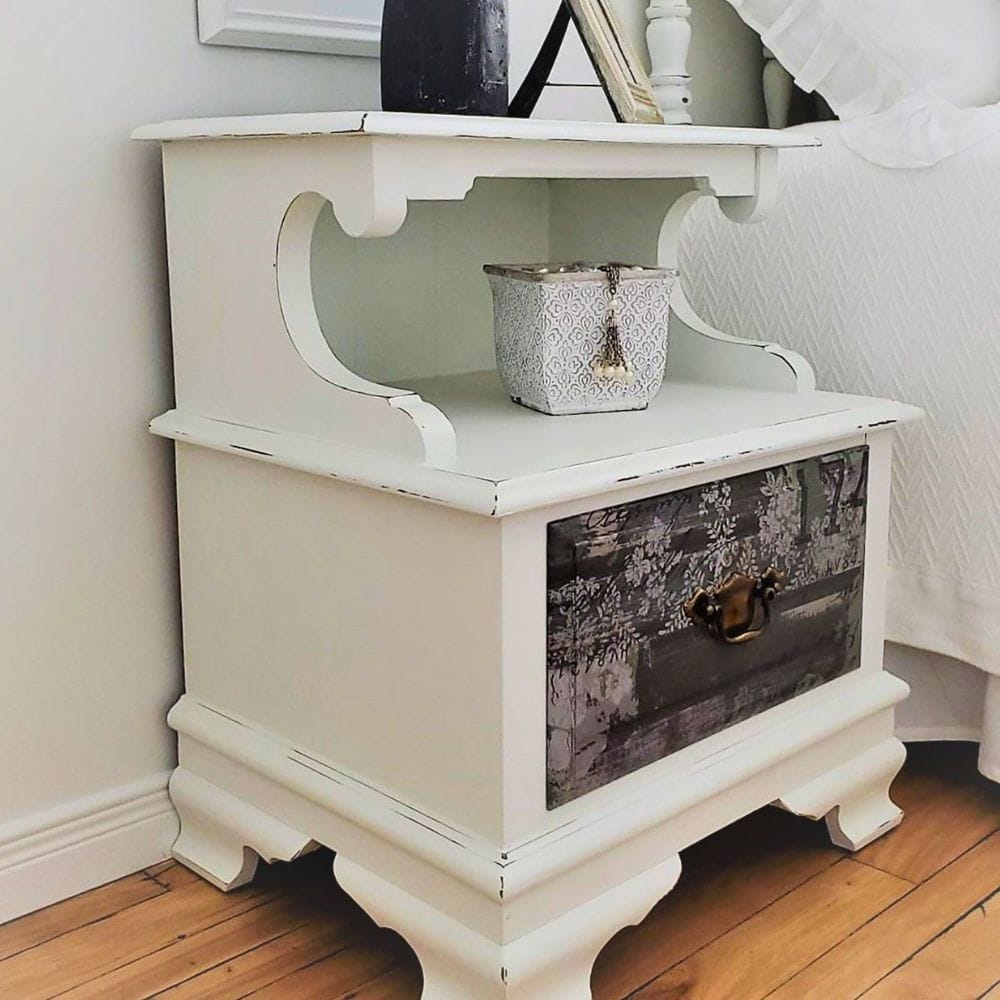
Carefully, I applied the desired patterns using the the image transfer and I very delicately affixed them to the drawers using a spatula.
Handles
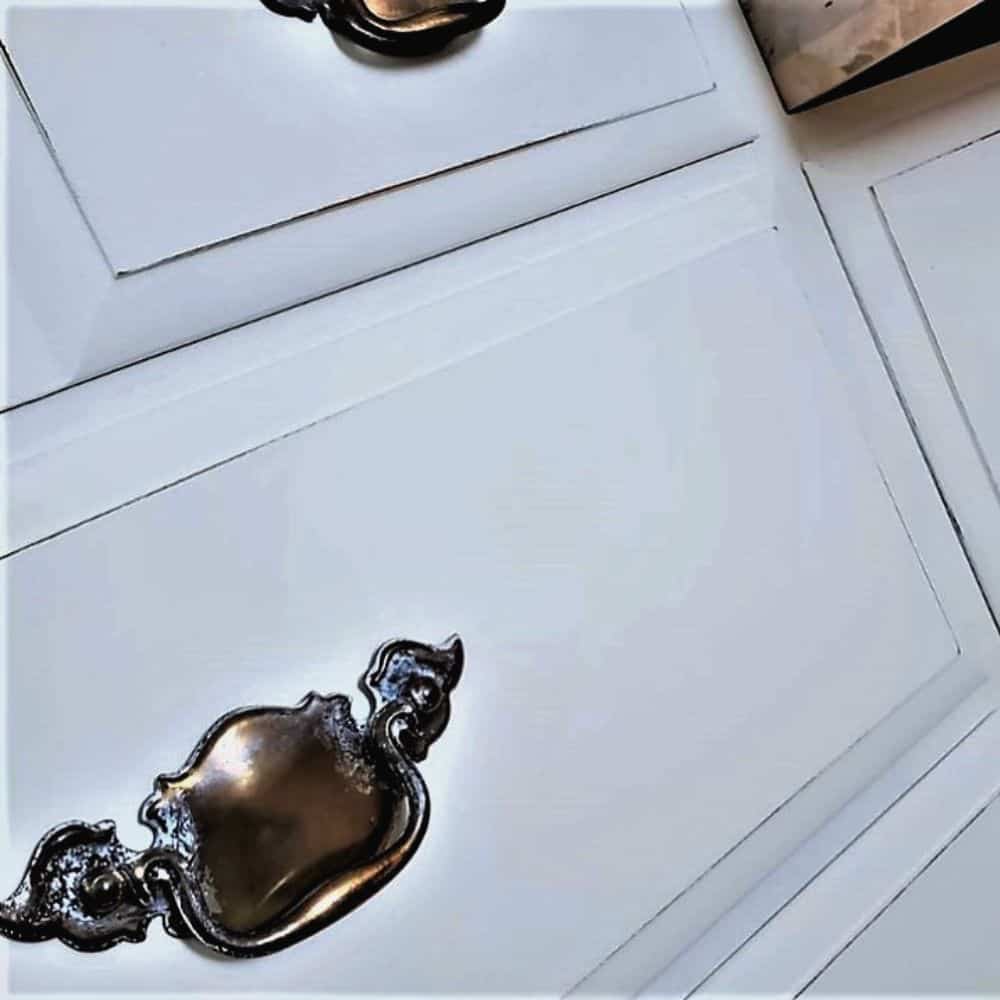
For this transformation, it was important that I kept the original handles, because I wanted a link with the natural wood cabinet.
Even though I wanted to keep them, I also wanted to give them a different look from those on the wardrobe.
I soaked them overnight in a mixture of water and T.S.P., taking care not to submerge them completely, so that the T.S.P would have a chemical reaction on the metal.
The next day I rinsed them very well under running water, and I noted the very nice chemical effect that had been produced by submerging them somewhat with the mixture of water and T.S.P. I really couldn’t have done a better job painting them!
In Conclusion
Finally, thanks to the upgrading of the furniture, the new bedding and some new decorations, our room has a whole new look.
I added some decorations that go well with the wooden cabinet, and my husband is ultimately very pleased with my choices, he loves our new bedroom.
Join our English Colorantic group
Subscribe to our newsletter:
Newsletter
Facebook
Instagram
Pinterest
Etsy
Amazon Canada
YouTube
Tiktok


