Introduction
Since I’ve been bringing furniture back to life, I’ve developed a love for those with a weathered, rustic, farmhouse look I often find a cellar or two in need of some love.
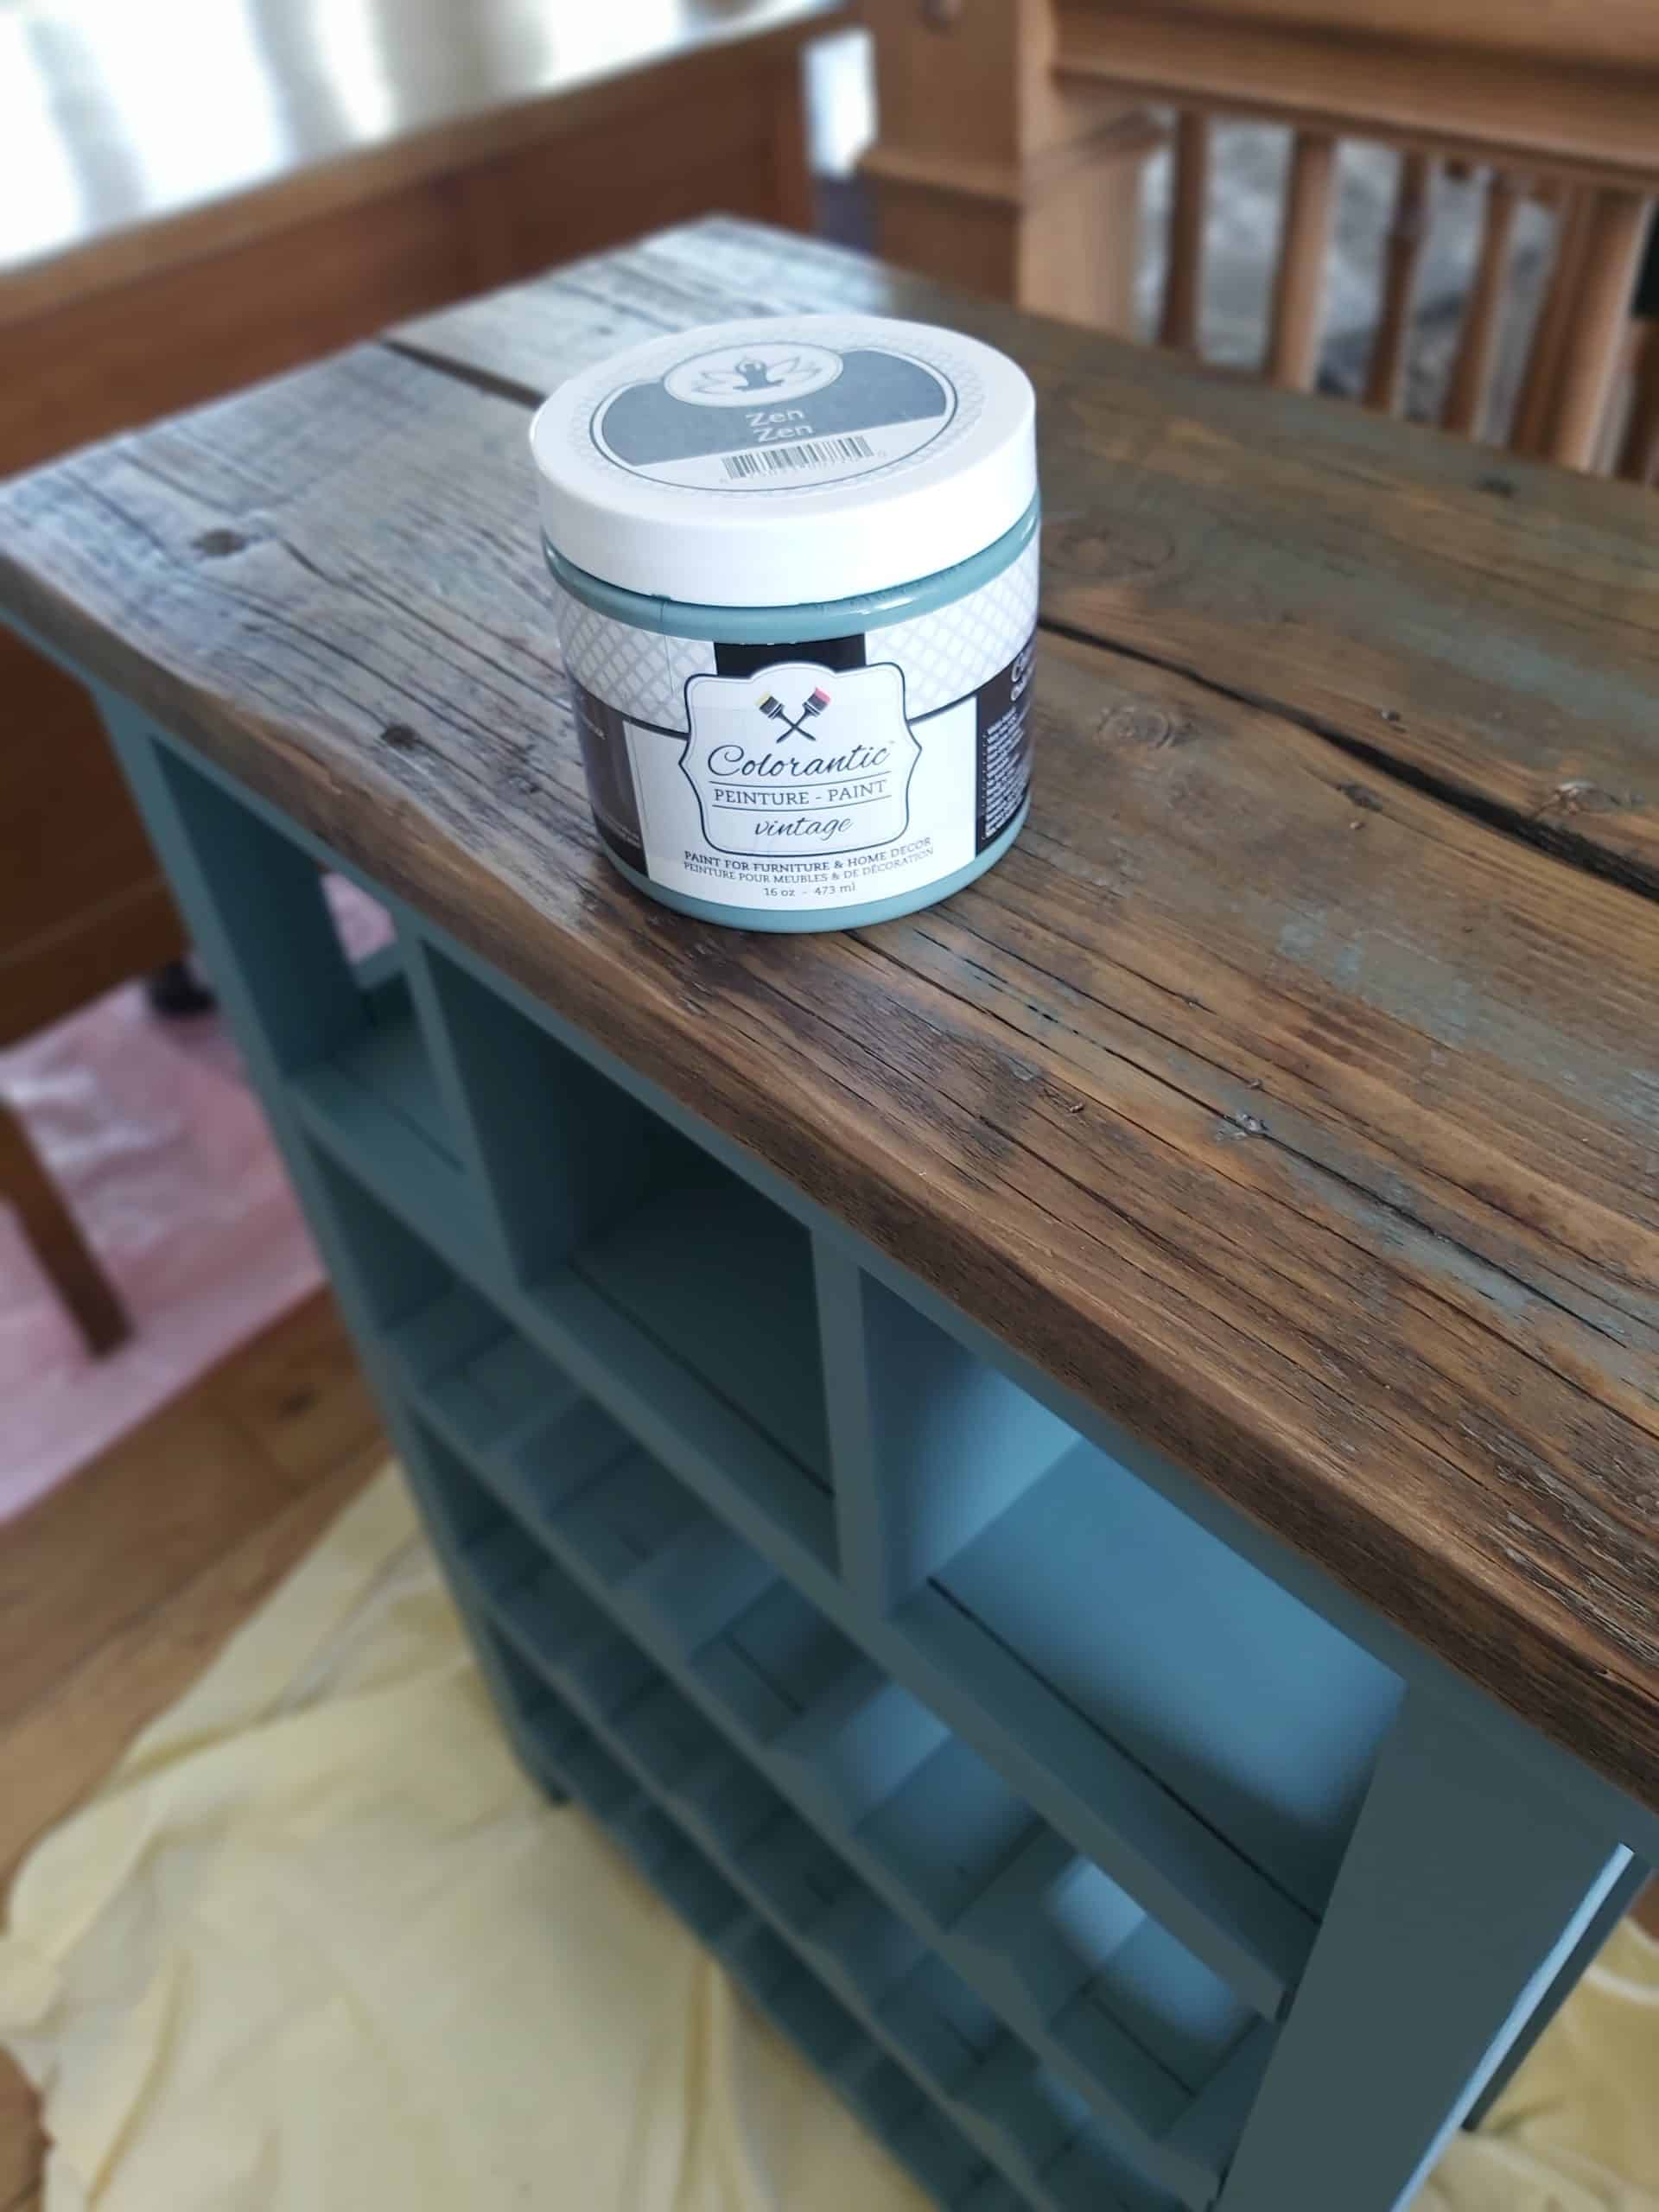
I gradually incorporated wood and planks to change their look and give them an incomparable texture.
So when I saw this cellar table passing by, I immediately imagined it in one of Colorantic’s new colors: Zen.
Let me inspire you with my project!

Products used for cellar renovation
- Cleanser and make-up remover
- Oil-based all-purpose primer
- Zen Colorantic paint
- Colorantic foam roller
- 55mm silk paint brush
- Oval brush #6 synthetic
- Colorantic matte varnish
- Two grain sandblasting block
- Granular hand and brush cleaner
- Colorantic Charcoal Grey waxes
- Wood planer
- Air compressor and finishing nails
Step 1 – Preparation
I started above the cabinet. As this step creates a lot of wood chips and dust, I didn’t want to risk damaging the fresh paint.
I started by covering the top of the cabinet with old boards, fastened with a compressed-air finishing nailer. I used the planer to even out the imperfect boards as much as possible.
Then I used the chocolate cake glaze to make the stain.
To give it its bluish hues, I made a few random brushstrokes on the boards. Once dry, I sanded until I achieved the desired effect.
Then I used the #16 wax brush and Charcoal Grey wax and antiqued the desired areas.
Steps 2 and 3 – Painting and protection
Now that the top looks good, it’s time to prepare the rest of the furniture. First, I used Colorantic cleanser. I left it on for about twenty minutes. Then I used a bucket of soapy water. I rinsed several times to make sure there was no cleaner left.
Then I used the oil primer to prepare the cellar. I applied two coats of primer.
The part I love…the painting! Zen blue charmed me, so I chose this color and 2 coats of Zen were enough to get the exact look I’d imagined.
To ensure the cellar was well protected, I applied two coats of matt varnish.

This little storeroom is now ready to be installed in its owner’s home. Needless to say, the idea of seeing it filled has spurred its completion 😉

cellier fini 2
Upgrading wine rack | recycling a wine rack – 5
Related Posts


