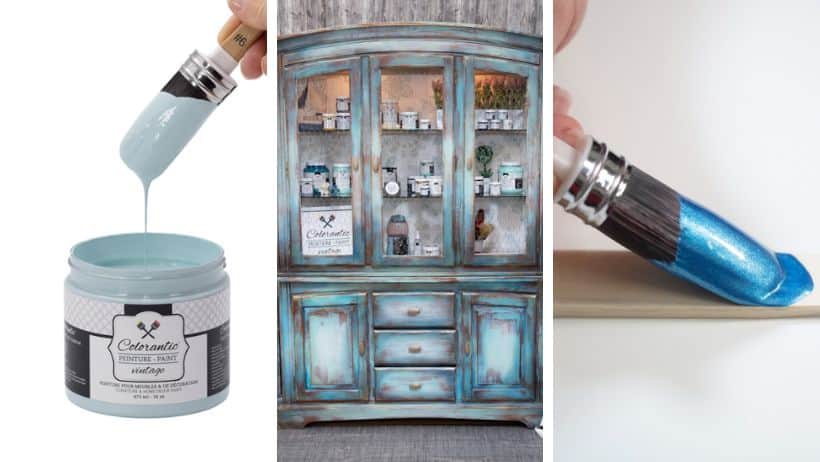
How to Paint a Hutch with Colorantic Products
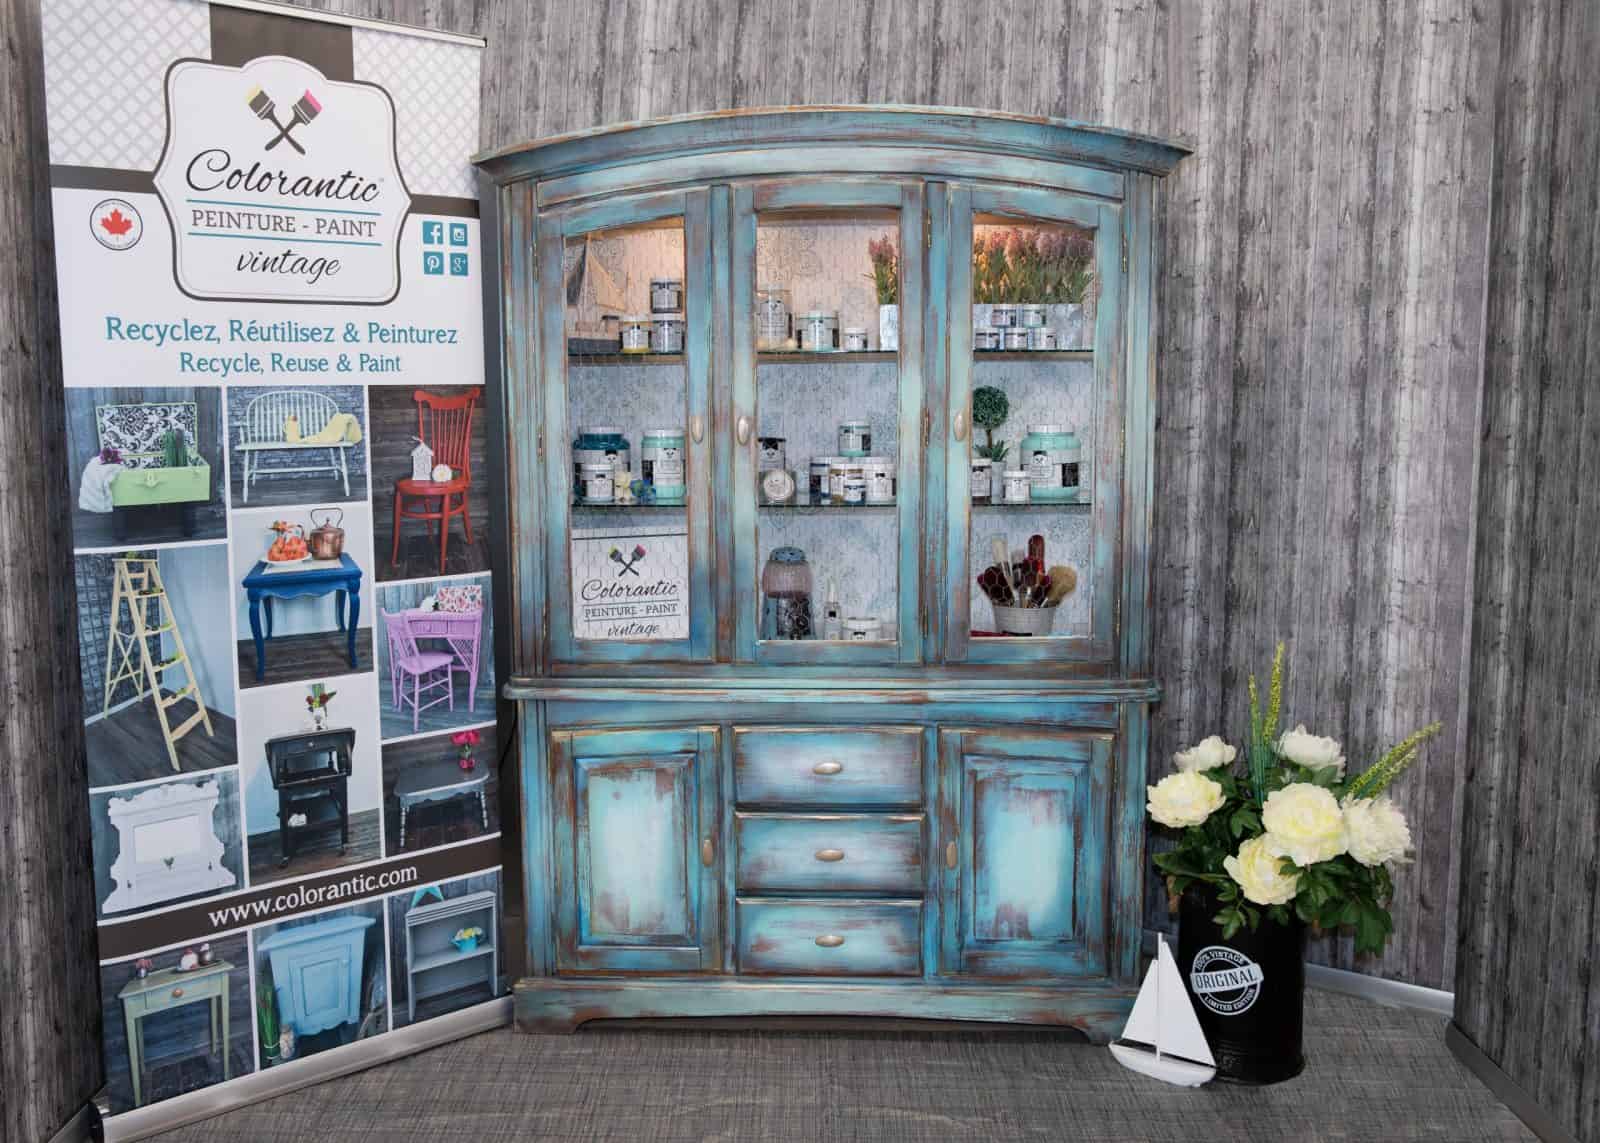
Painting a hutch is not so difficult, as Colorantic products make the task much easier and enjoyable. In just a few hours, this hutch from another era has completely transformed into a beautiful and entirely unique piece of furniture!
By reading the following, you will be informed about how Bénédicte proceeded with this transformation.
List of Products Used
- Colorantic Cleaner and Varnish Remover
- Colorantic Chalk Paints: Mist, Caribbean Sea, Mermaid, Cotton Ball, Nautical, Summer Storm and Ocean
- Colorantic Metallic Paints: Metallic Sky (blue), Metallic Jewel (gold), and Metallic Champagne
- Small Artist Brushes – White Filaments (pack of 3) Colorantic
- 2” Angle Brush Colorantic
- Blanche-Neige Brush Colorantic
- Oval Brushes 35 mm and 55 mm Colorantic
- Two-Grain Sanding Block Colorantic
- 16mm Wax Brush Colorantic
- Colorantic Waxes: Natural Clear Beeswax and Antique Brown
- Set of Cabaret and Velvet Finish Yellow Foam Rollers Colorantic
The Steps
Preparation
To begin, as in any refurbishment project, it is essential to properly prepare the furniture.
- I thoroughly cleaned the furniture with the Colorantic Cleaner and Varnish Remover. I sprayed it, let it sit for 30 minutes, and rinsed it well using a damp cloth soaked in hot water.
- I lightly sanded to scratch all surfaces, allowing the paint to adhere properly.
- I made sure to dust thoroughly before continuing.
Since the hutch was well-prepared, I could proceed directly to the painting step.
Painting
- Subsequently, I used the colours Cotton Ball, Mist, Caribbean sea, Mermaid, Summer storm and Ocean. In short, almost all shades of blue from Colorantic were used for this project.
- I applied two coats of the colours randomly without applying too much (sweeping effect: wiping the brushes on absorbent paper before application).
- Using a soft and clean cloth, I created an aged effect on the furniture following the wood grain. This technique aimed to add a few years to this hutch, which seemed too even for my taste.
- I sprayed water using a spray bottle, which allowed me to create a layering effect without too many visible brushstrokes.
- Once the paint was completely dry, I added some touches of the metallic paints mentioned above. These three metallic colours helped add depth while creating a sense of richness to this beautiful hutch.
- For the handles, I used Metallic Champagne.
Wax Finishing
After a few hours of drying, I reached the final step, which is applying the waxes.
- I applied the Natural Clear Beeswax to the entire hutch. Waxing one section at a time and ensuring thorough polishing before moving on. Change the cloth frequently as it will become saturated with wax, making polishing impossible. For this project, I used 8 oz of Natural Beeswax.
- Once the application of the wax was completed, I immediately applied the Antique Brown Wax.
- I applied the Antique Brown wax in small touches to accentuate the corners of the doors, for example. This way, I achieved a more natural effect. You will then understand that I did not apply the brown wax to the entire piece of furniture.
The hutch is now ready and will be used to display products, while also serving as a backdrop for the videos made at the Colorantic warehouse.
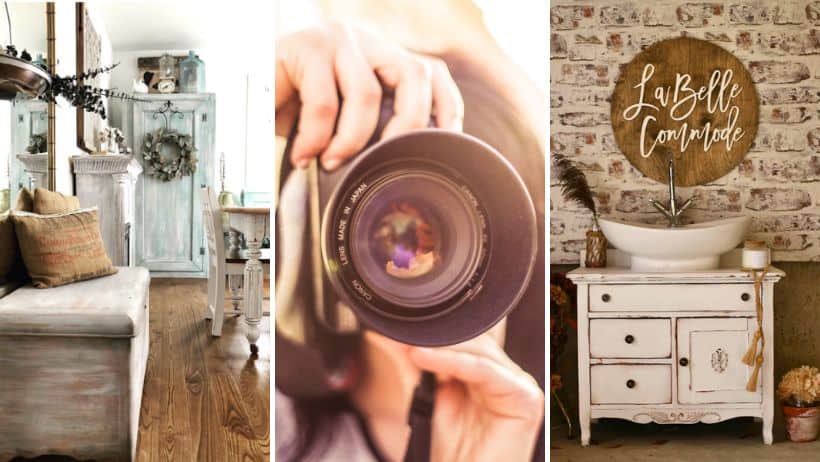
Bénédicte Girard
Blogger and Artist
La Belle Commode par Bénédicte Girard
Video – How to Paint a Hutch
Join our English Colorantic group
Subscribe to our newsletter:
Newsletter
Facebook
Instagram
Pinterest
Etsy
Amazon Canada
YouTube
Tiktok


