Upcycling a Chandelier
Recently, family members gave us a chandelier that had been sitting in the back of their attic. It was gathering dust and they knew I would find a place for it. Needless to say, I was happy with my new acquisition.
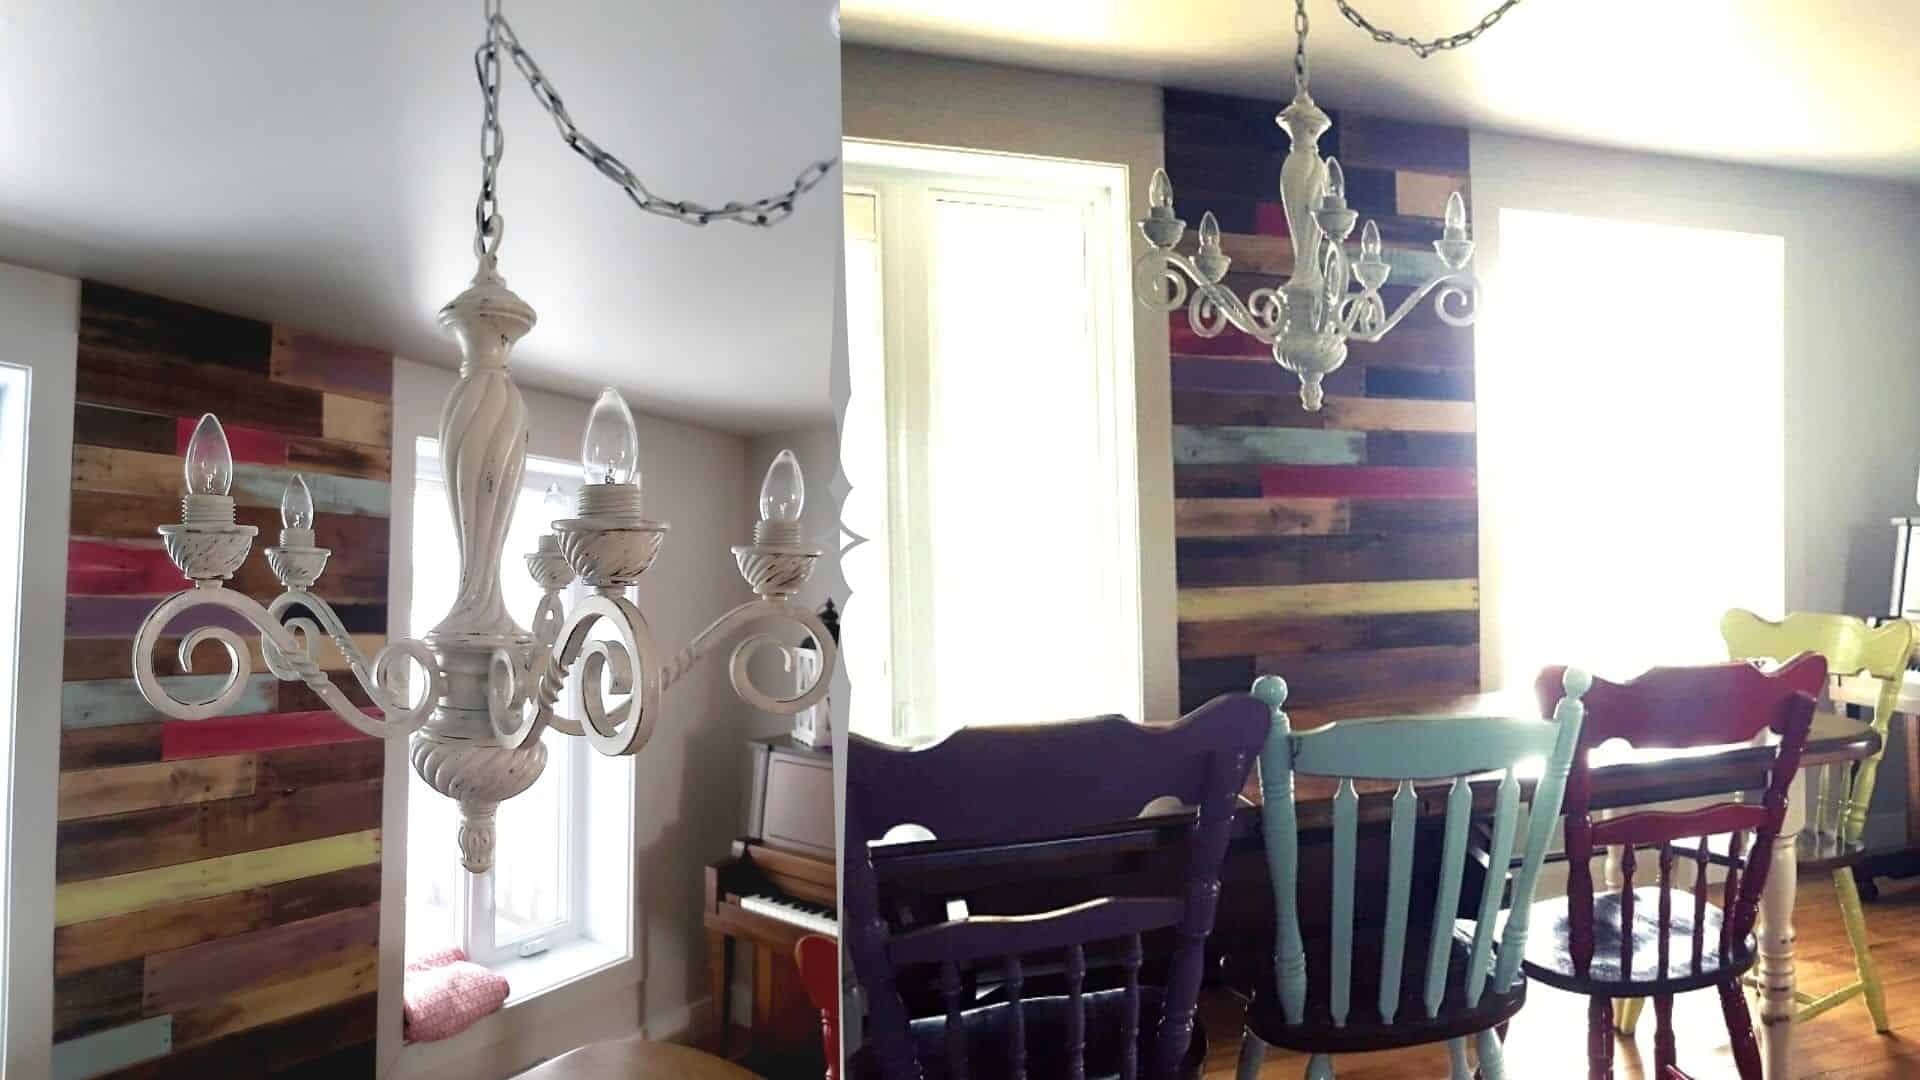
When I saw it, I knew where to install it. It would fit perfectly in our new, freshly furnished rustic-style dining room.
The more I looked at it, the more something bugged me. Although the dining room furniture was large, I found the chandelier to be very heavy for our decor. So I decided to refinish it in order to soften it with Colorantic products.
As you read on, you will find all the steps necessary for this project.
Happy reading !

List of Products Used
- Colorantic Cleaner and Varnish Remover
- Colorantic Grip-All Oil Primer
- Colorantic Chalk Paint: Cotton Ball
- Colorantic Synthetic Oval Purple Brush #6 (pack of two)
- Colorantic Sanding Block
- Lacquer spray, satin finish

Preparation
First, I removed the five glass shades and proceeded to clean them with the polish cleaner and remover. I sprayed and left it on for 30 minutes to erase all traces of dirt accumulated over time. Using hot water and a cloth, I rinsed well twice to remove all residue.
Once this step was completed, I applied a coat of oil-based primer to ensure good adhesion of the paint to the surface. Applying oil primer is recommended when the old varnish is oil-based and the new chalk paint is water-based. This makes it possible to make the transition between the two products and extend the lifespan.
Time to Apply the Paint
Colorantic chalk paint is creamy and opaque and only one coat of Cotton Ball was needed for me to achieve the desired result.
I really liked the effect of seeing a little of the original color in certain places, because it already gave it the rustic style that I was looking for. In order to accentuate the desired old-fashioned effect, randomly, I sanded lightly in a few places. Already it is fitting in much better with the rustic style of the dining room.
Using a damp cloth, I carefully removed the dust caused by sanding so that it was clean before applying the final touch. For the duration of the work, the chandelier was suspended, so that I could easily have access to it.
Finishing
Then to conclude this transformation, I chose a contactless finish, in order to avoid drips given that there are a lot of details. I chose to use a satin spray varnish.
In Conclusion
Finally, here is a chandelier which, in a few simple steps, took on a whole new look and was able to magnificently take the place intended for it!
By visiting garage sales or flea markets, it is possible to find magnificent lighting fixtures that are just waiting for a touch of paint to come back to life again.
With inflation, most lighting fixtures are very expensive. Colorantic products allow us to create unique and personalized lighting at low prices!

Lisa-Marie Pouliot
Bois de Lilas
Related Posts