How to Apply Chalk-Based Paint Using a Paint Sprayer
Colorantic chalk-based paint is often used to give a vintage and timeless look to furniture and accessories. When you are wanting for a modern look, you definitely want a smooth finish. Our velvet-finish foam roller for applying our paint gives that smooth, modern look you’re looking for, but did you know you can apply chalk-based paint with a spray gun? It is another fun way to give your projects an even smoother look to your furniture and various decorative objects.
In this article, we will show you how to apply chalk-based paint using a paint sprayer. This will save you a lot of time and make life easier for modern style upgraders. You will be amazed at how easy it is to achieve a beautiful finish in no time!
![]()
Tools and Materials
Before starting your project, make sure you have all the tools and materials needed to carry out your work:
-
- Colorantic cleaner and varnish remover
- Oil-based primer, Colorantic Grip-all
- Colorantic chalk-based paint
- Sanding block
- A paint sprayer
- A protective cloth
- A protective mask
- Workshop towels

Apply Chalk-Based Paint Using a Paint Sprayer!
When preparing to apply Colorantic chalk-based paint using a paint sprayer, there are some very important aspects to consider. Follow the steps below to make your project a success:
![]()
Étape 1 : Préparation
Be sure to work in an open space.
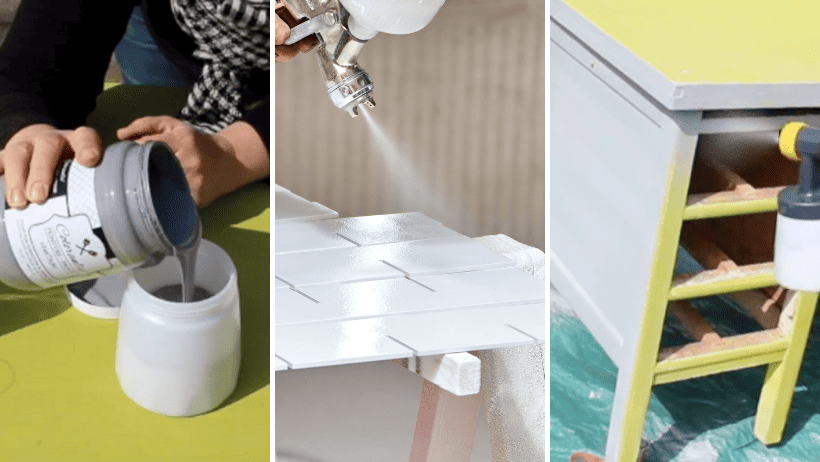
Clean the surfaces you want to paint to remove all traces of dirt and dust. Our Colorantic cleaner and varnish remover is the ideal tool to make your job easier. It is very important to rinse the cleaner well in order to remove all residues and allow the paint to adhere well.
Sand rough spots to achieve a smooth, flawless surface when applying paint. In some situations, it will be necessary to apply our oil primer. When it comes to making the transition between an oil finish and our water-based chalk paint as well as for certain materials, such as metal, melamine, plastic and all shiny surfaces, the application of the oil primer is recommended to ensure long-term adherence.

Step 2: Painting
We strongly suggest using a new can of paint when using the sprayer. This prevents small residues that could have formed inside an already opened and poorly cleaned can from mixing with the paint, which could clog the mouth of the sprayer.
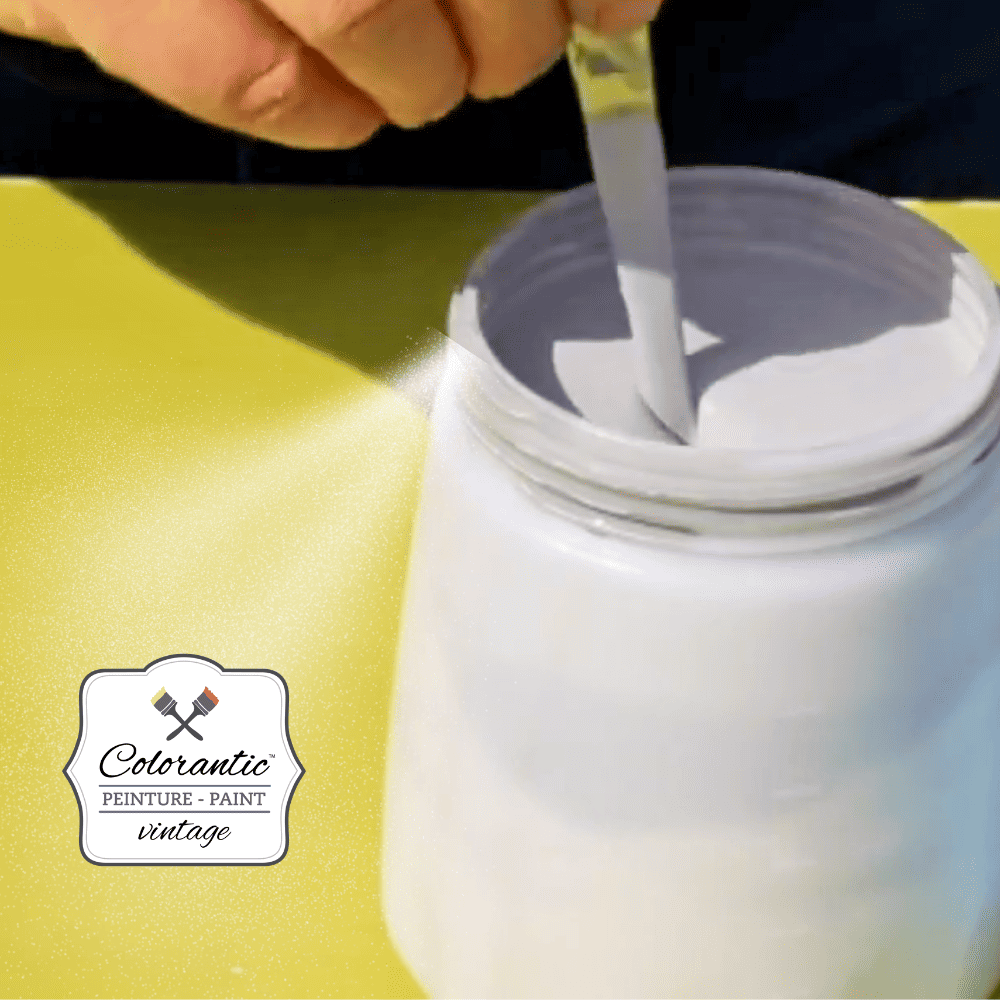
It is important to mix the paint well, so shake the jar and when you open it you can also use a stick to stir it well.
![]()
Step 3: Preparing the Paint Sprayer
Add the required amount of paint to the sprayer tank and add a small amount of water to make it easier to spray.
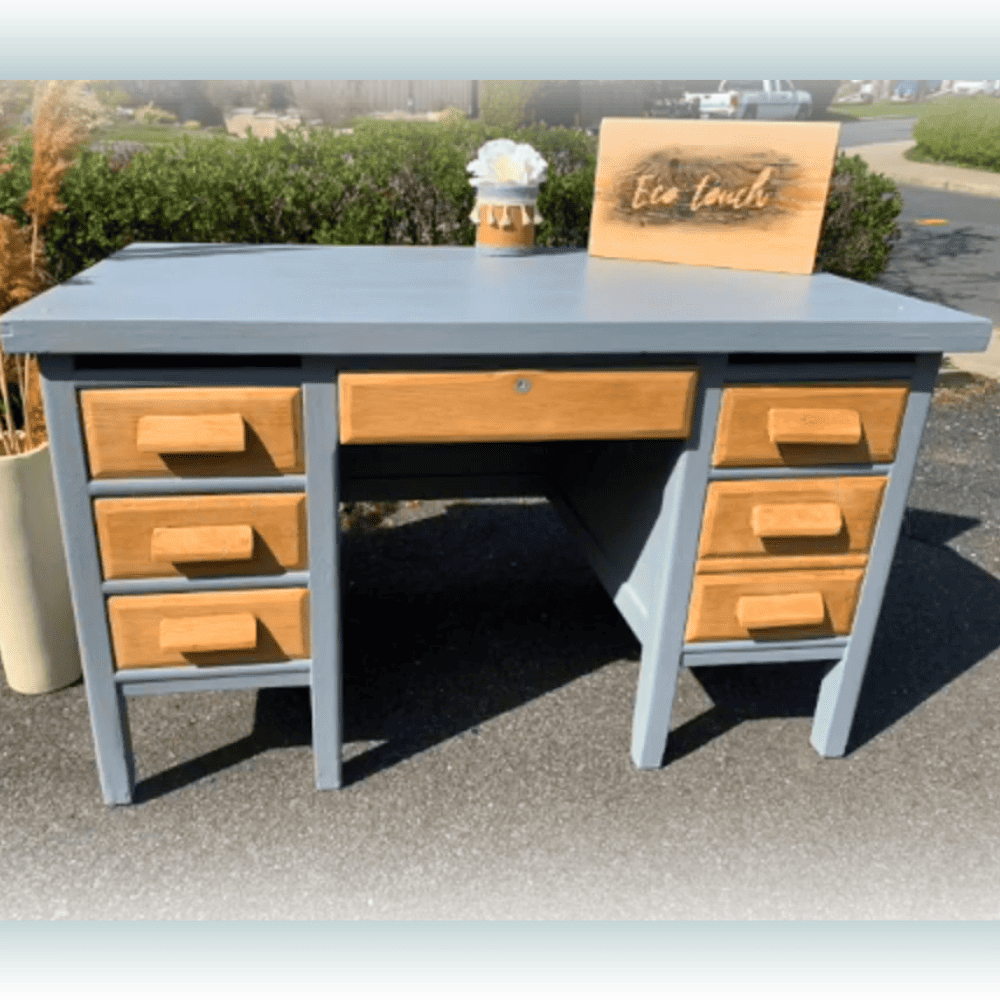
In her video, Sandra, from Éco Touch, suggests: 1 portion of paint + ¼ of water (ex.: 5 oz of water for 20 oz of paint).
Be sure to mix everything well before you start spraying
If you feel the paint is still too thick, you can add a little more water to achieve the desired texture.
Hold the gun and adjust the spray pressure according to the manufacturer’s recommendations. Apply a thin coat of paint evenly using a sweeping motion. Be sure to thoroughly cover all surfaces.
Since our chalk-based paint dries quickly, you can apply a second coat soon after.
To Finish
Step 4: Seal and Protect
We recommend that you seal and protect your paint using our matte varnish (5-10% gloss), our clear glaze, Translucent Window (30-35% gloss) or our waxes. Whatever your choice, it is important to wait until the paint is completely dry before applying, we suggest a drying time of 4 to 5 hours.
With the tricks that you have just discovered, you don’t have to be a professional to achieve an exceptional look. So go ahead, use a paint sprayer and let the magic happen!
In her video, Sandra explains and gives you all her tips to help you succeed in your project:
Join our English Colorantic group
Subscribe to our newsletter:
Newsletter
Facebook
Instagram
Pinterest
Etsy
Amazon Canada
YouTube
Tiktok
Related Posts