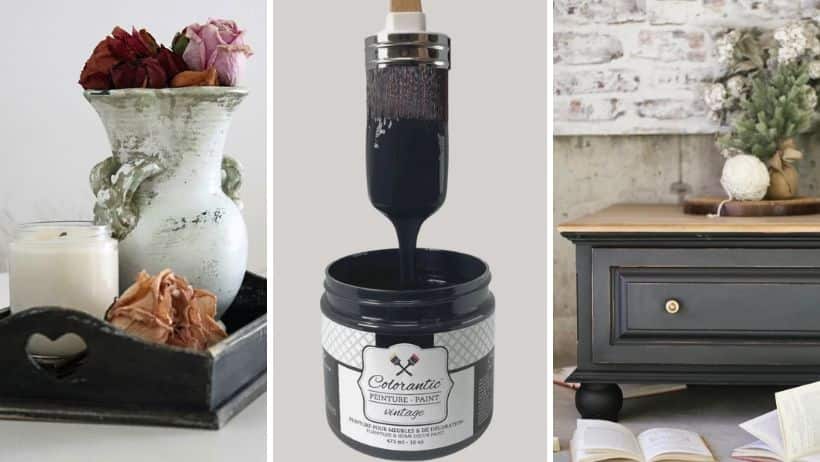
New Collaboration
The Colorantic team is proud to present its latest collaboration with the talented Rosalie Taillefer-Simard! Discover her first project with our products! We will not lie, it is exciting.
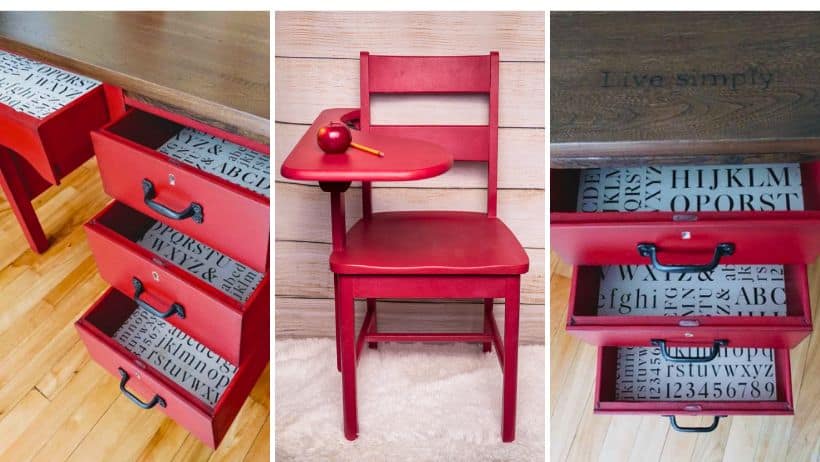
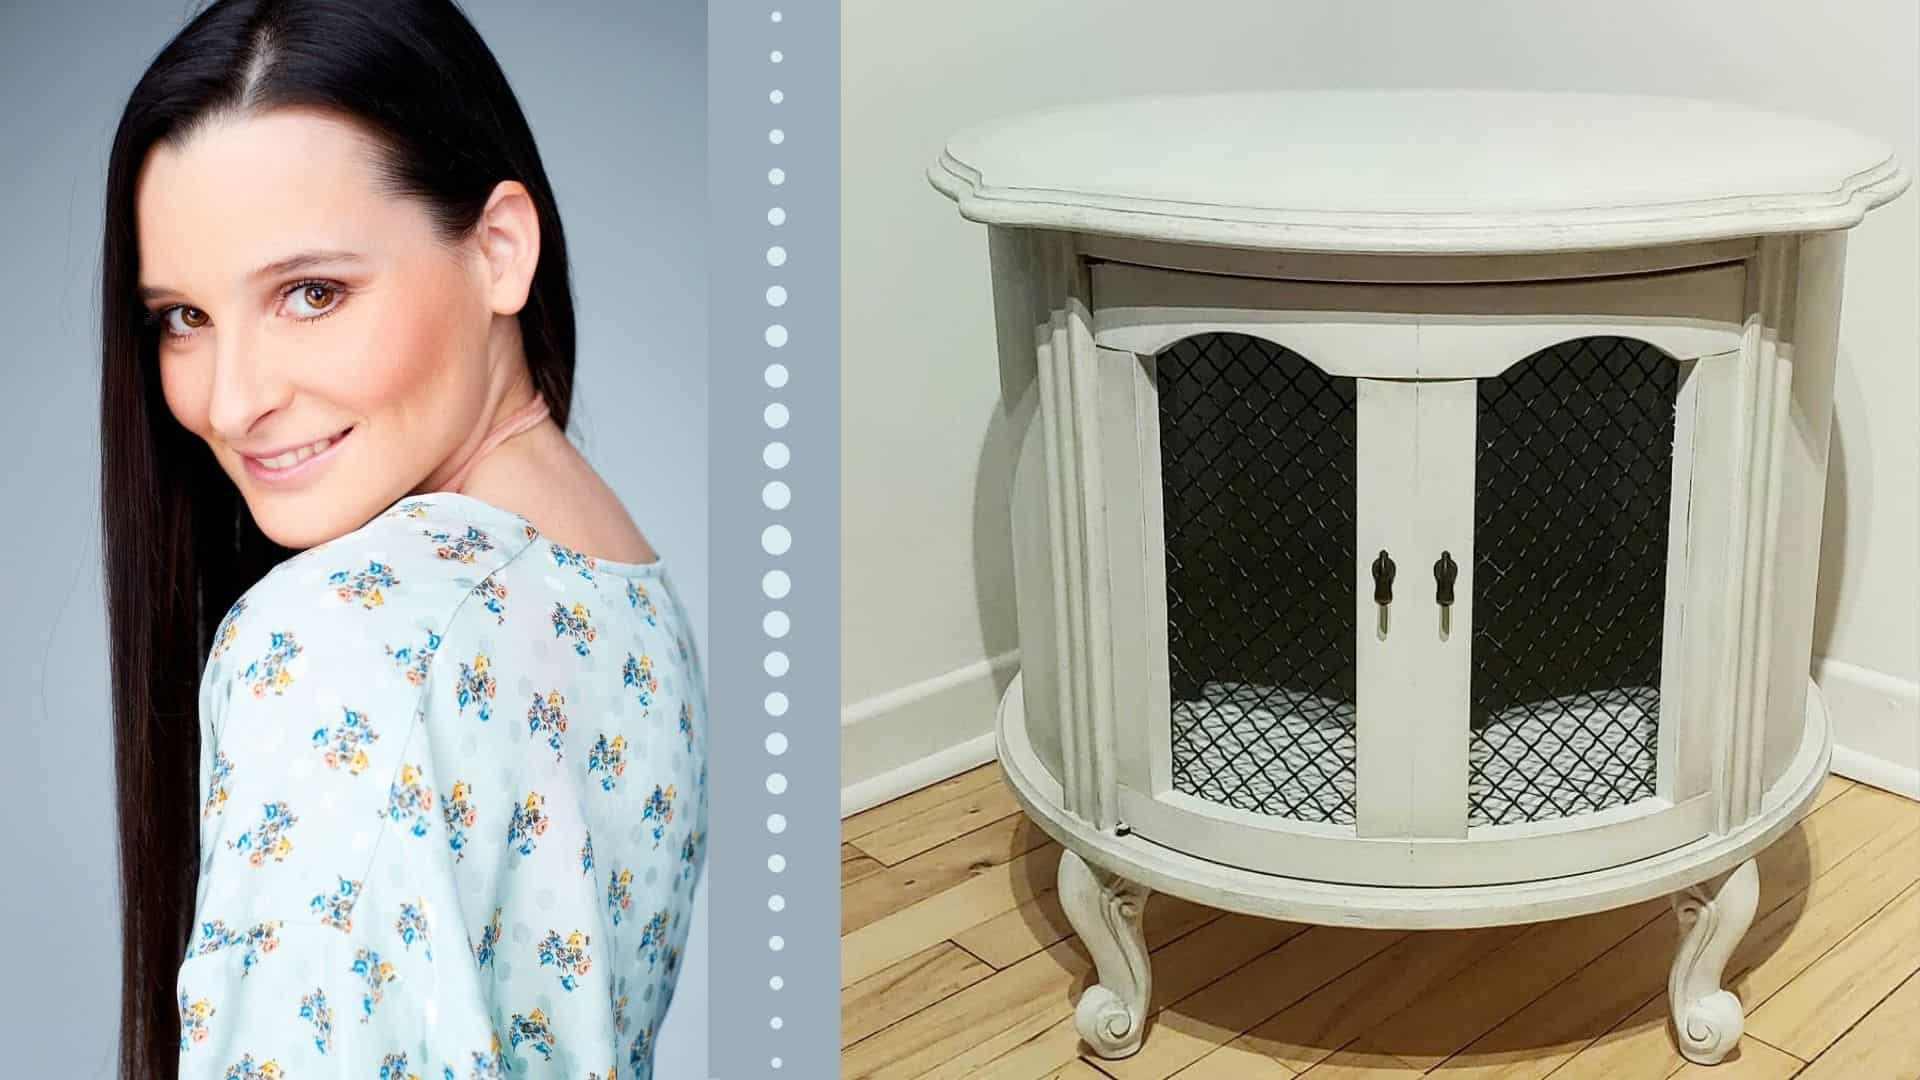
Hello! Today I present to you my first project using Colorantic products. It is a paint that is entirely made in Quebec in addition to being eco-friendly! I will therefore explain to you how I carried out my project. The piece of furniture that I am presenting to you today was already there when I bought my house. I decided to kept it to give it a second life. Originally the furniture was stained and varnished. Since the original colour is not really trendy and I have a big red wall in my living room with furniture in shades of white, I chose the colour Ballerina for this piece of furniture. It really is a colour that feels like me!
The products used
- Varnish Remover
- Make-up remover cleanser
- Oil-based primer
- Ballerina paint
- A duo of brushes (made of synthetic bristles, absorbs paint well and covers small details well)
- 2 wax brushes (16 mm)
- Natural beeswax
- Gray storm wax

Step 1 – Removing the Varnish
I started by stripping the furniture with a good varnish remover. With the dark brown stain and the surface being very shiny varnish, this step was necessary so that the paint adheres better to the furniture.
Step 2 – Clean
We used Colorantics Varnish Remover and Cleaner to clean the entire piece of furniture. This helps to remove all the grease and dirt that might be on the furniture.
Step 3 – The oil primer
My furniture had a heavy coat of varnish, which was probably an oil varnish. It had a lacquered and very shiny finish. So I used an oil primer to get the best final result! When applying it, it should ideally follow the direction of the wood(follow the wood grain). For my piece of furniture, a single coat of primer was sufficient. The purpose of the primer is to make the surface rougher so that the paint adheres well and to also seal it against all previous products that might come through.
Step 4 – The colour!
When the primer is dry (about 30 minutes), I can apply my colour Ballerina. Two coats are applied and the colour is finished. It’s beautiful! I like this ! I’m in awe !
Step 5 – Natural beeswax
Now the next step I needed to do was finish. I used a Natural beeswax because it is transparent. It’s used to protect. I applied the wax all over! For furniture where there is less traffic, wax is ideal. For kitchen tables or cupboards, a varnish is preferable because it is a surface that will be wiped down often.
Step 6 – Grey Storm Wax
Take a small amount of grey storm on a brush and apply it very lightly to strategic places on the furniture, following the grain of the furniture. I used a second brush to extend it.The grey will give it an old-fashioned effect, giving it life!

Related Posts