Re-looking your vintage furniture with Zen color
Upcycling being my passion, I am always looking for new vintage things to revamp. In recent years, the style of the 70s has come back in force. Very colorful furniture with original shapes is very trendy and I like it a lot. My head is full of original ideas to honour this decade with a vintage style.
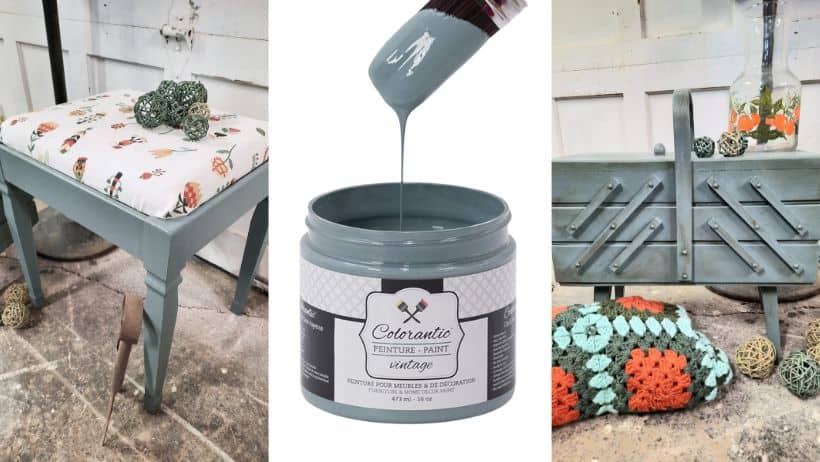
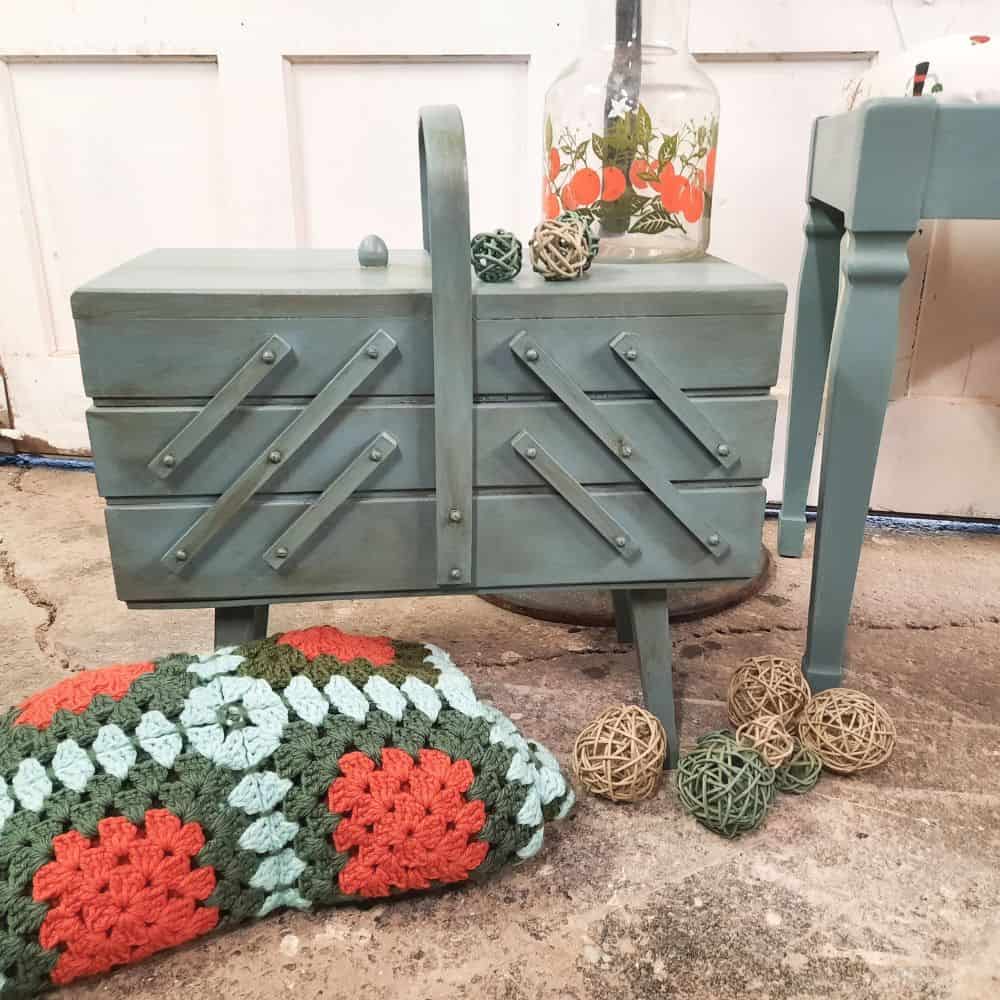
For this project, I was inspired by one of my very beautiful crocheted cushions which was very trendy in the 70s . I chose the very beautiful blue-grey, Zen, from Colorantic to combine these two magnificent pieces of vintage furniture with this magnificent cushion.
List of Products Used
- Colorantic Chalk-Based Paint: Zen
- Colorantic Cleaner and Varnish Remover
- Colorantic Wax: Bee Natural
- Colorantic Wax: Antique Brown
- European Style Oval Brush
- Snow White Brush
- Stapler
- Shop Towels (Blue)
- 120 Grit Sandpaper
By reading on, you will be learn the techniques I used for my project.
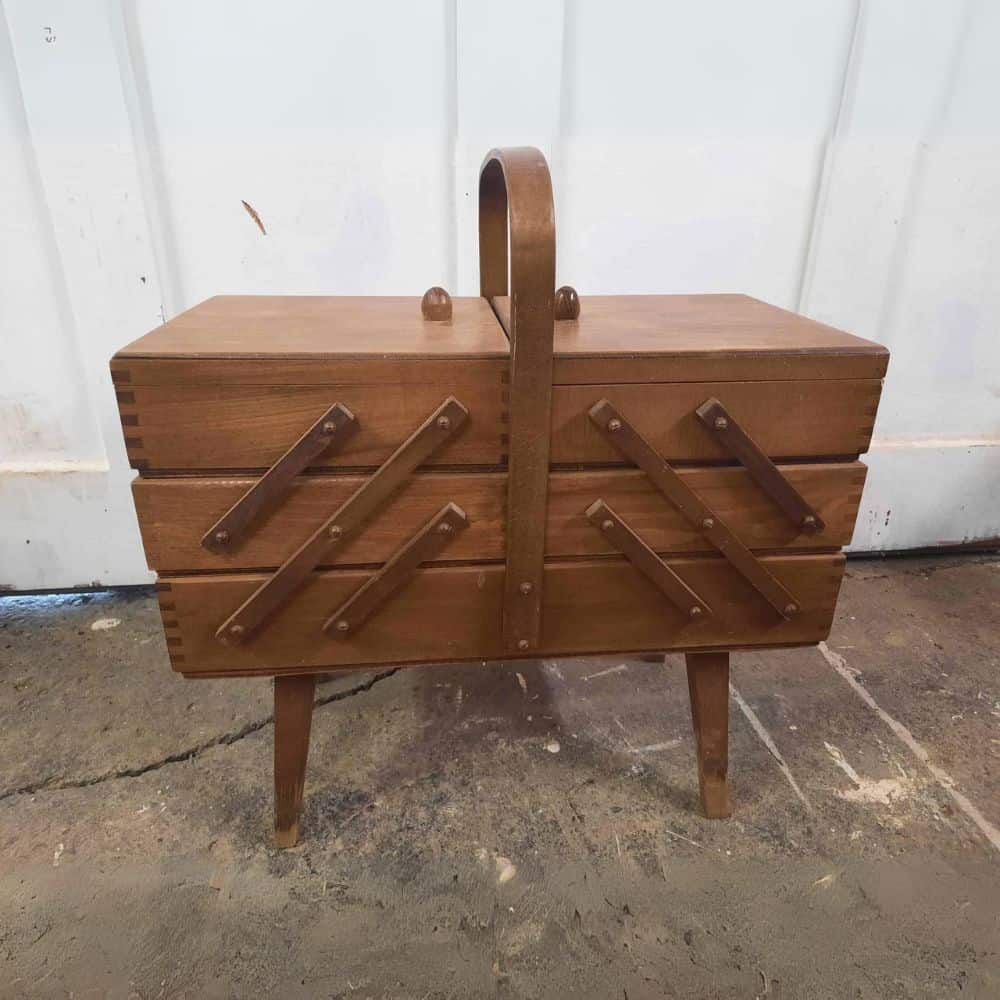
The Preparation
First, both pieces of furniture required the same preparation.
It is very important to clean all surfaces very well and this is the Cleaner and Varnish Remover that I used for this step. I took care to spray all the surfaces well, I let the cleaner sit for 30 minutes to remove all traces of varnish. Once the acting time was done, I took care to wipe all the surfaces thoroughly twice using a damp cloth, in order to remove all the residue.
Using 120 grit sandpaper, I lightly scratched all surfaces. Although Colorantic paint adheres very well, I prefer to sand lightly to allow the paint to adhere very well. Afterwards, I used damp paper towels to remove the sanding dust.
The Transformation
The brushes, European Oval and the Snow White, were used for the application of the Zen paint. Two coats were enough, because the Colorantic chalk paint has really good coverage. I waited about forty minutes before applying the second coat of paint.
The Final Step for a Modern Zen Assortment
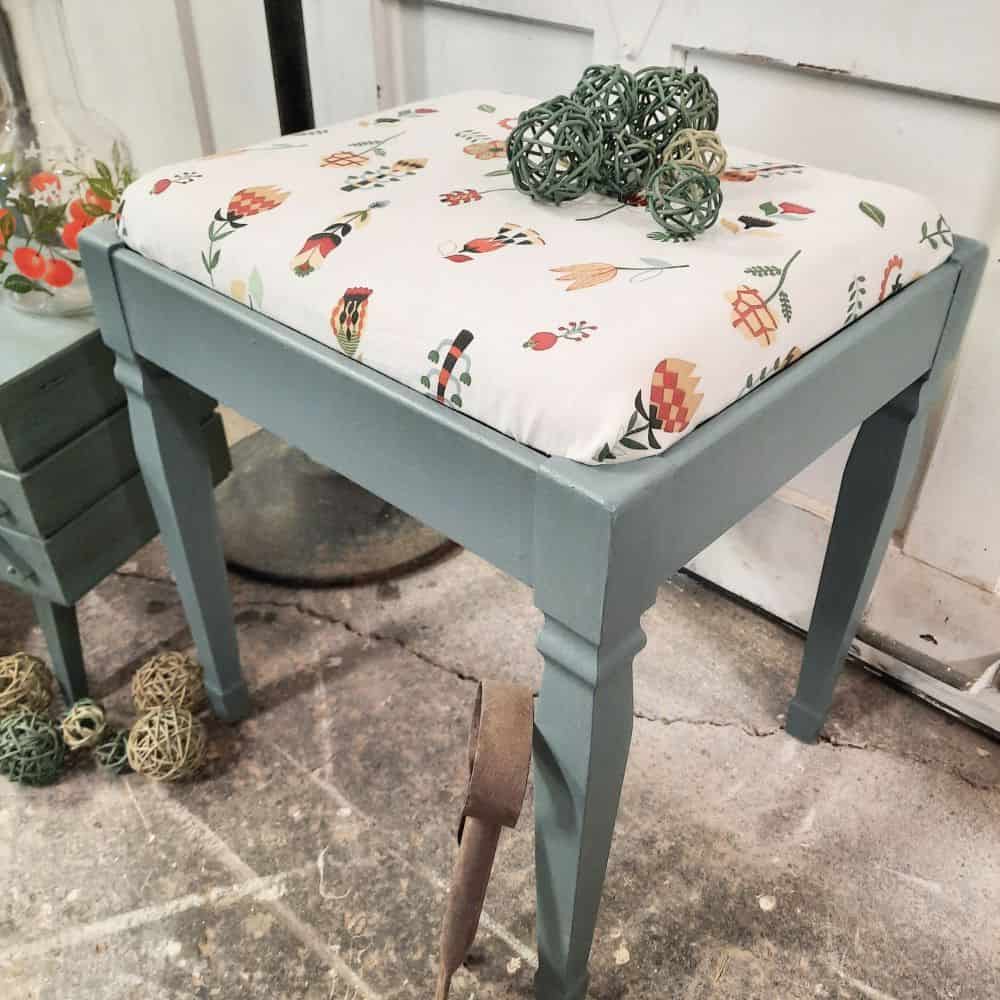
The finish is very similar for the two pieces of furniture, however I did not apply the wax, Antique Brown, on the sewing bench since there were already a lot of patterns in the fabric and I wanted to keep a clean style instead.
On the other hand, I applied the Antique Brown wax, to the corners and legs of the chest to give it an aged appearance. I really like the patina effect achieved. The colour, Zen, goes wonderfully with the brown of the wax, a very beautiful combination rich in colours.
In order to properly protect the paint, the clear wax, Bee Natural, has been applied to all surfaces.
It is very important to polish the wax, Natural beeswax, once applied. So I recommend applying the wax in small sections at a time and using a blue paper towel to buff. At first you will feel resistance and when it is properly polished, you will feel your hand slipping. It is very important to change paper towels after each usage, because they add layers of wax everywhere rather than polishing on the full surface.
Once the clear wax, Bee Natural is applied on all surfaces, you can immediately apply the tinted wax, Antique Brown.
Waxing can take seven days to cure and sometimes even longer, depending on the humidity level in the house.
Final Touches
Once the work was finished, I covered the seat of the bench with coloured fabric. Using a stitcher, I took care to secure the fabric underneath.
I am very happy to have chosen the very beautiful colour, Zen, for these transformations. These two vintage style pieces of furniture, because this shade does justice to the era of the 70s very well.
Claire Gendron
Bloggeuse
Join our English Colorantic group
Subscribe to our newsletter:
Newsletter
Facebook
Instagram
Pinterest
Etsy
Amazon Canada
YouTube
Tiktok


