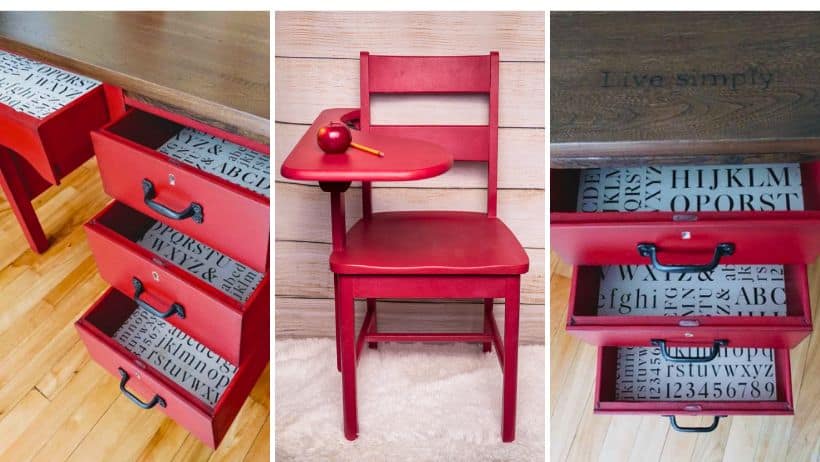
A chest of drawers with pep
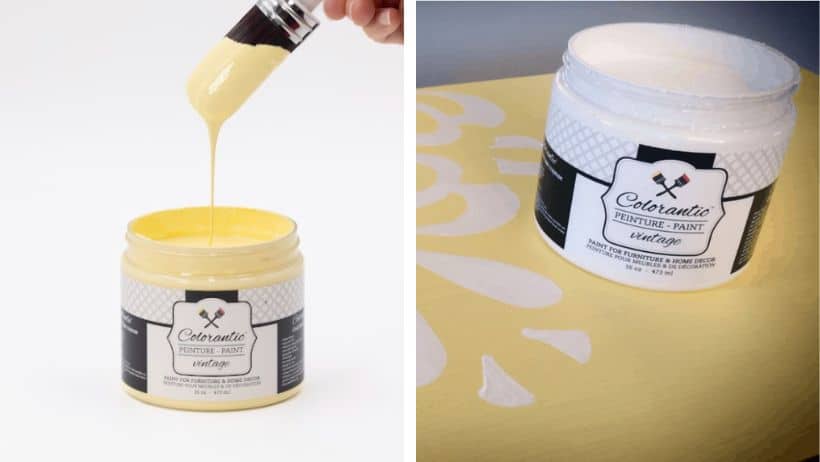
Add a touch of color with our beautiful and delicious Lemon Tart.
Our blogger Kim rose to the challenge with flying colors. A few months ago, she upgraded a chest of drawers perfect for a dining room.
Here are a few words from him
The colors Tarte au Citron and Boule de Coton, which remind me of the lightness of meringue, immediately appealed to me for this project. These soft shades are very refreshing.
The use of a stencil on the top and front of this chest of drawers also adds a touch of originality. What could be more appetizing for a dining room than these beautiful, sweet-tasting hues?
Read on to find out more about all the steps involved in this project, which is a real treat for the senses!
But first, you’ll find a list of the products I used.
List of products used
- Colorantic chalk paints: Lemon pie, Cotton ball and Tractor dust
- Colorantic nail polish cleaner and remover
- Colorantic natural beeswax
- Oval brush 35mm Colorantic
- Colorantic small foam stencil pack
- 16 mm Colorantic round wax brush
- Colorantic green adhesive tape
- Colorantic decorative stencils
- Colorantic two-sided sanding block
- Two clean, soft towels
- Water
Preparation
- Spray nail polish cleaner and remover on all surfaces and leave for 30 minutes. Once the time has elapsed, rinse well twice with a hot-water cloth.
- Lightly sand to scratch the surfaces, allowing the paint to adhere very well.
- Since the furniture had a water-based finish, it was not necessary to apply an oil primer to make the transition from an old oil finish to the new water-based Colorantic paint.
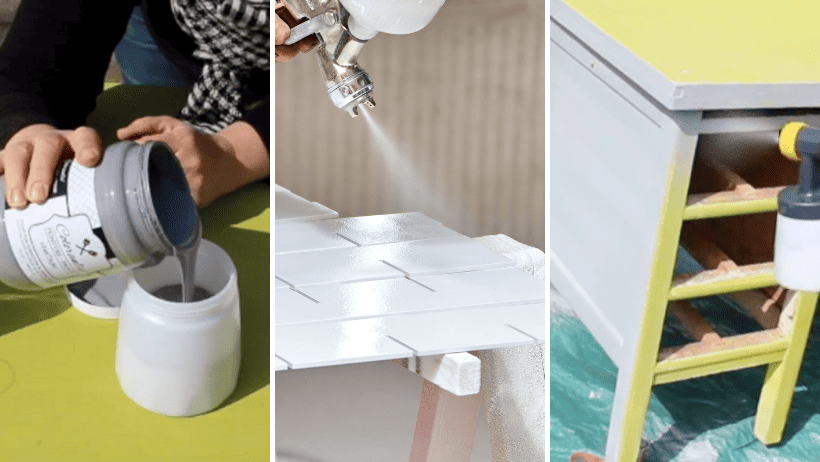
The paint
- Then came the painting stage. To embellish your chest of drawers, apply Cotton Ball chalk paint to the door, front drawer and sides.
- I thought a little color would make the whole thing more cheerful, so I applied the color Lemon Tart to the top of my dresser. Since the wood was bare and I wanted opacity, I applied two coats of this stain. The coverage of Colorantic chalk paint is remarkable, so a single coat would have been enough, but I wanted the result to be optimal – that’s my little perfectionist side!
Dyeing
To add a little relief, I made a water-based dye (see recipe below).
- To make your own homemade stain, mix one part Tractor Dust paint with three parts water. (So you can use this dye recipe with any of the Colorantic colors. Finally, for a more opaque result, add paint, or for a lighter result, add water to the mixture.
- I applied the stain with an almost dry brush, following the grain of the wood and starting from the edges of the furniture. I then wiped off the excess with a clean cloth. The purpose of this effect is to add a little visual texture and give the effect of time-worn furniture.
The stencil motif
I stenciled a motif on the front of the door. The Colorantic online store offers a wide variety of stencils.
- For the front door motif, I painted it in Lemon Pie.
- For the dresser top motif, I painted with the color Cotton Ball.
- Allow to dry thoroughly before continuing
The finish
At last, the final stage! To protect your furniture and improve its durability, you can opt for a wax or varnish. In this case, I used natural beeswax. Its soft-touch finish and low-gloss appearance round off the work perfectly.
- Remember, once you’ve applied wax to a piece of furniture, it’s always best to wait at least seven days before using it again. On average, this is the time it takes for a wax to harden completely.
And there you have it. Now you’re ready to get started on your Colorantic project!
KIM
Related Posts