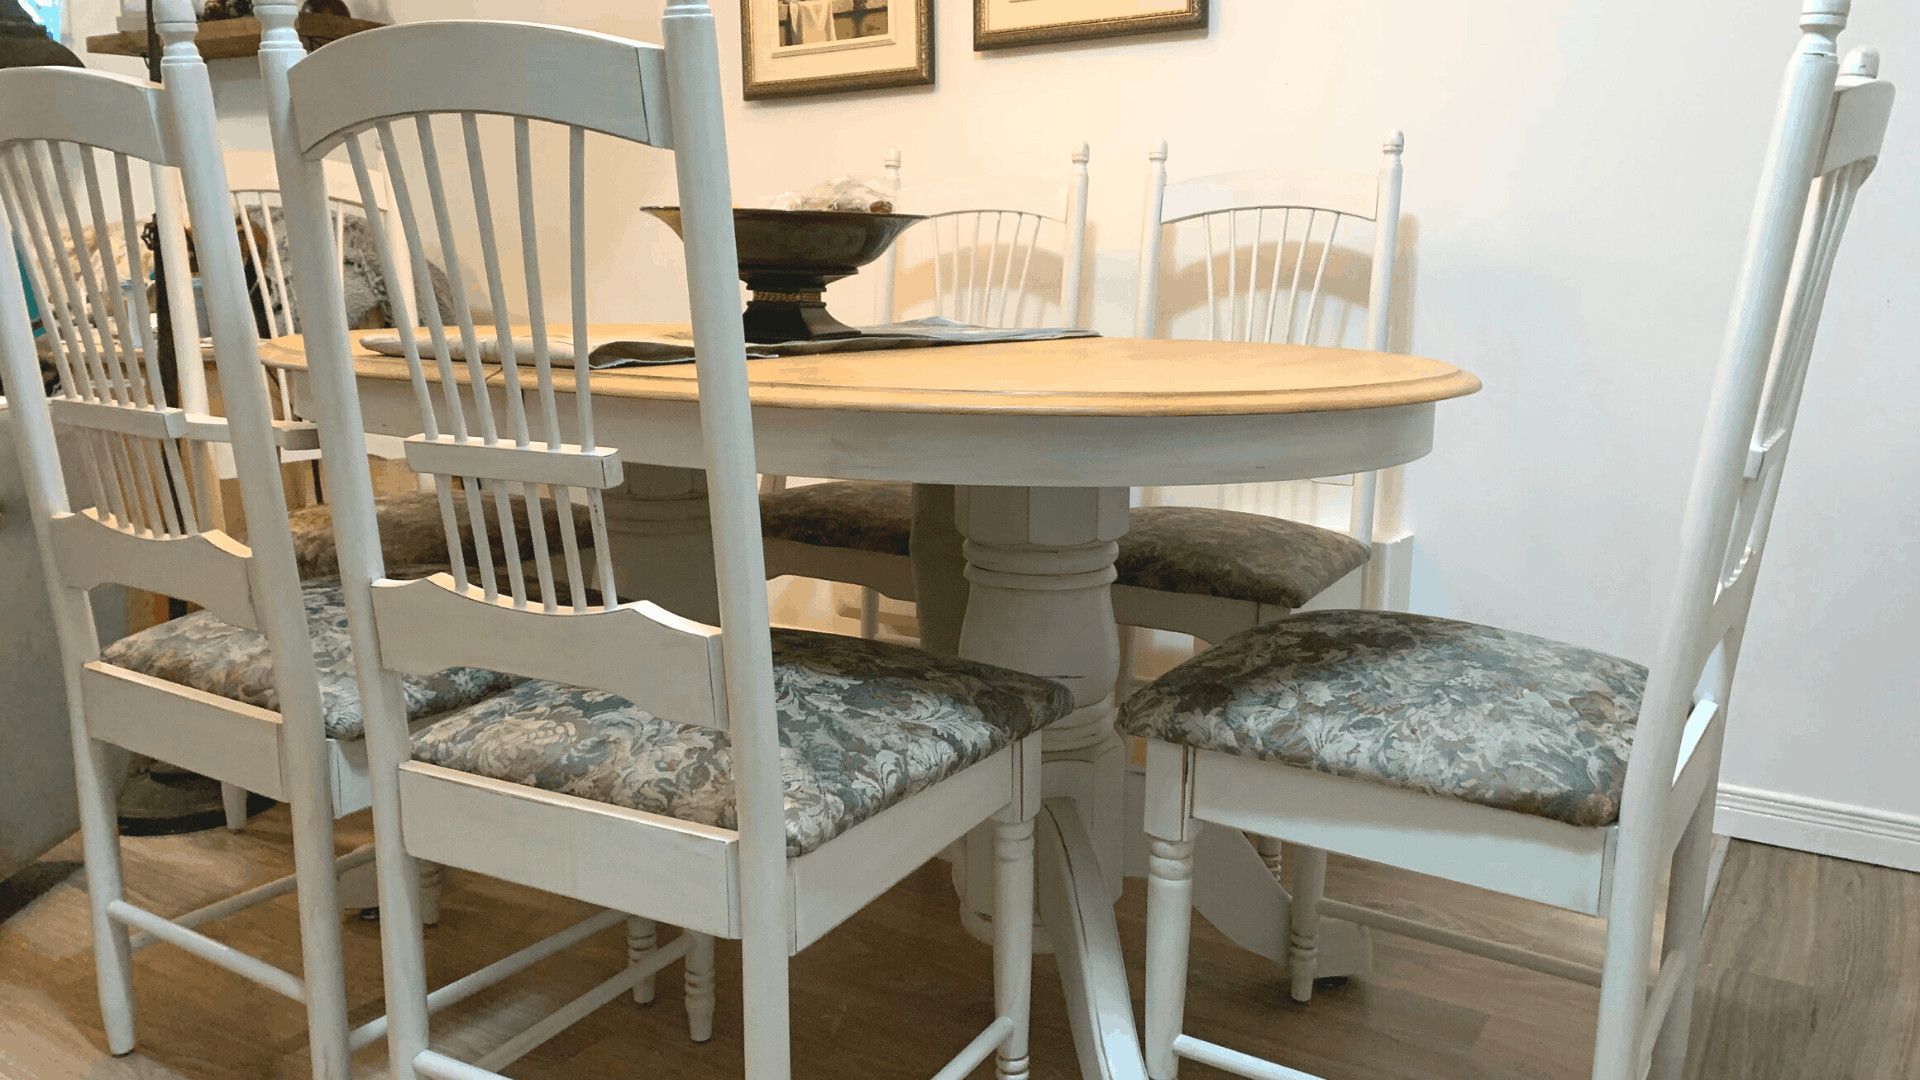
Maple Kitchen set
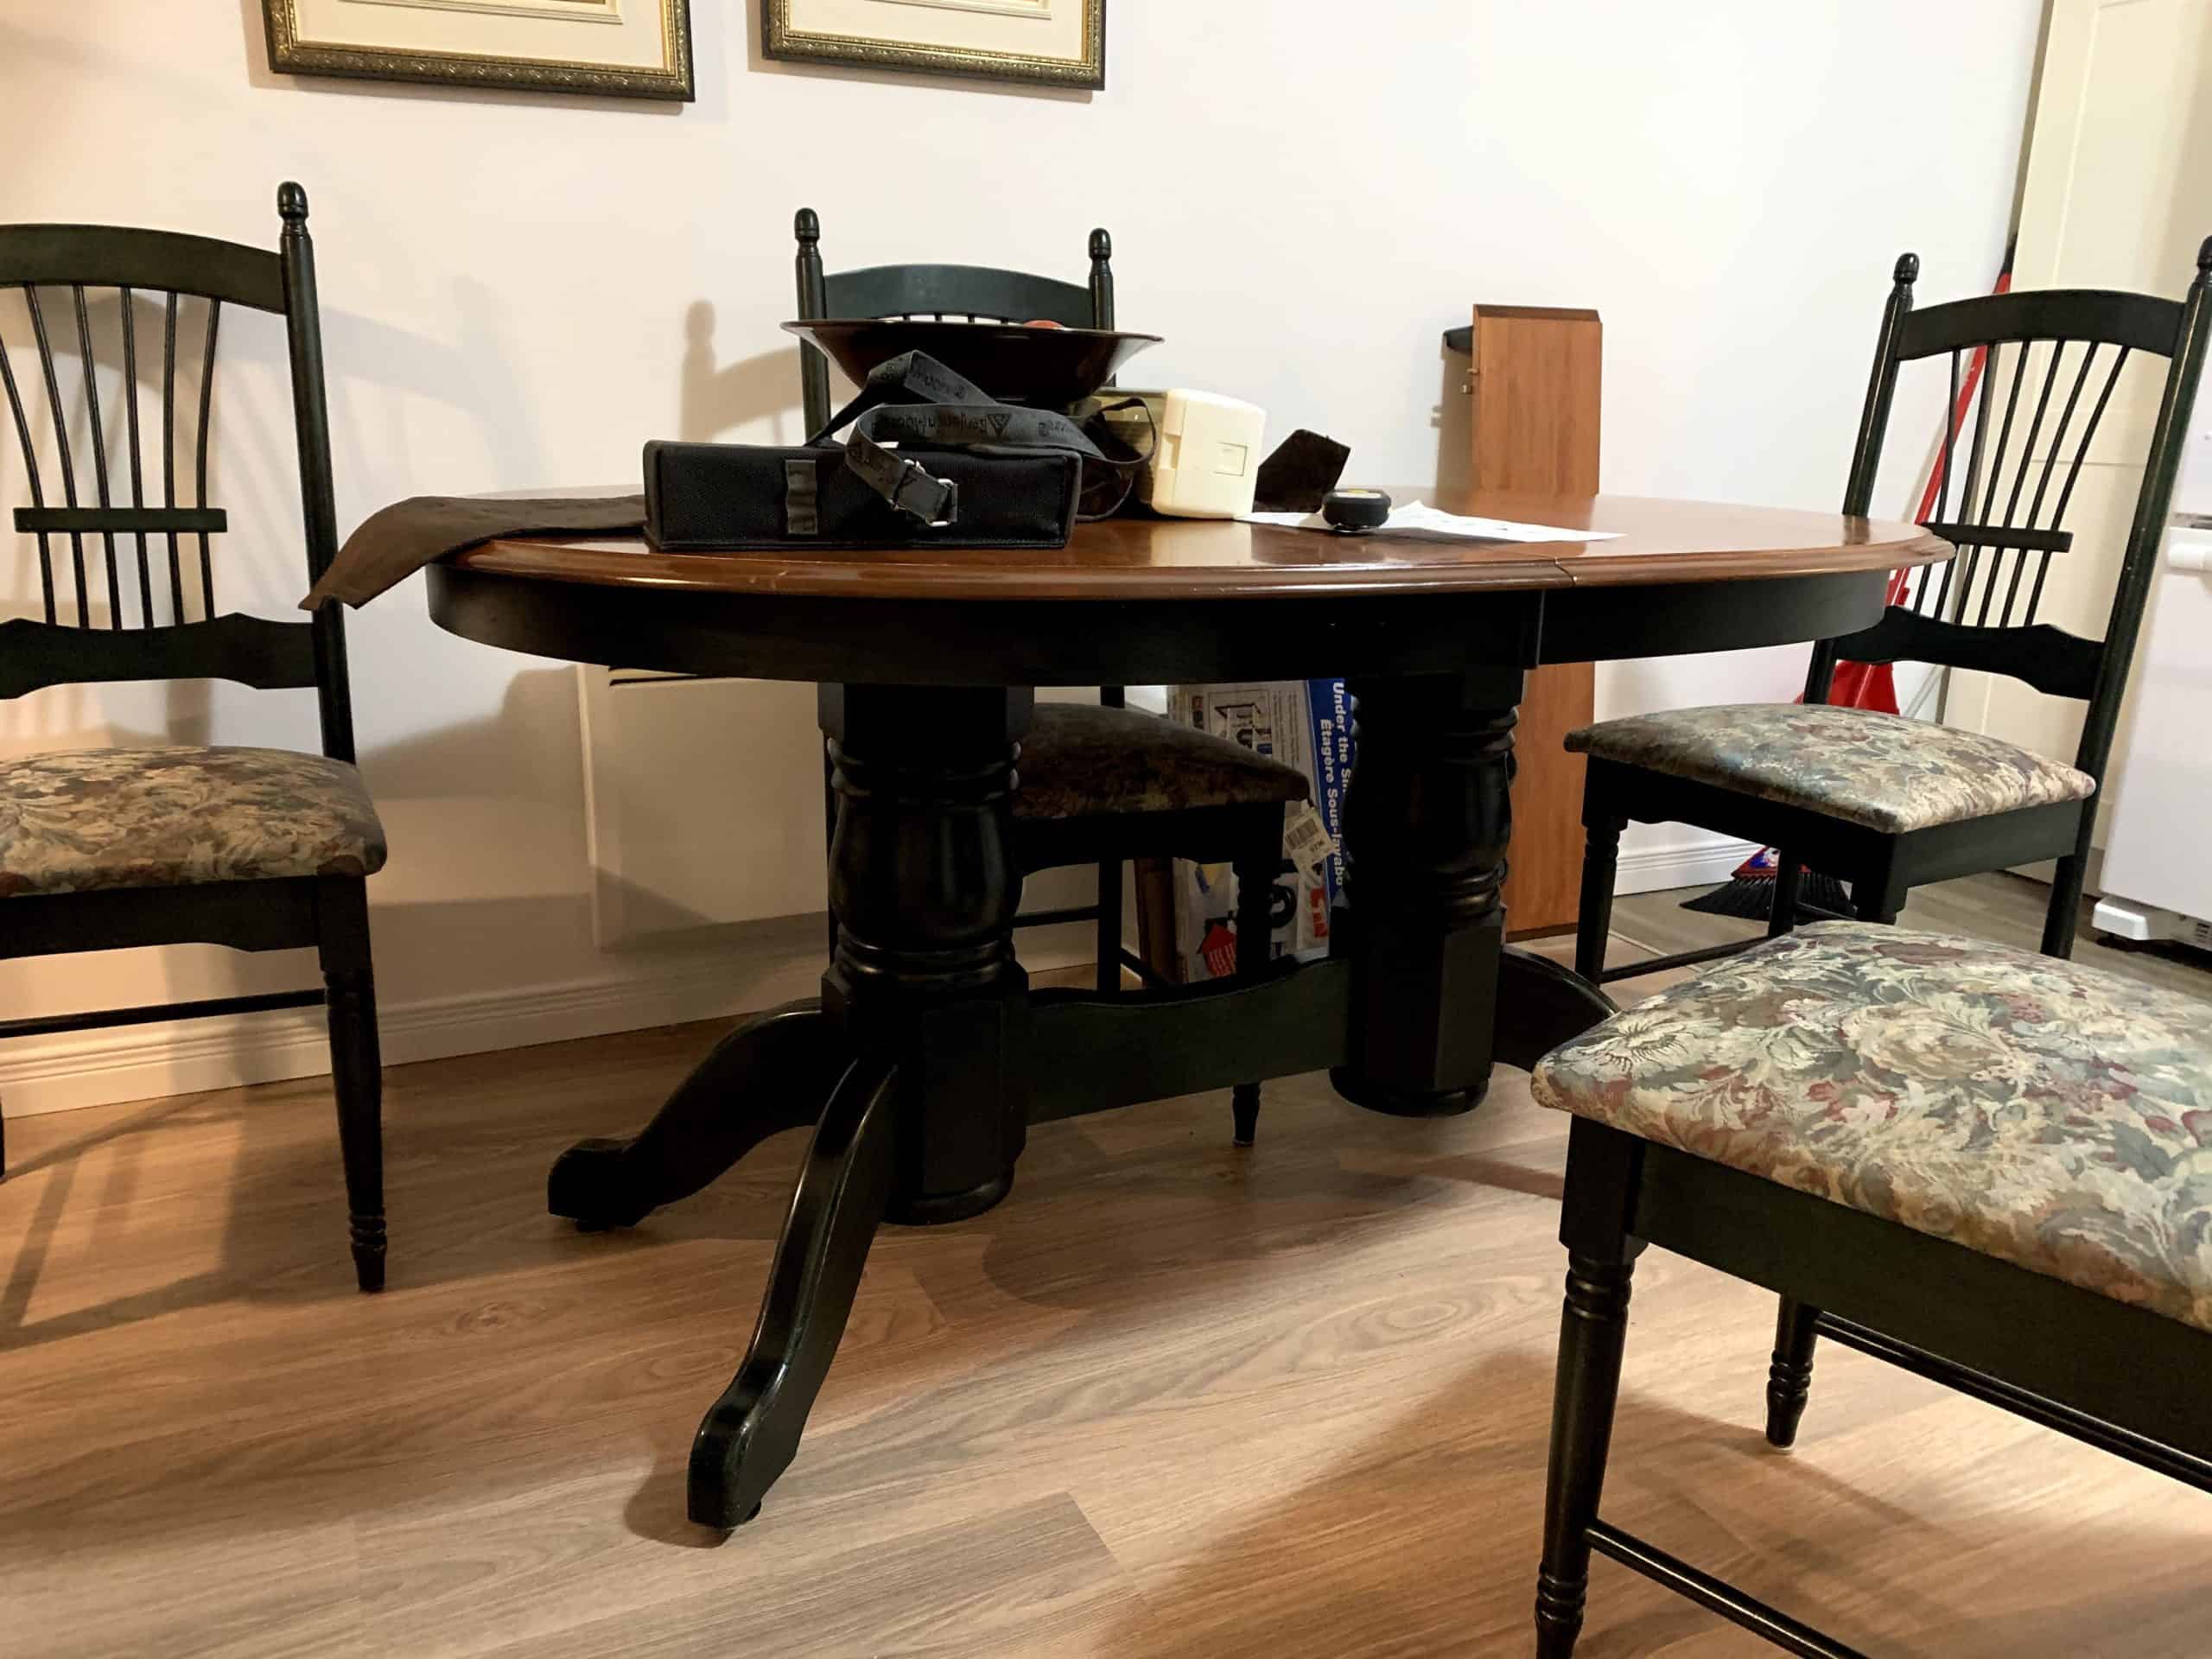
My client has a beautiful maple kitchen set of very solid construction made in Canada, which at that time was forest green. Having had to move, she finds herself with a smaller kitchen…
Her set is much too massive in its new environment with its rather dark colour. She contacted me for a makeover and I was happy to do so.
Products used:
- Colorantic paint in Cotton Ball
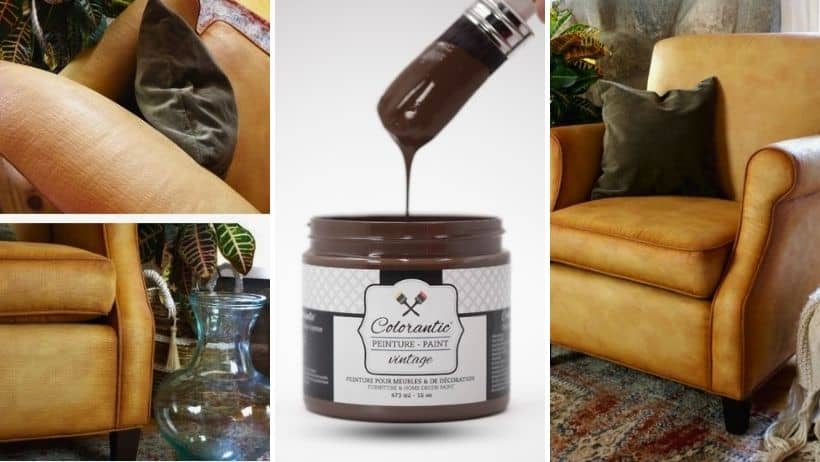
- Colorantic Chocolate Cake Glaze
- Matte varnish
- Colour Antique – Saman varnish stain
- Super adherent primer
- Electric sandblaster (For the table top)
- Sandpaper grain: 120-180-220-400
- Cleaner & varnish remover
- White linen
- Purple oval brush and sponge brush

Step 1: Surface preparation
The first thing I did was remove the seat cushions. As always, I cleaned with the varnish remover. Remove all contaminants. Pay particular attention to the top of the chair backs, they are often touched, it does not always appear but there are grease marks and if we skip this step, regardless of the primer you apply, there will be flaking.
I then sanded with 120 grit sandpaper, insisting on the edges to facilitate antiquing (see photo). As for the tabletop, I brought it back to natural wood using a sandblaster. Remove dust residue with a damp white cloth. You will need to apply the primer to all the surfaces you want to paint.
Step 2: Apply the colour
Using the purple oval brush, (I really fell in love with this one)! I applied 2 coats of Colorantic Cotton Ball white paint, then lightly sanded with 220 grit paper between coats. Finally, I applied 2 coats of Saman Varnish Stain to the tabletop.
Step 3: Antiquing, which changes everything!
With 180 grit sandpaper, sand in strategic places. In this case, all the edges and little flat surfaces have been sanded, as well as on the chairs and the table legs with the table belt. I chose the Chocolate Cake Glaze to lightly smear the colour to make it look a bit dated.
Step 4: The finish
Once again, I decided to put some matte varnish on for resistance, three coats were applied. I did a 400 grit sanding between each coat in some spots that needed it. The same goes for the tabletop.
Tips
* We must clean with the varnish remover before sanding! If we do the opposite, we bring dirt and grease onto the surface which we do not want!
* I almost always add a little water to the paint, it helps to apply a little easier, it does not take away its hiding power at all. On top of that, it will cover a larger surface, stretching the paint without diluting its pigment.

My client is delighted! She was able to keep this superb wooden kitchen set which was in very good condition despite the years. She now has a lovely soft colour that makes her kitchen feel much bigger.


