How Do I Use Stencils with Chalk Paint?
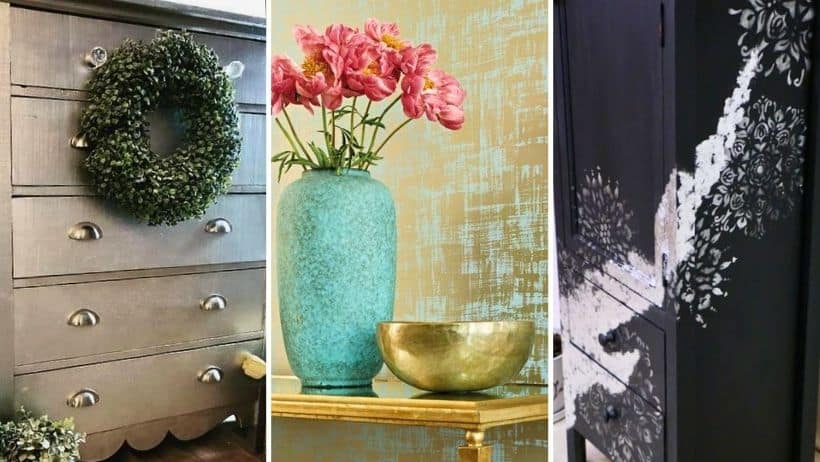
Stenciling with chalk paint can totally change the look of a décor.
In fact, it’s the perfect way to give your decor an exciting, yet simple, touch – as long as you stick to neutral colours. There are so many different stencils that countless designs can be created. Just let your creativity run wild! You can bring a multitude of objects to life and add your own personal touch.


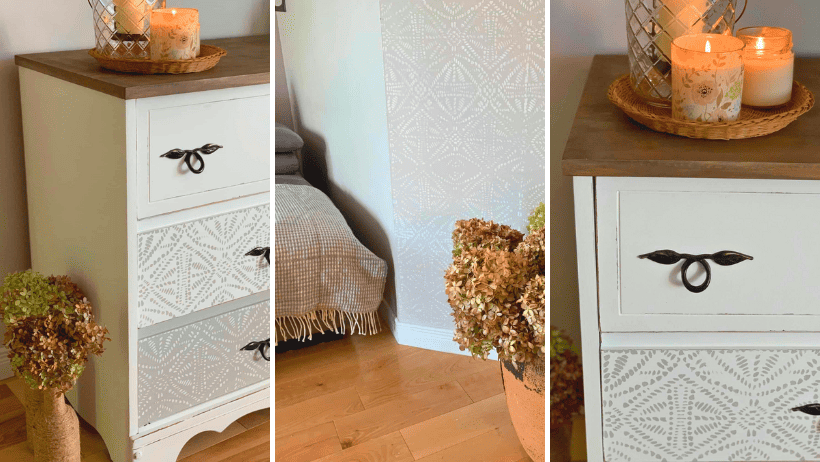
I had so much fun applying the stencil to my desk drawers, that I continued on the wall beside it (laughs). It was around 10 pm when I started my project. I was looking at the almost-completed desk with the stained wood top, the outline, the Cotton Ball-coloured drawers and thought, do I add stencils?
I immediately though YES! Then, as I was placing the geometric shapes in the colours Mist and Cotton Ball, I thought “what a great idea it would be to do the wall too!” So I finished around 2 a.m., exhausted from my day and night. All in all, I’m so happy with my new decor.
One thing I’ve come to understand with this method… is that to create patterns, you have to put aside your perfectionism and accept that the shapes are uneven. It’s fair to say that imperfection adds charm and character. In other words, it’s by looking at the whole and not at each individual motif that we see the beauty.

A Simple Chalk Painting Technique
Geometric stencils are very neutral and blend well with many decors. There are also floral stencils, animal-themed stencils, hearts and more. It’s all a matter of taste.
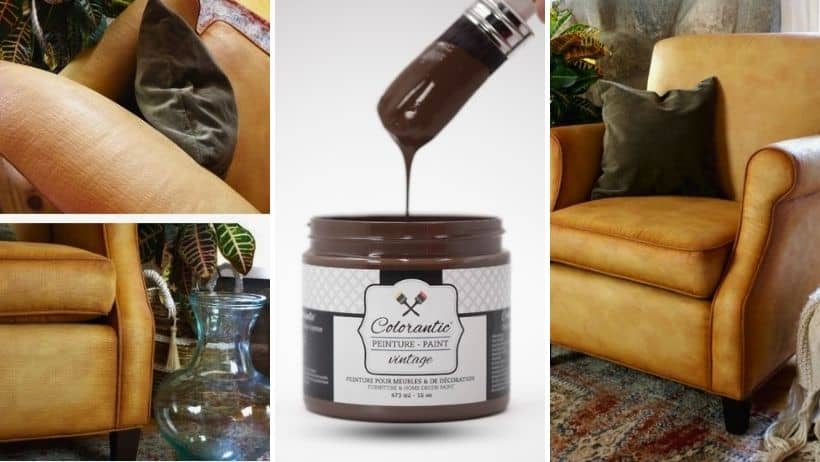
I love using Colorantic paint with stencils as its texture is perfect. It helps prevent the paint from running. To begin with, I usually use a sponge to apply my colour to the stencil. Use the technique that suits you best. First, spread with a foam roller (sponge) or round brush. Just make sure the base paint is dry before removing the stencil and starting with the next colour. A thin layer of paint should also be applied to the stencil to eliminate the risk of running.
A little trick to help you along, you can use green painters’ tape to stick the stencil to the surface to prevent it from slipping.
Very easy to use! Trust yourself, all you need is patience.
In Conclusion
It’s not just large-scale projects that give a room an attractive appearance, but sometimes a single colour is all it takes to create a room’s overall atmosphere!
I’ll eventually paint my living room upholstery with Cotton Ball and Tractor Dust to unify them.
The next step will be my big couch, I can’t wait!
Follow my furniture refurbishment work on my networks!
What is your next project?
Join our English Colorantic group
Subscribe to our newsletter:
Newsletter
Facebook
Instagram
Pinterest
Etsy
Amazon Canada
YouTube
Tiktok
