How to Create a Saltwash Effect on a Piece of Furniture?
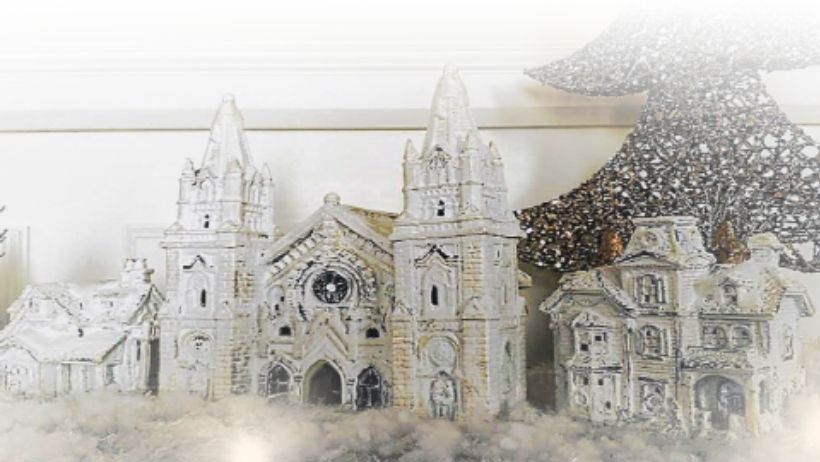
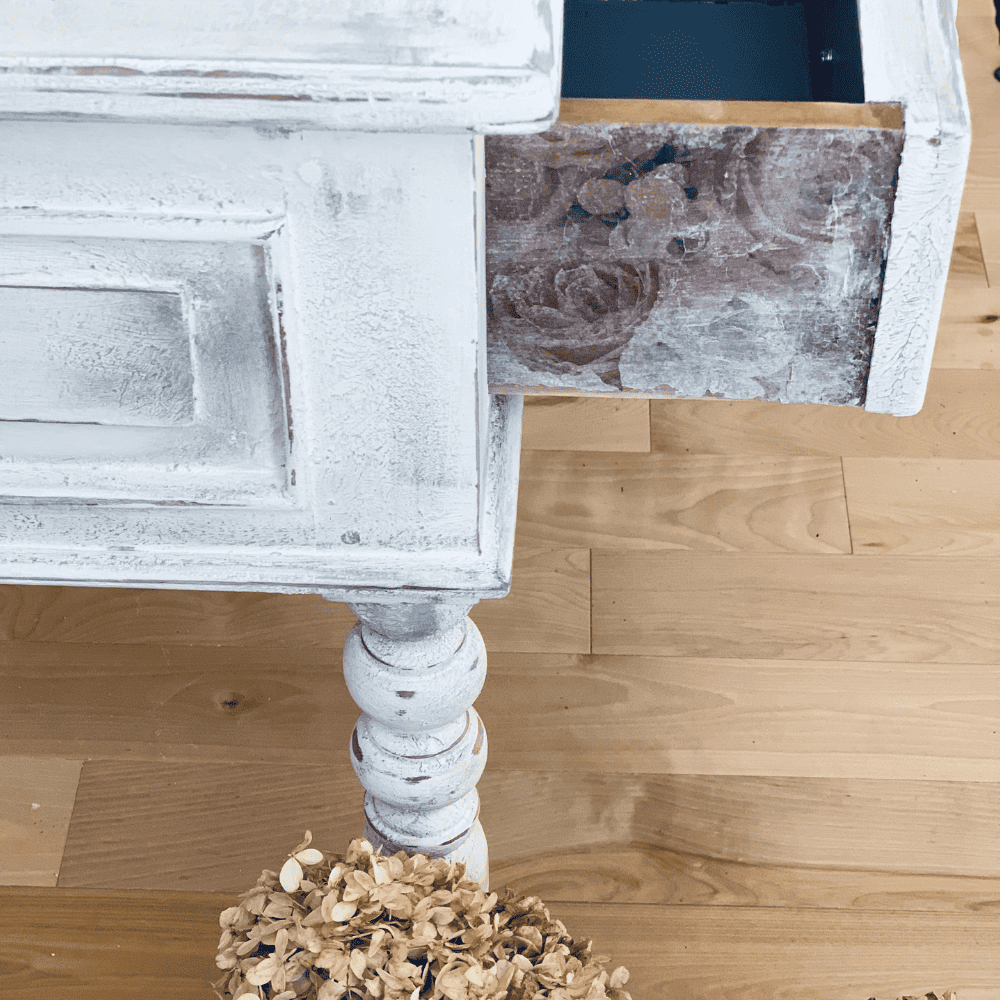
A “Saltwash” effect, also known as a “seaside” effect, is a technique that gives a worn look to your furniture. This effect that we love so much and that reminds us of the small seaside cottages with their decor worn by the sea air and salt water. The seaside style is absolutely everything that makes you think of white sandy beaches, ocean waves and the relaxed seaside lifestyle. The style that I wanted to create with this piece of furniture aims to give the room a look that is light, natural and luminous as a day spent at the beach.
To create this look, I wanted to experiment and try a homemade recipe to texturize the paint and make it grainier. The result is beautiful and the job is easy to do!
Here are the steps to follow to create a Saltwash effect on a piece of furniture.

List of Products Used
![]()
Step 1
Clean the surface with Colorantic cleanser and varnish remover. It will get rid of any dirt, grease or dust.
Step 2
Sand with a Colorantic sanding block or simply with sandpaper. This ensures better adhesion for your paint
Step 3
Apply the Tractor Dust colour directly on the desktop to have a base colour. This will appear during the last sanding. If you do not want to see the grain of the wood, you can always apply a primer to coat the entire surface evenly before applying the Tractor Dust colour.

Step 4
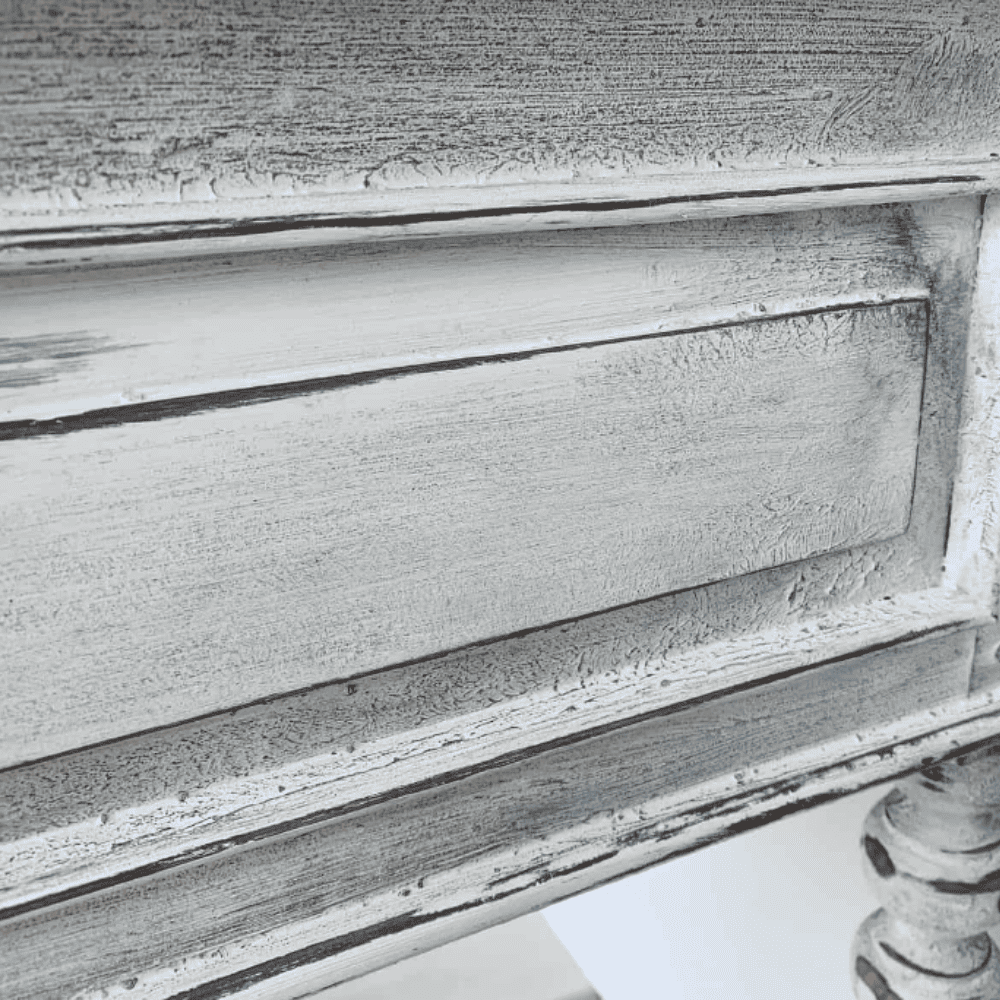
Next, I made the homemade mixture which gives a slightly rough effect. This will add texture and create that distressed seaside look you are trying to create. I applied the paint mixture by tapping all over the piece with my brush.
Here is the recipe:
- 2 tbsp. plaster of paris
- 2 tbsp. water
- 2 tbsp. chalk paint (Cotton Ball)
- 1 C. kosher salt
You just have to mix it all up!

Step 5
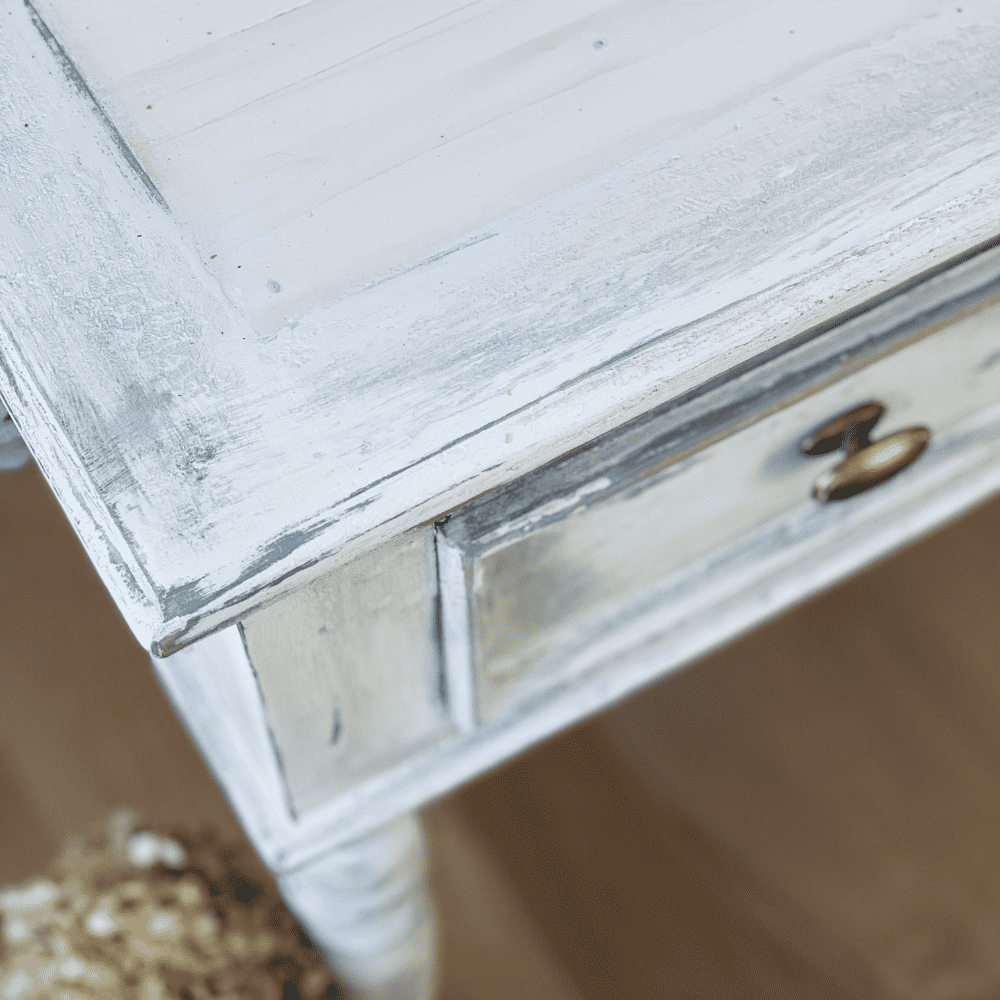
I sanded here and there to remove paint on the surfaces and give the appearance of a very old paint. I suggest that you take a step back and look at your work from afar. This will guide you to sand in the right places. Sanding in several places is what will make the piece of furniture unique.
Step 6
To give more effect, I added Storm Gray beeswax on the base of the cabinet. This again creates a time-worn look in addition to creating depth.
Step 7
For the wooden top, I created a faded effect on the top. To do this, I wiped the Cotton Ball colour chalk paint with a cloth. The paint should be wiped off so that the grain of the wood is clearly visible. Just spread the paint with a white cotton cloth and use a small amount at a time.
![]()
To Finish
For the final step, I varnished the wooden top with a foam roller to protect it. Colorantic matte varnish is a good option since it dries very quickly.
In Conclusion
Let your creativity flow when creating a piece of furniture and trust yourself. Follow Colorantic’s blogs to get a general idea of the work to be done. Don’t forget to visit their YouTube channel Colorantic and watch their videos. They will help you visualize the steps to follow to complete your most beautiful transformations.
Remember to enjoy yourself and have fun!
If you want even more ideas for upgrading furniture, you can consult our Facebook group or follow our publications on various social networks.

Join our Colorantic English Facebook group
Follow Us on Social Media:
Newsletter
Facebook
Instagram
Pinterest
Etsy
Amazon Canada
YouTube
Tiktok
Related Posts