Discovery!
Are you like me? Do you want to decorate your home in the latest styles? To do this, you would have to change your decor every year. Let’s face it, the planet is not doing well and we must take care of it. This is why I love revamping furniture that I find discarded, in flea markets or on the roadside. This is a great way to stay up to date and help the planet at the same time, since this furniture has a second chance and will still be useful for several more years.
So after finding our favorite pieces of furniture to furnish a room, we have to coordinatee them. Yikes !!! Not always easy, especially if the furniture is very different from each other.
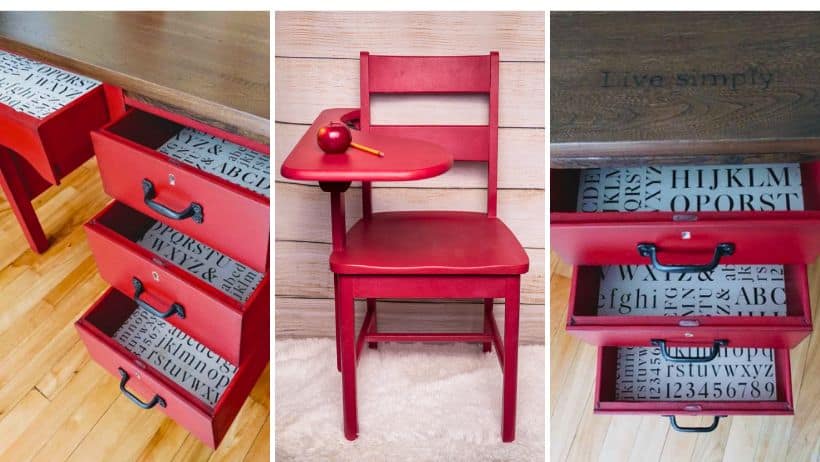
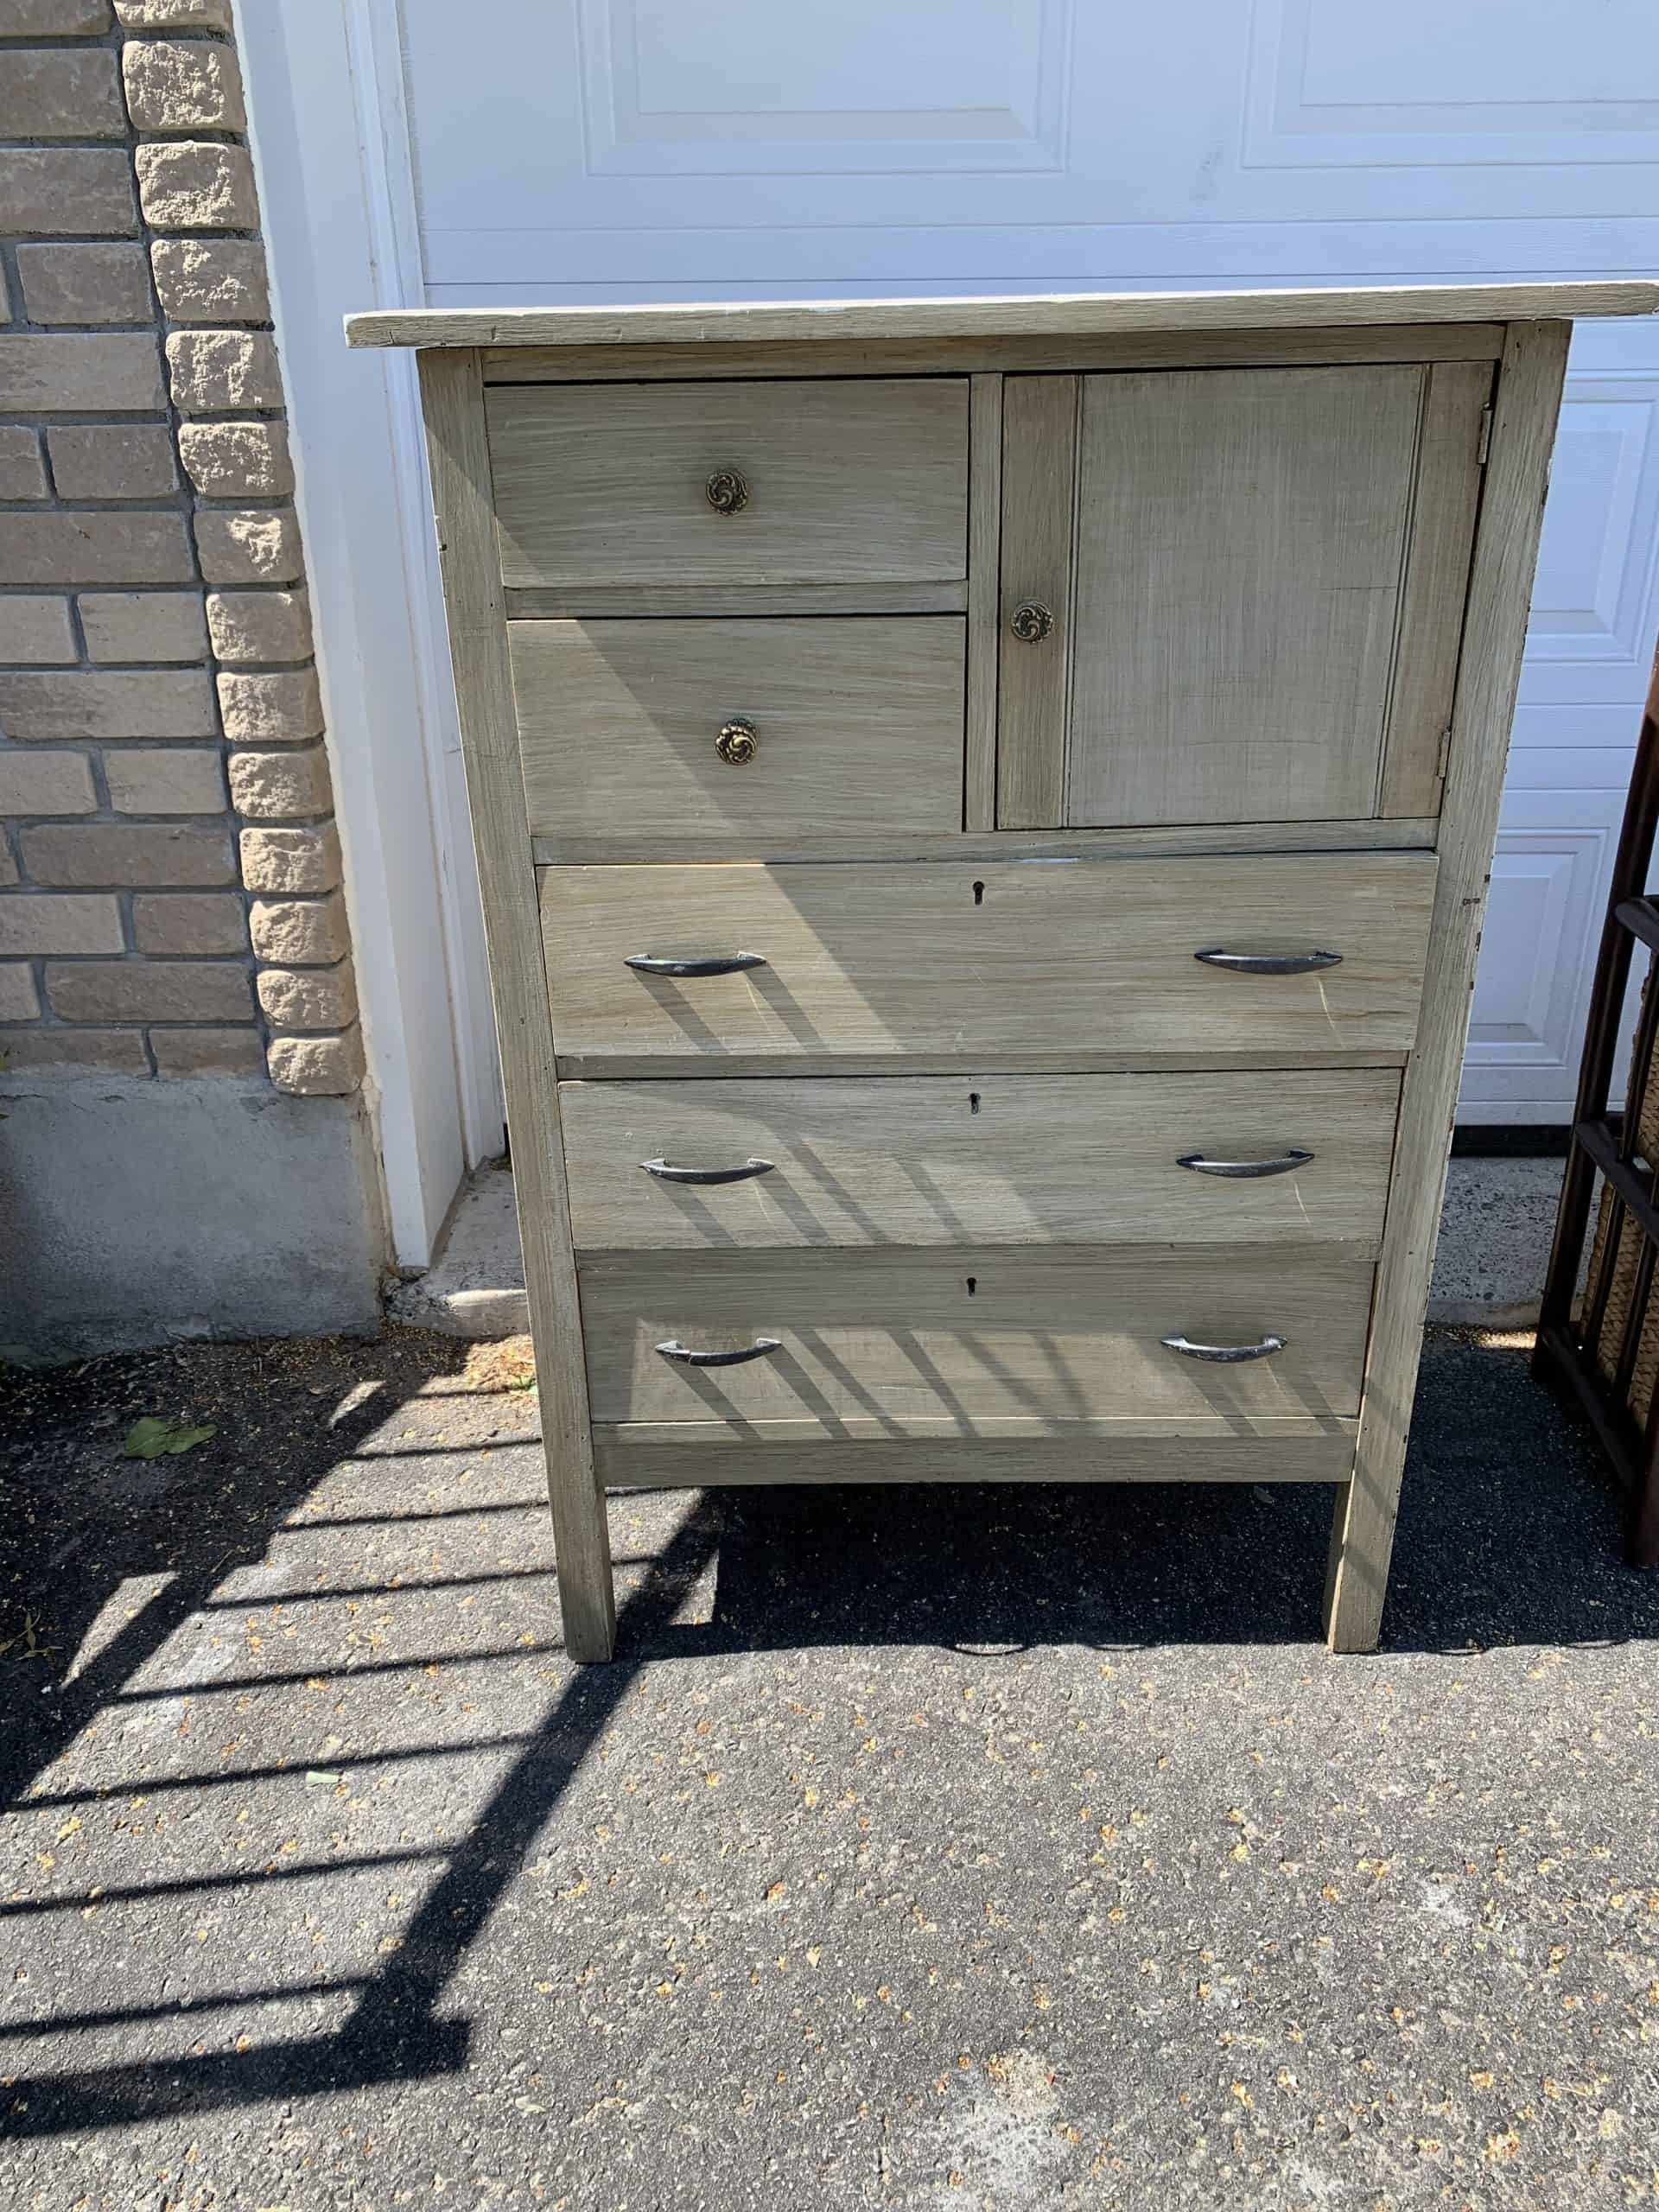
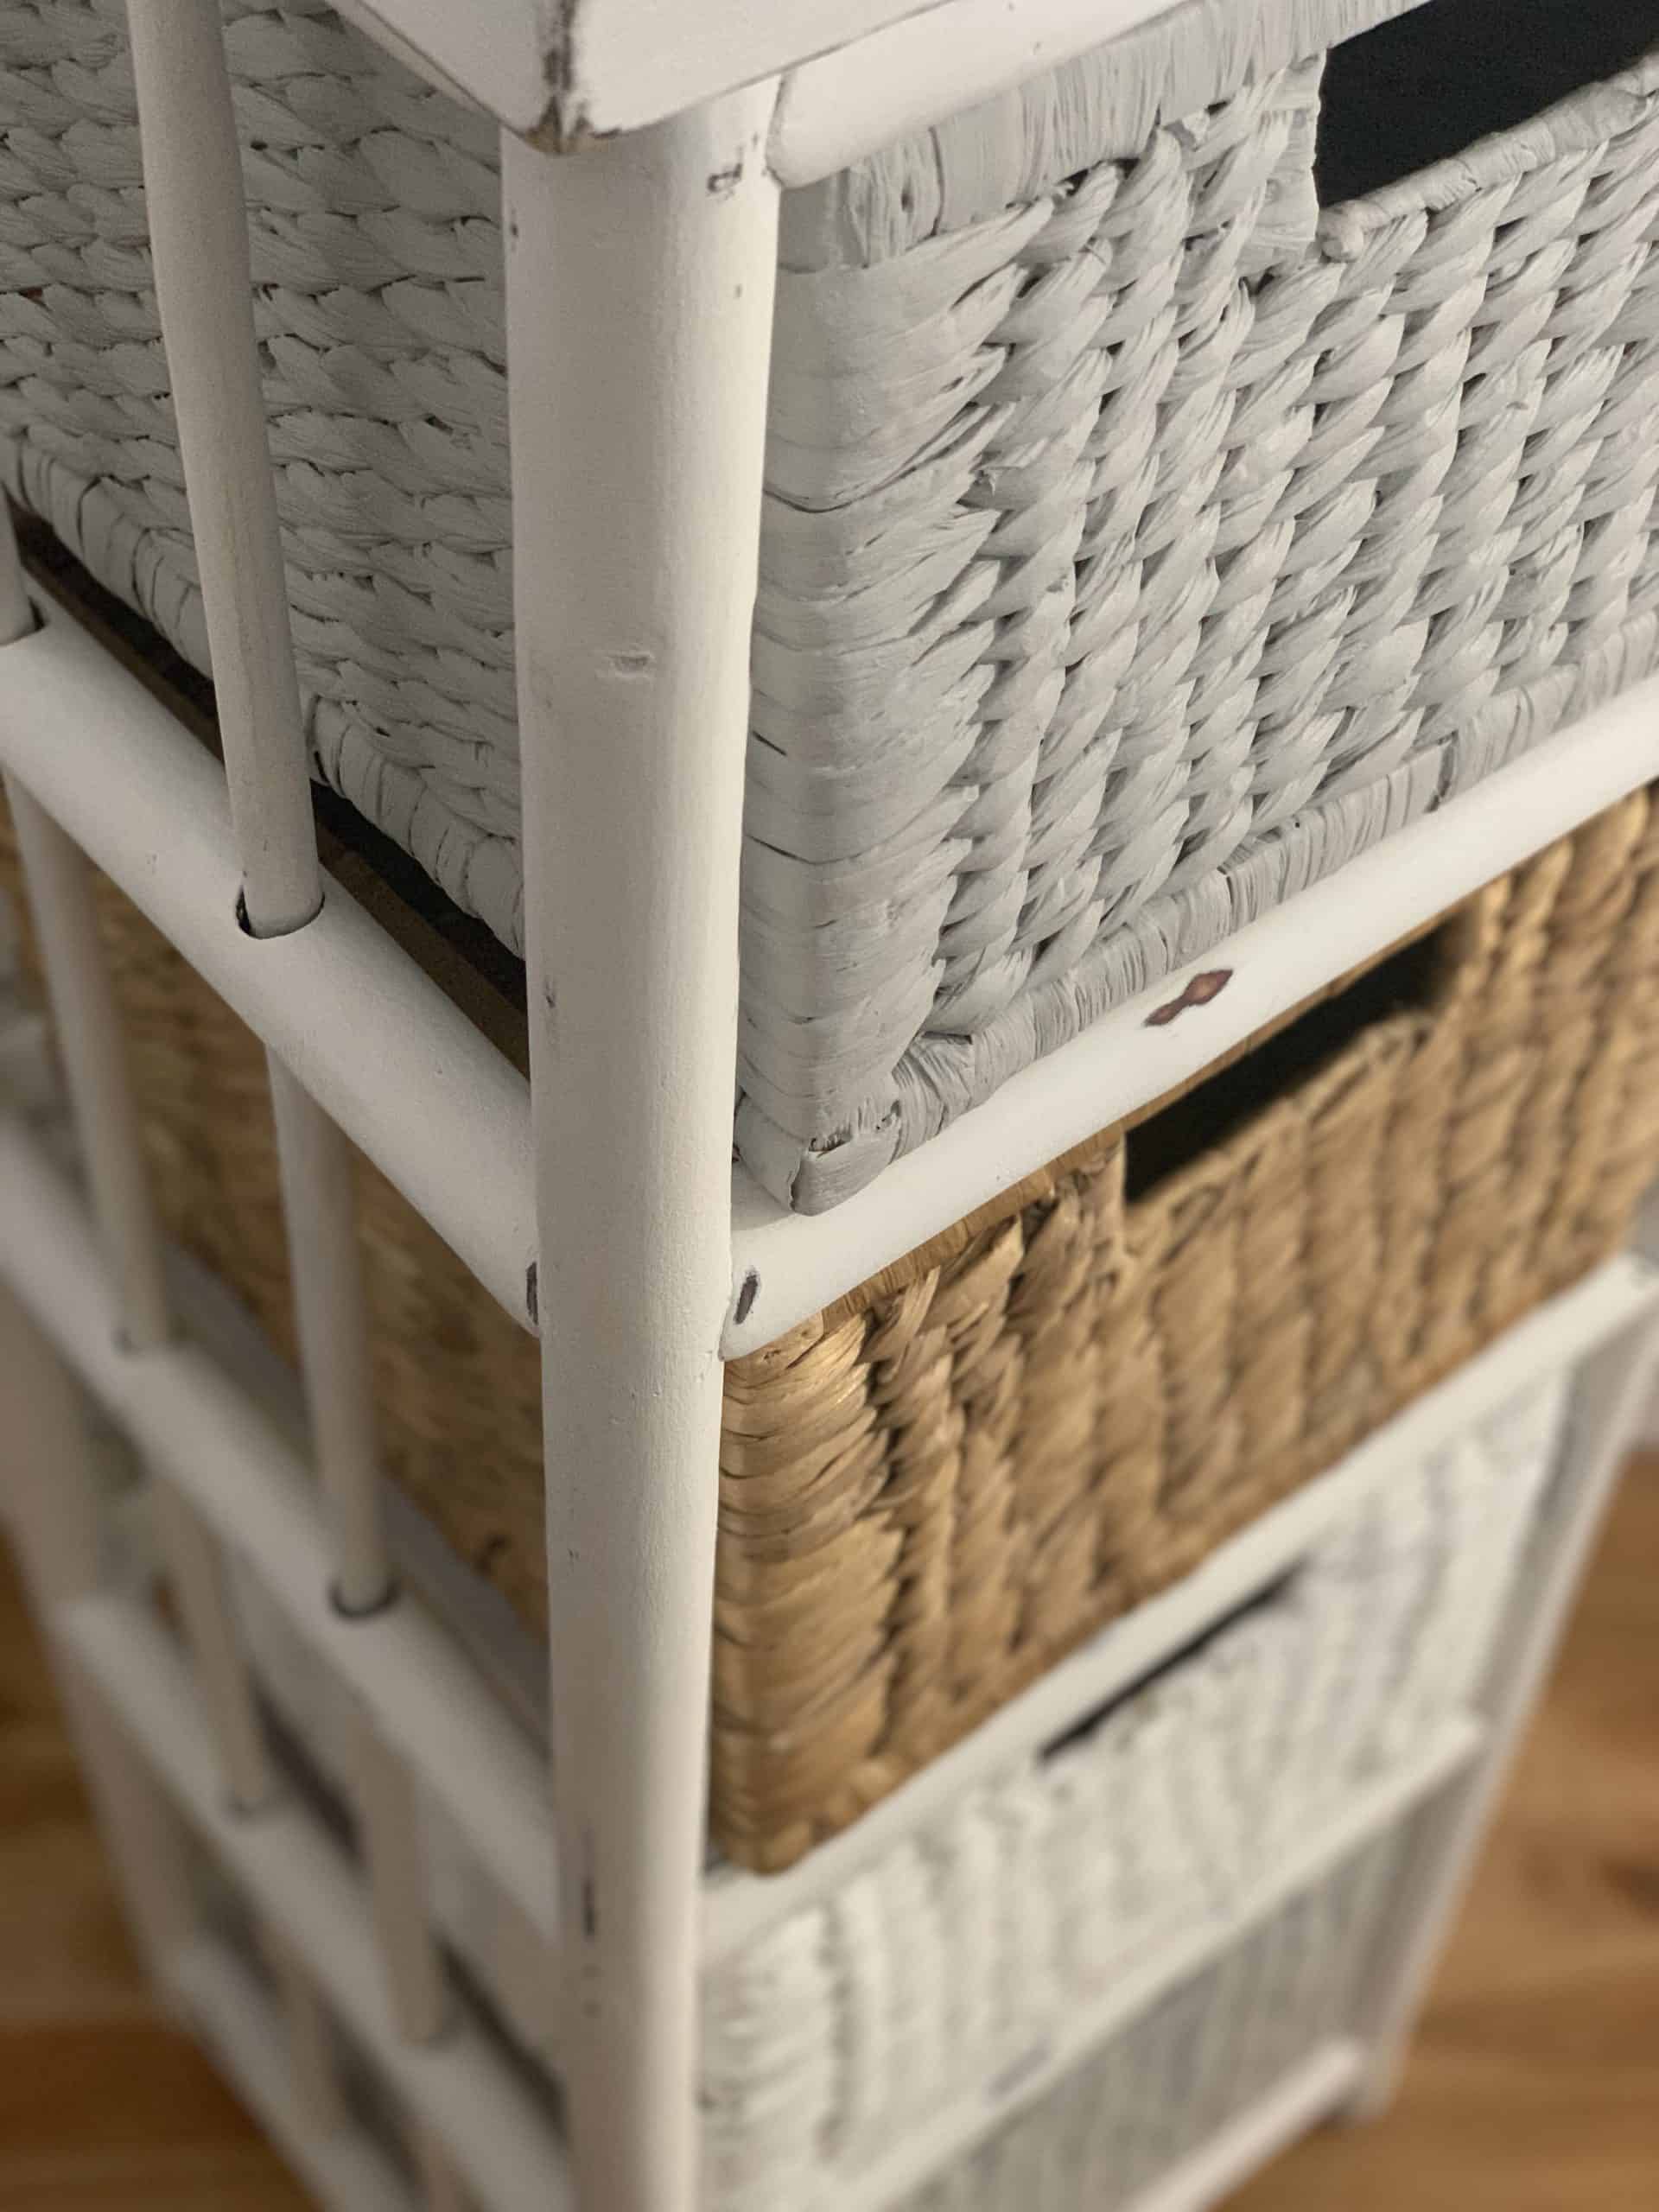
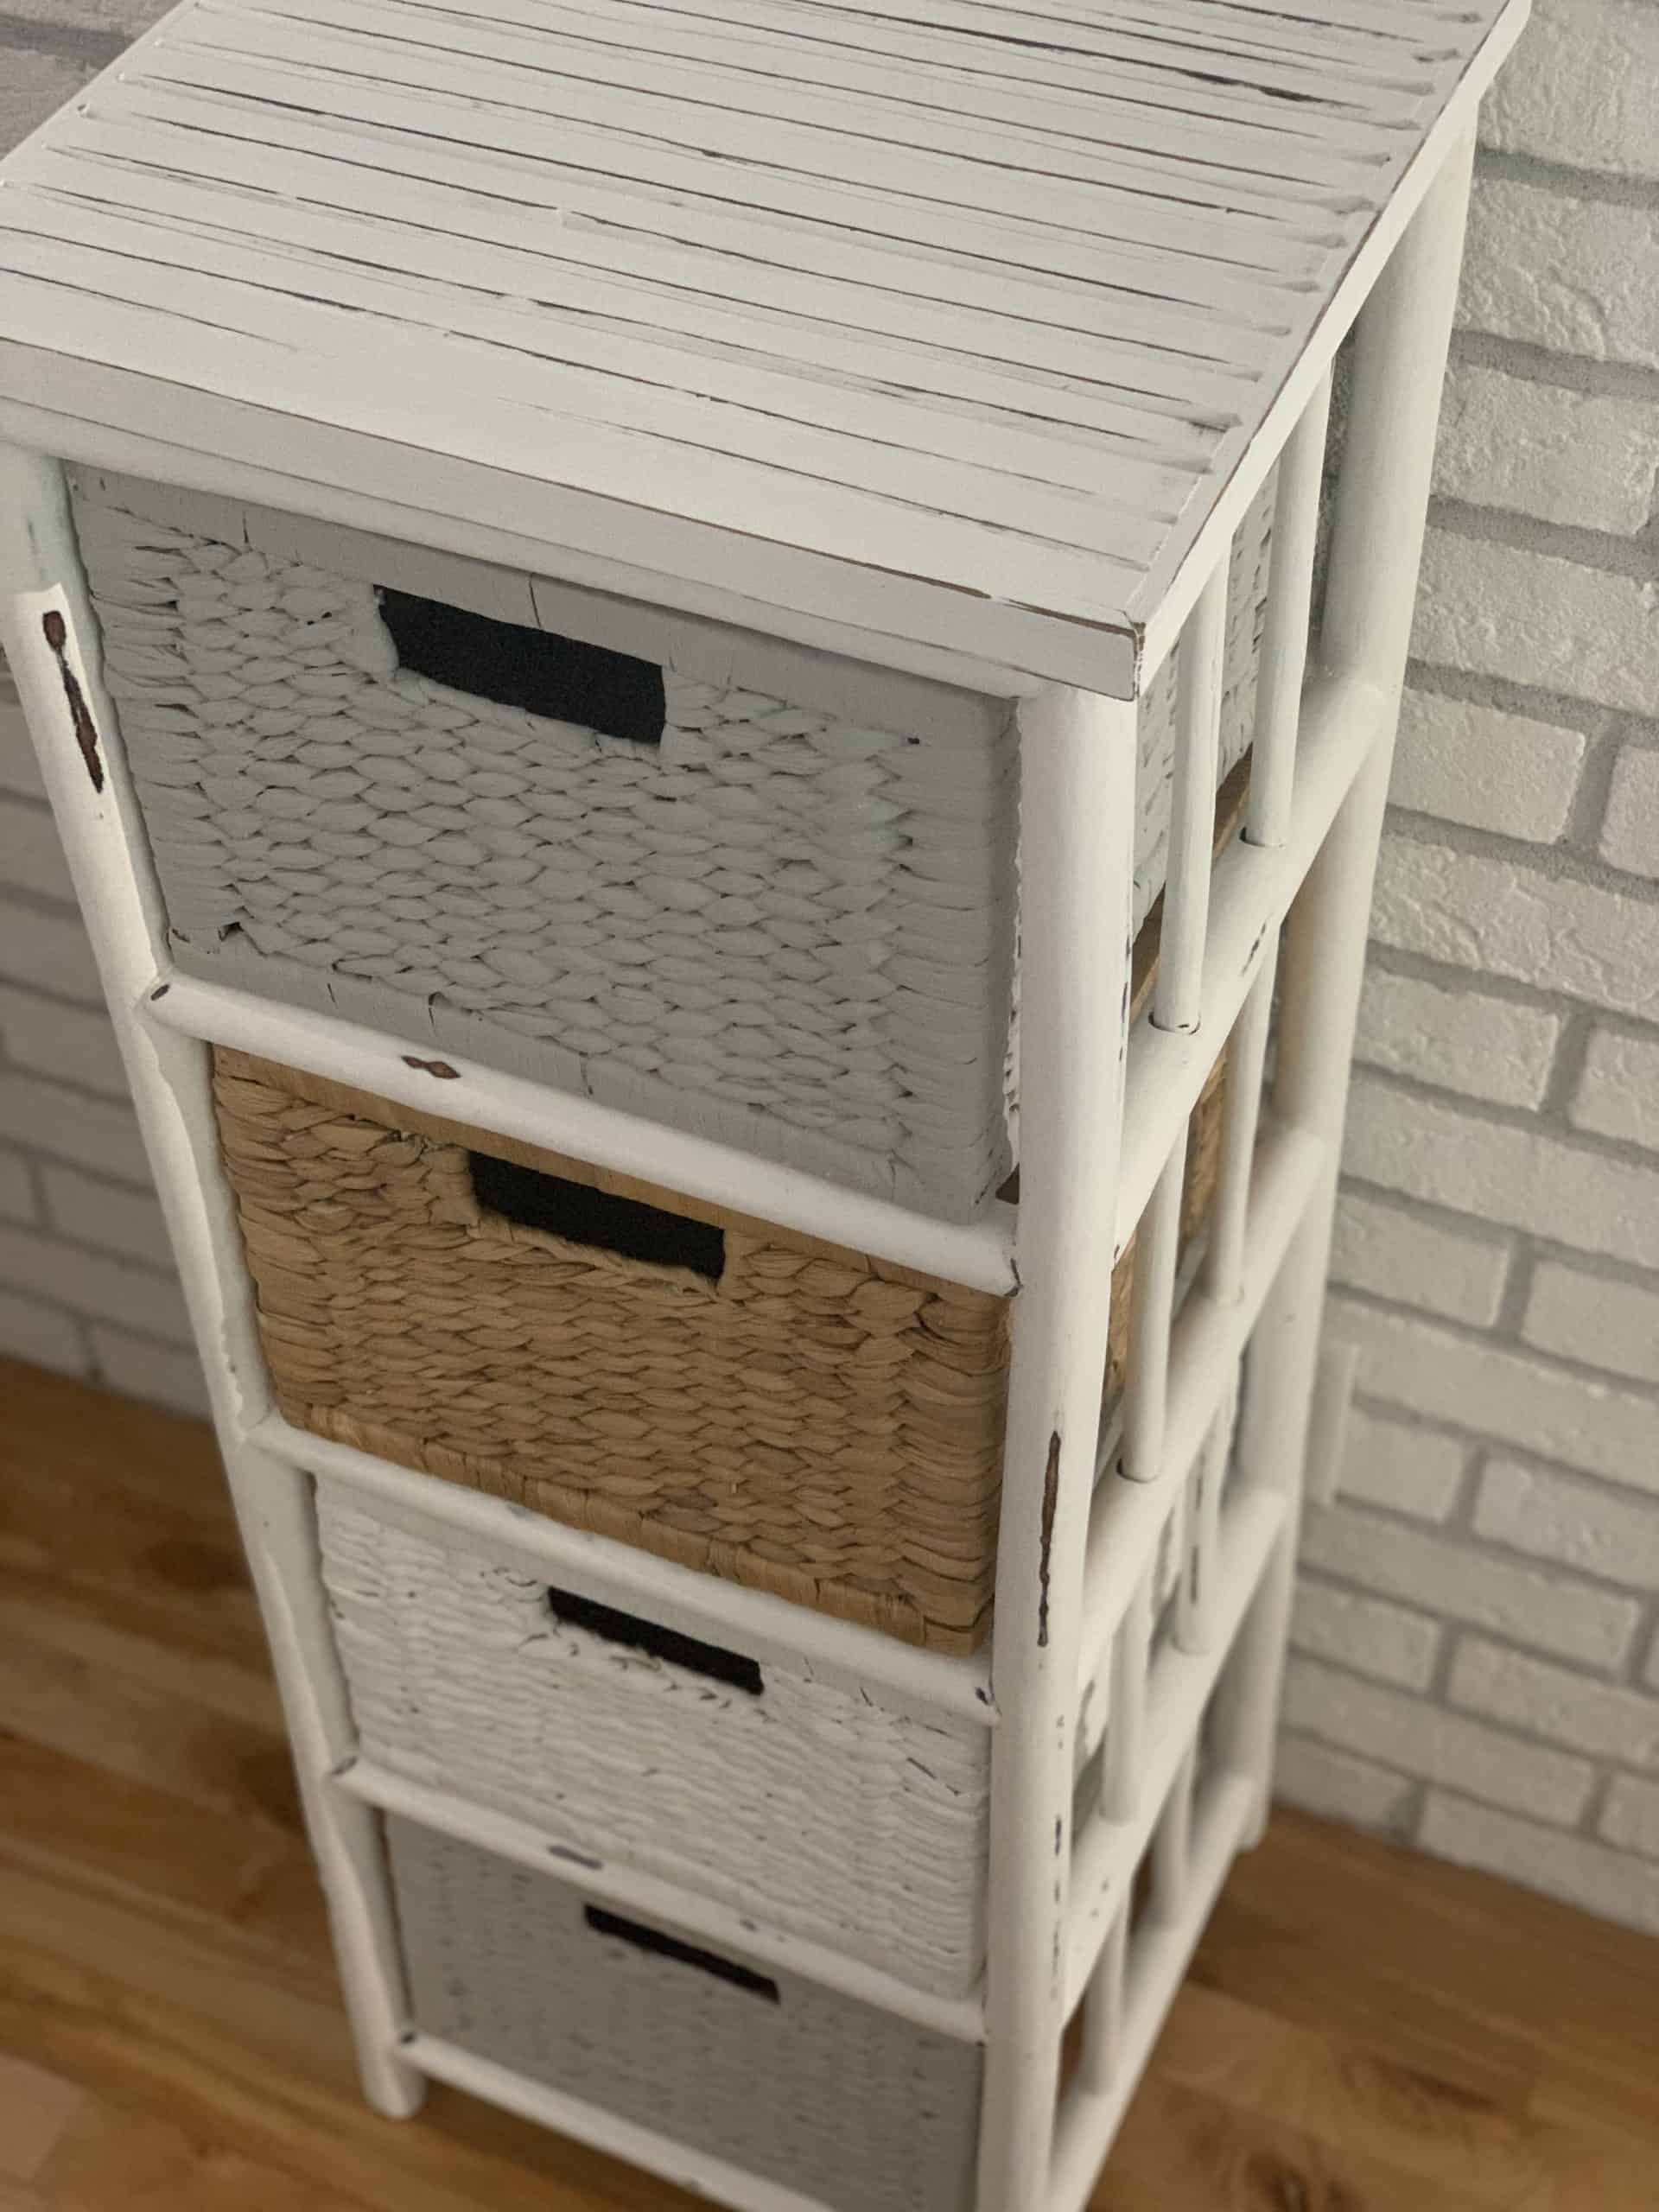
In the case of my project, the three pieces of furniture are completely different: the first is bamboo and wicker, the second is laminate and the third is wood.
So I decided to play with colours, textures and shapes to create a link between them.

List of products used
- Colorantic Cleaner and Varnish Remover
- Colorantic Oil-Based Primer
- Colorantic Chalk Paint: Cotton ball
- Colorantic Chalk Paint: Mist
- Colorantic Wax: Natural Beeswax and White Snow
- Colorantic Velvet Finish Foam Roller
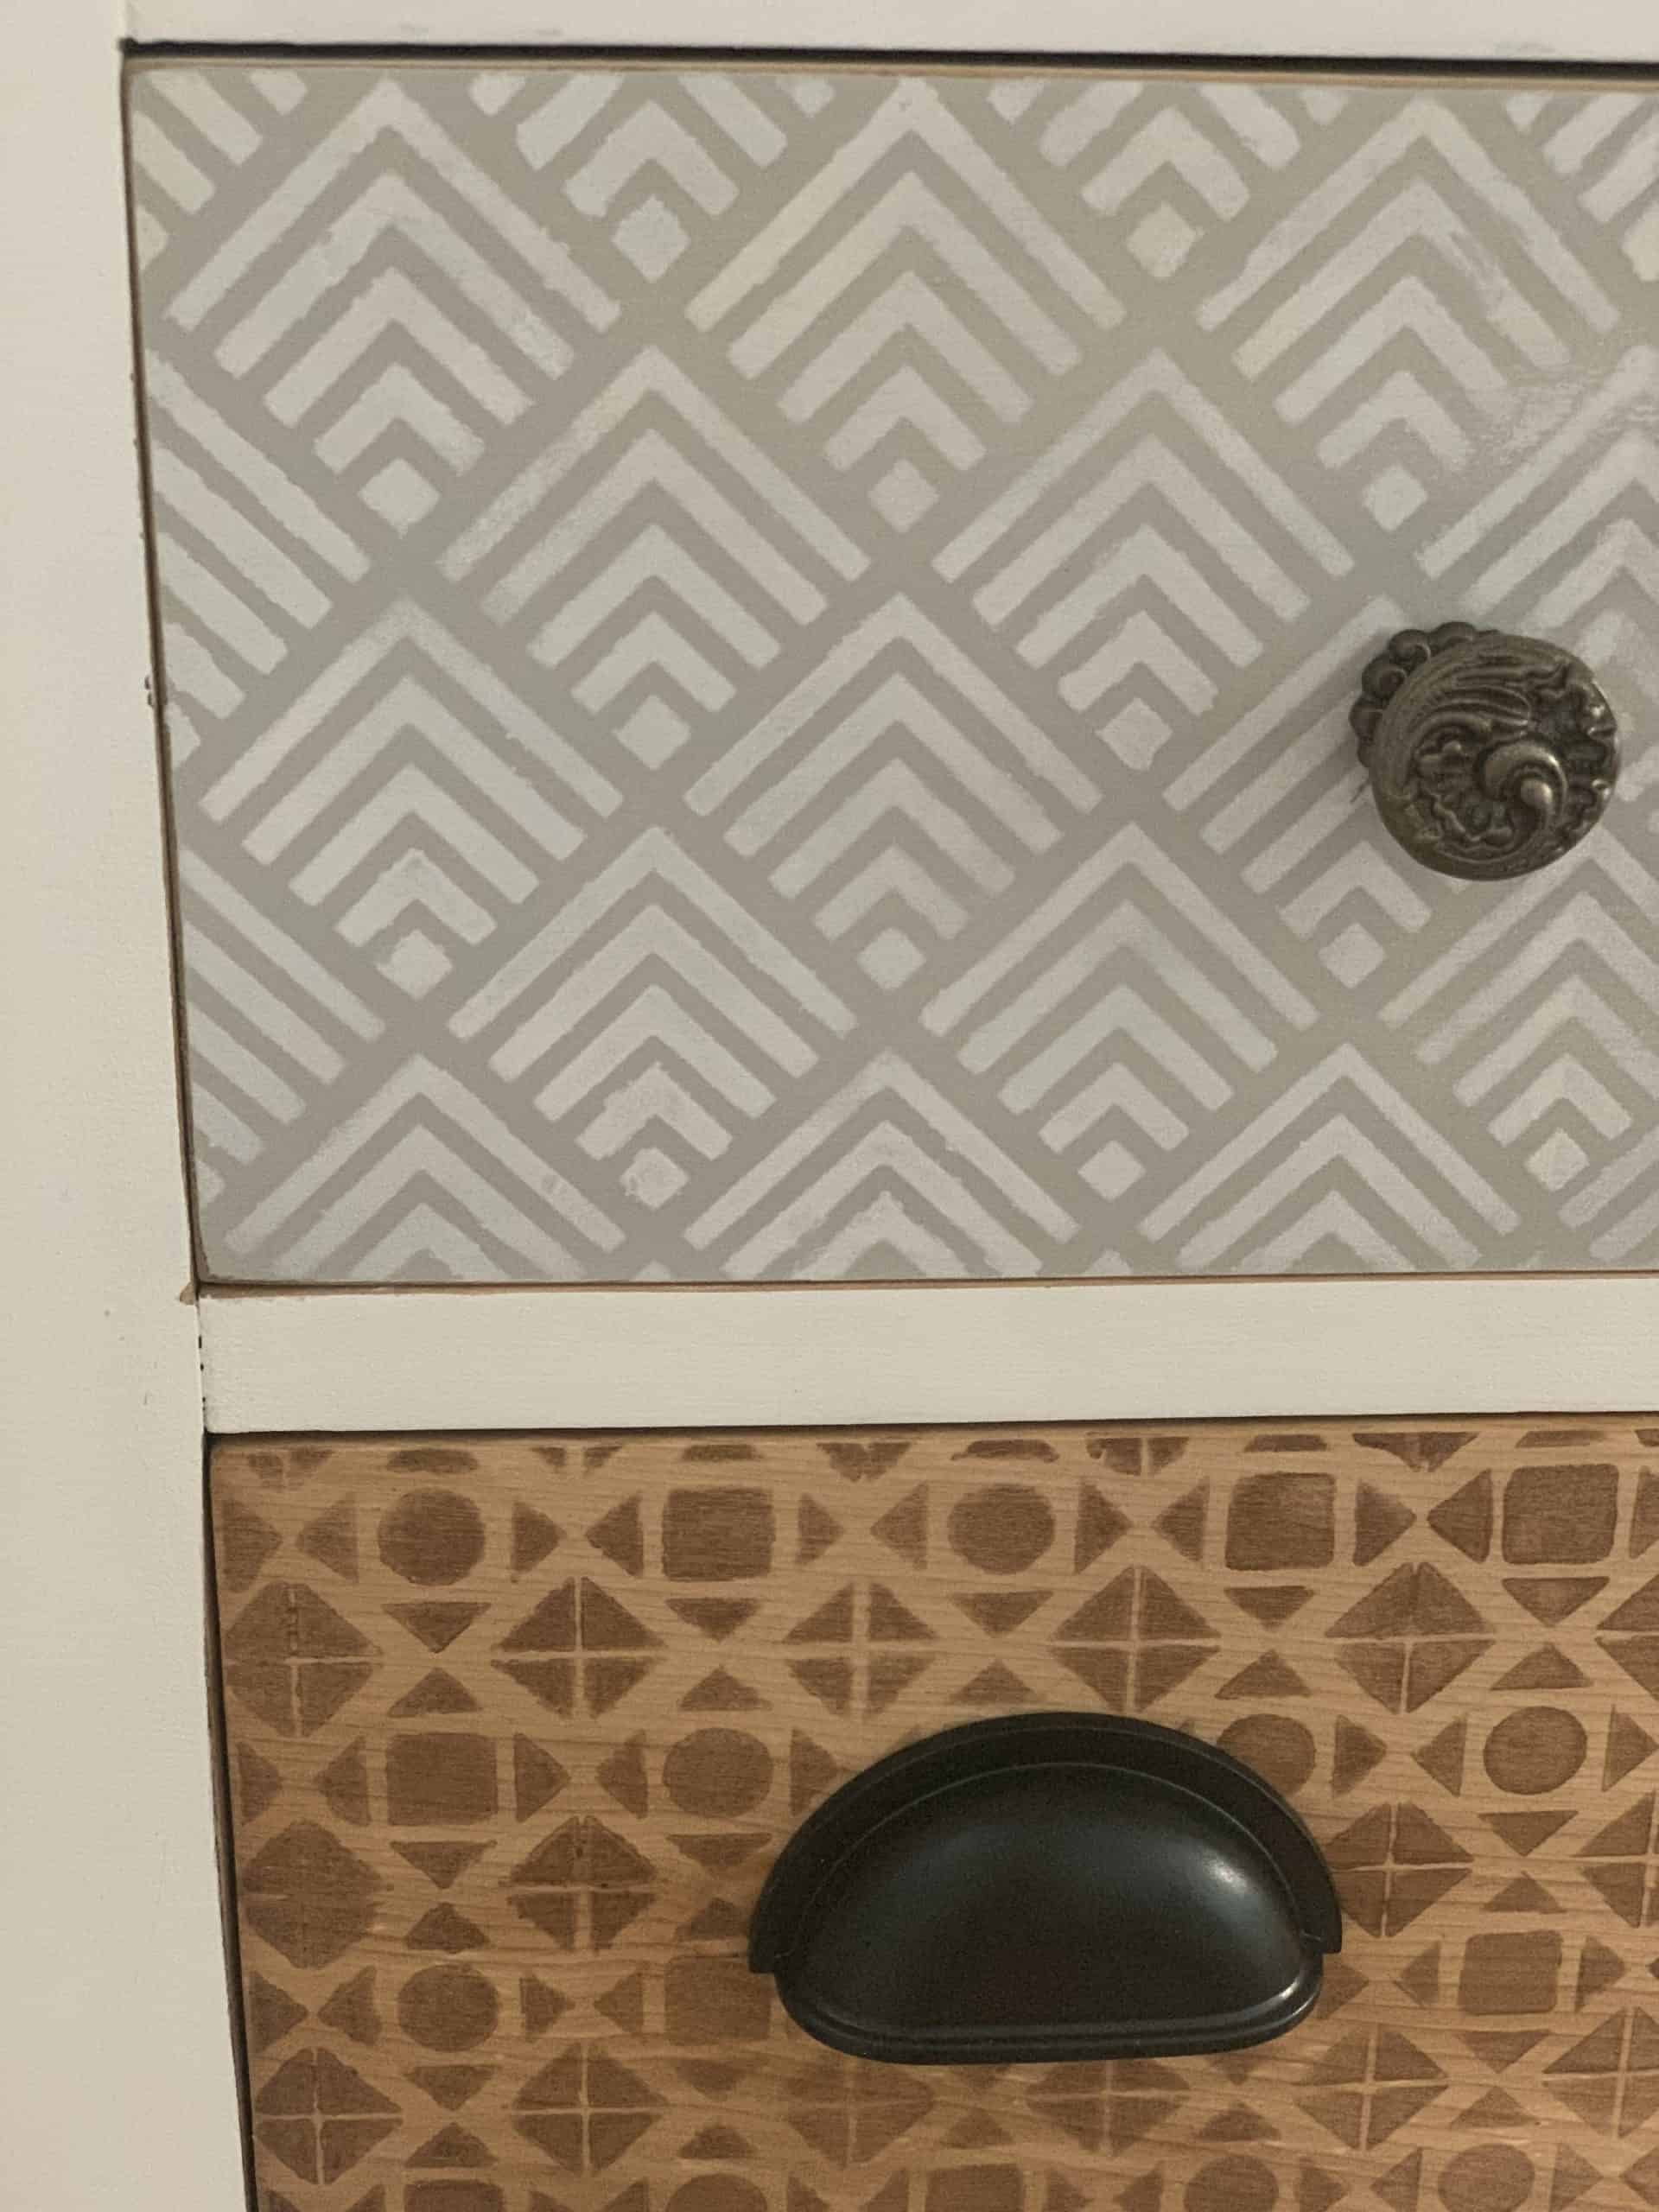
- Stencils
- Colorantic Glaze: Chocolate Cake
- Brushes: Purple Oval Brush #6 Synthetic and Snow White
- Colorantic Sanding Block
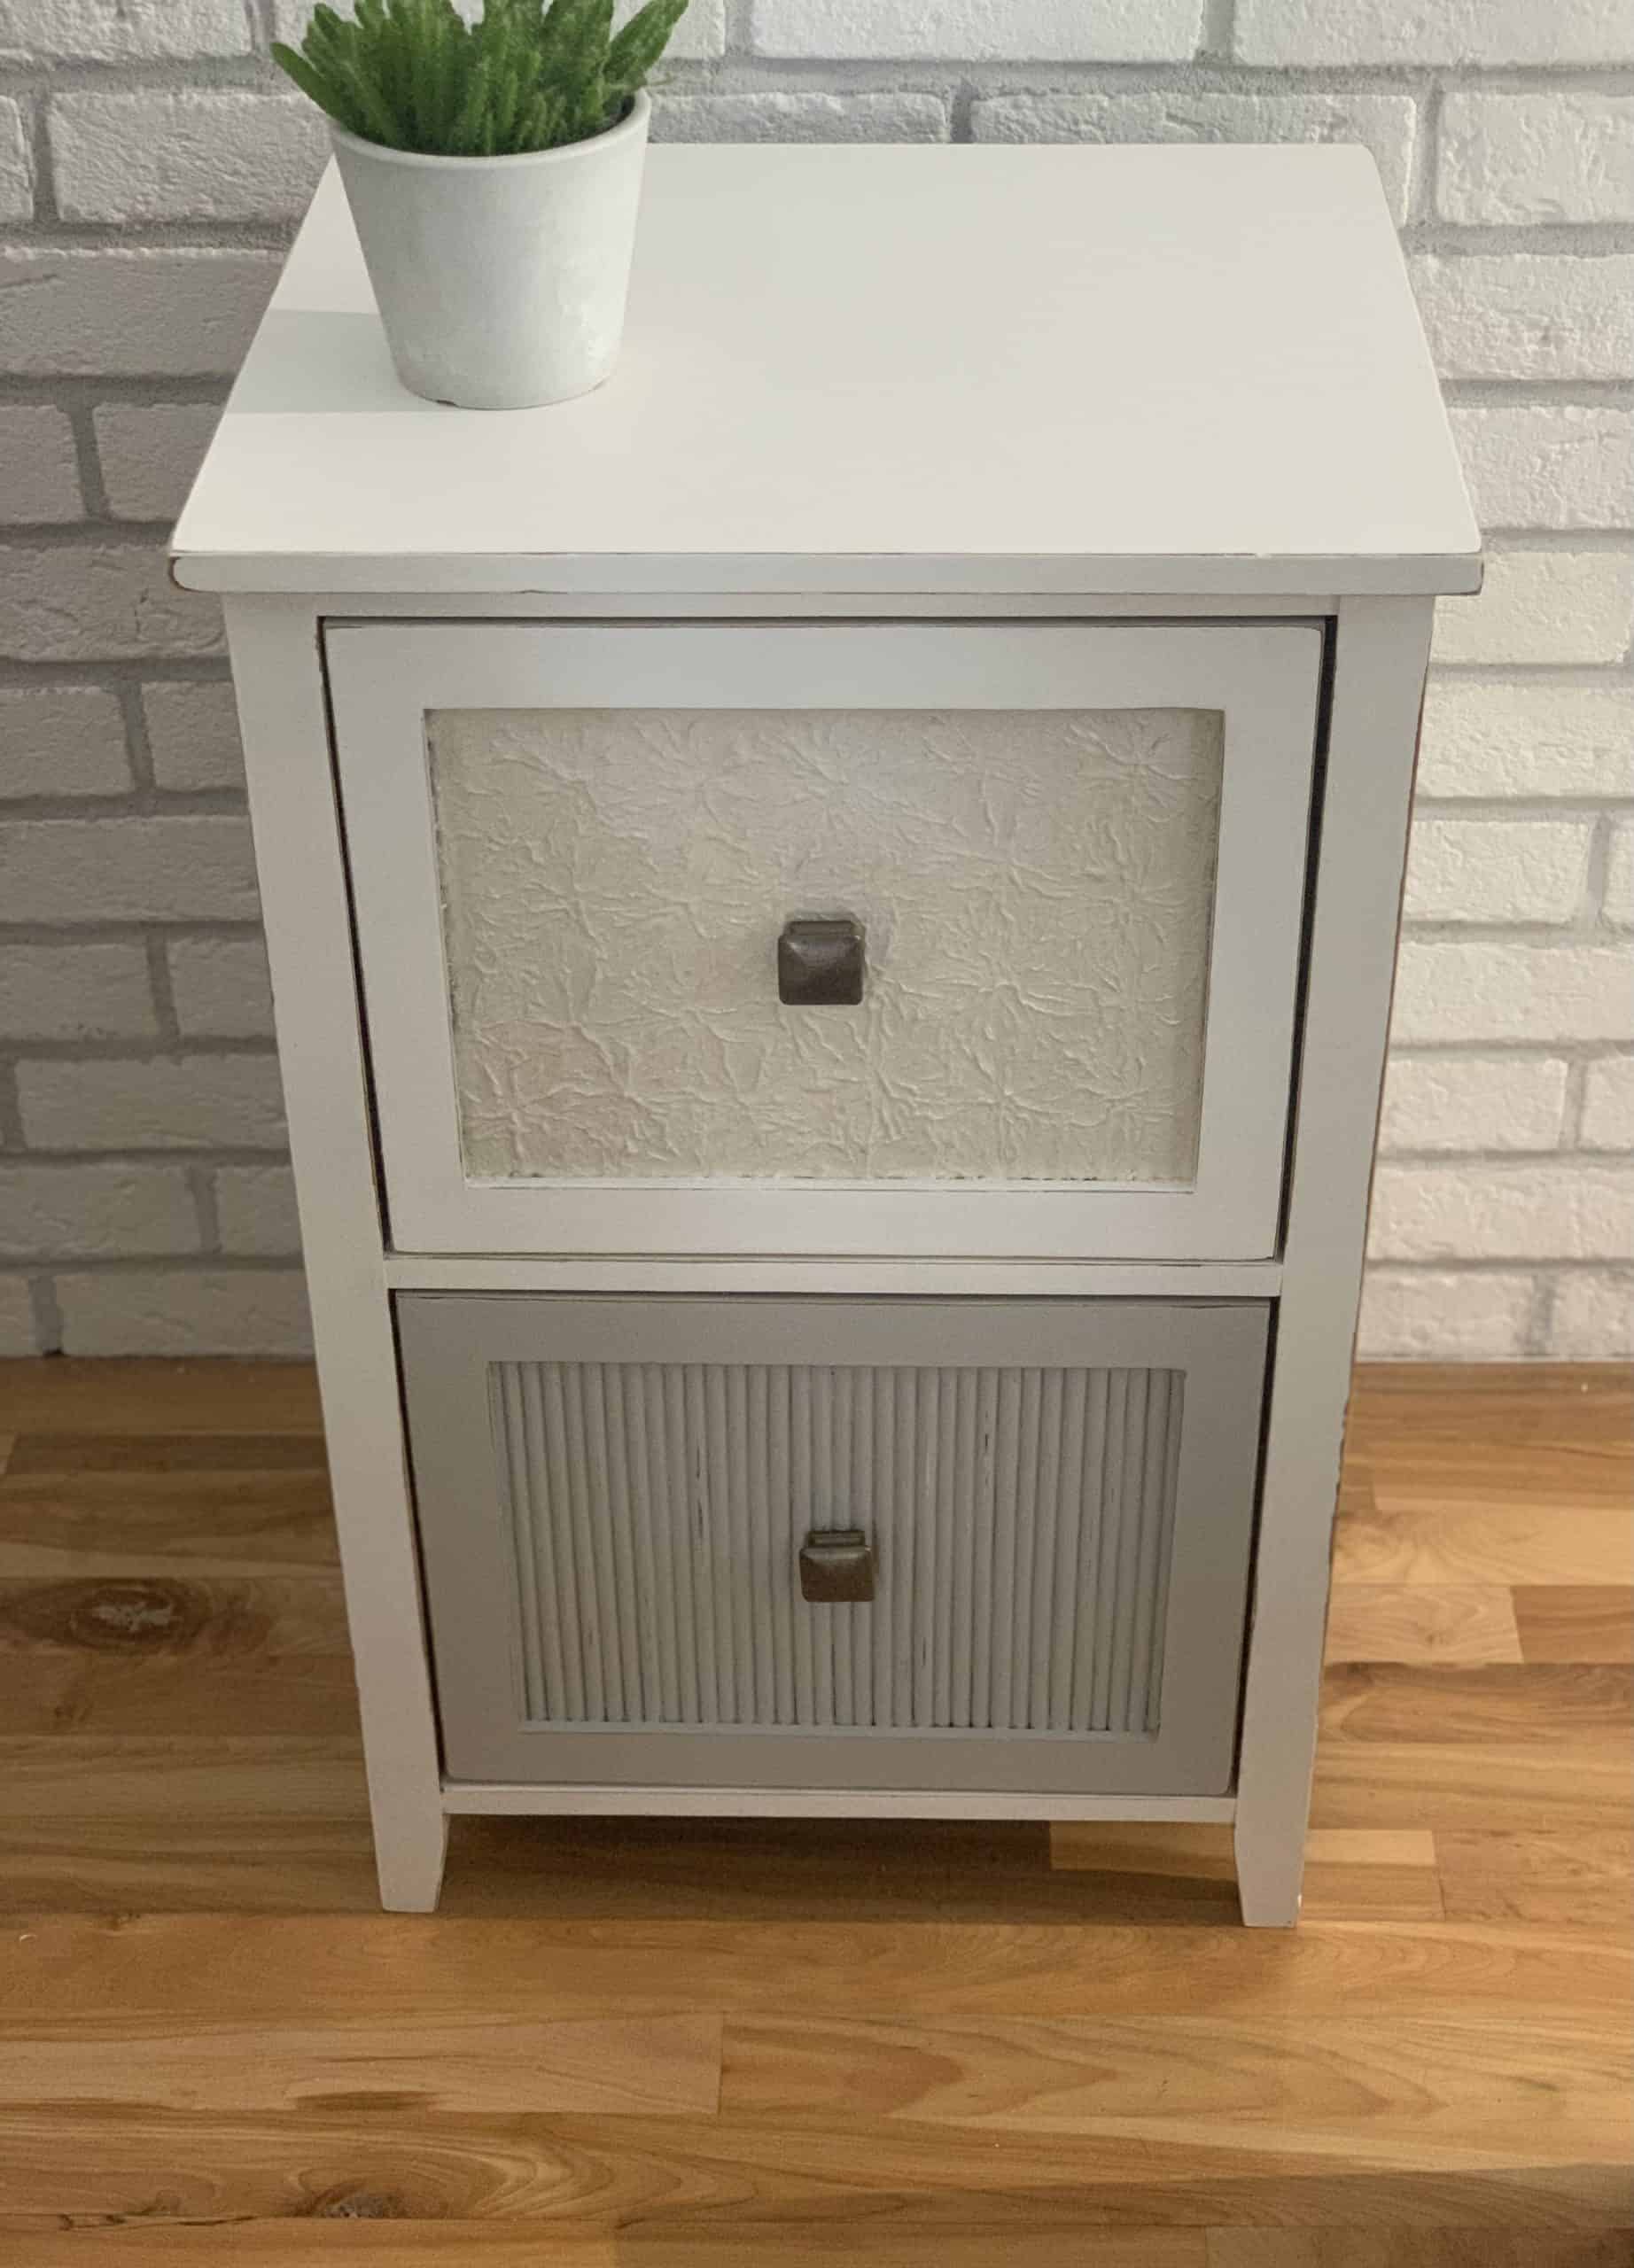
- Textured paper
- Modpodge matte glue
- Scissors
- Screwdriver
- Decorative handles
Preparation
The first step is the most important. A word of advice: relax, have fun and above all, trust yourself! I suggest you put on music that you enjoy listening to, to stimulate your creativity.
It’s time to start! First, we remove the handles, drawers and doors. The finish will be much nicer if we take the time to do all these steps.
Then comes the cleaning stage. To do this, I used Colorantic cleaner and varnish remover which I sprayed on all surfaces of the furniture. I left it on for about thirty minutes. Afterwards, I rinsed twice with a bucket of hot water and a rag to remove all the residue.
To ensure the furniture was properly prepared, I lightly sanded the surfaces to improve paint adhesion.
Since I had several pieces of furniture, I opted for the sanding machine and finished in a few places with the Colorantic sanding block.
Now it’s time to apply the primer coat. For the two drawers where I wanted to apply a stain, I did not apply a primer.
![]()
Painting
For these transformations, I chose the beautiful colour, Cotton Ball, a classic that never goes out of style.
I applied two coats and between each I lightly sanded to even everything out and give a better finish. Colorantic chalk paint dries very quickly, so it can be completed the same day. .
To paint, I used the #6 brush as well as the velvet-finish foam roller.
Decorate
For the stencil decoration of the drawers, I used the colour, Mist. I also made two wood effect drawers using stencils and Colorantic brown glaze, Chocolate Cake. Did you notice that I left a drawer all white with no pattern? I also adhered textured paper with glue/varnish.
For the finish, I love sanding the details of the furniture, it gives an aged touch. This is very useful for making furniture stand the test of time, because it will add style instead of damaging it.
The Finishing Touch
For the finish, I chose to use wax. I used the clear wax, Bee Natural for the three pieces of furniture and Snow White, for beige textured paper. When I applied the glue/varnish, I had a nasty surprise when it dried. The paper had yellowed! I am very happy to have used the wax, Snow White, because it reduced the unpleasant yellow, thus restoring softness to my beige.
To finish, we sit back and admire our work with a good coffee or a glass of wine (this is my favorite stop).
In Conclusion…
I hope I gave you some inspiration! Honestly, it is so energizing to let our creativity flow. You just need to trust yourself a little and transform old, worn furniture into splendid works of art.
I invite you to consult the Youtube link to see the transformation video.
Happy Painting!!!
Related Posts