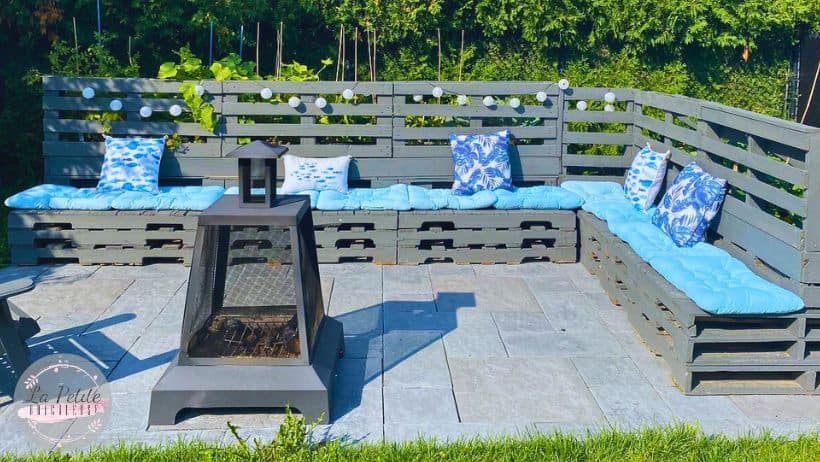
How to Build a Garden Bench with Pallet Wood!
At the beginning of the summer, my partner and I wanted to create a small relaxing area where we could set up a fireplace. However, I also wanted to have a vegetable garden.
Since we save part of our yard for our children, we were faced with a dilemma: Should we have a tranquil sitting area or a vegetable garden?
After careful consideration and a few different plans, we decided to merge our two ideas to get the best of both worlds.

List of Products Used
- Colorantic Oil-Based Primer
- Colorantic Chalk-Based Paint: Cotton ball
- Colorantic Chalk-Based Paint: Acai Berry
- Colorantic Top Coat
- Natural Silk Purple Brush 55 mm
- Colorantic Two-Grit Sanding Block
- 40 pallets of wood
- Circular Saw
- Corner bracket
- 2″ and 3 1/2″ screws
- Drill and Sander
Building the Garden Bench
Choose palettes that are as similar as possible to ensure uniformity.
To make the benches, stack three pallets on top of each other and repeat this step five times.
Once arranged, screw the pallets together using corner brackets. For flat areas, you can use corner brackets, just flatten them using a hammer.
You can arrange them in an L shape.
![]()
Vegetable Garden Construction
To create the vegetable garden, stack two pallets on top of each other. To make a bin, remove the top of the bottom pallet and remove the top and bottom of the top pallet, leaving only the sides.
If you wish to create a long tray, also remove the side that will be on the inside. Note that if you create a row of three bins, the middle bin will have only the top and bottom sides. Now you can screw everything together with the brackets.
To close the bottom of the tray completely, turn the pallets over and screw the slats you’ve just removed between the existing slats on the bottom pallet. Now it’s time to make the legs.
Screw the removed slats under the two front corners. One slat widthwise, the other lengthwise. You will have legs that form a right angle.

Assembling the Garden Bench
The bins you’ve just created will also serve as a backrest for your bench. They must therefore be installed over the bases created in steps 2 and 3. To do this, place the bins on half of the pallets forming the base. You can adjust the distance to suit your seating requirements.
Screw it all together.
Back Construction :
Now that the furniture is formed, you can install the backs. To do this, use pallets that are the same width as a seat, with horizontal slats. Simply screw these pallets onto the edge of the garden to create an extension and a higher back.
In this project, we cut our pallets in half to reduce the height.
To solidify the backrests, use laths and screw them to the sides of the garden and to the back of the backrests. You can also screw angle brackets to join the pallets.

The Finish
Pallet wood is imperfect and often rough, so you will need to sand your entire piece of furniture using the coarse grit of the sanding block and repeat this step with the fine grit. This will make your bench much more comfortable.
Now that your surface is smooth, apply a coat of oil-based, all-purpose primer.
Once the primer is completely dry, you can apply the paint using the 55 mm brush. Two or three coats are needed for a lasting effect.
Finally, as this is outdoor furniture, it also needs to be protected from the elements. Apply two coats of Colorantic top coat using the recommended methods.

In Closing…
So, after all your work work, you will be ready to enjoy a roaring fire while munching on crops straight from your garden. A wonderful way to combine relaxation and healthy eating!

Join our English Colorantic group
Subscribe to our newsletter:
Newsletter
Facebook
Instagram
Pinterest
Etsy
Amazon Canada
YouTube
Tiktok
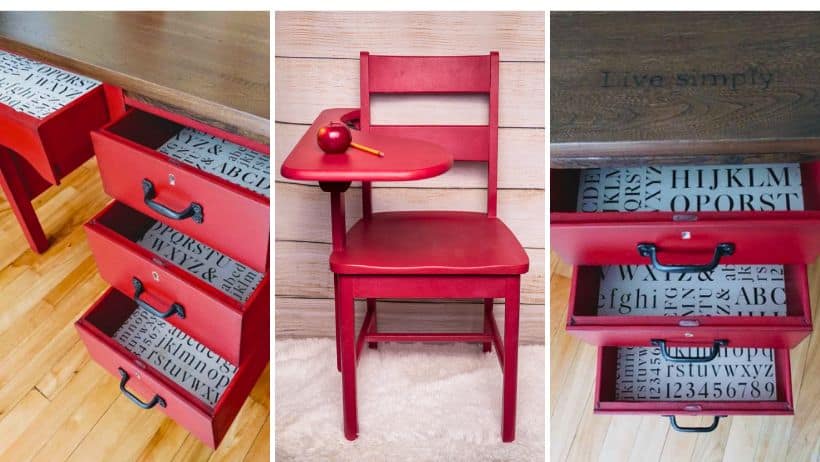
Related Posts