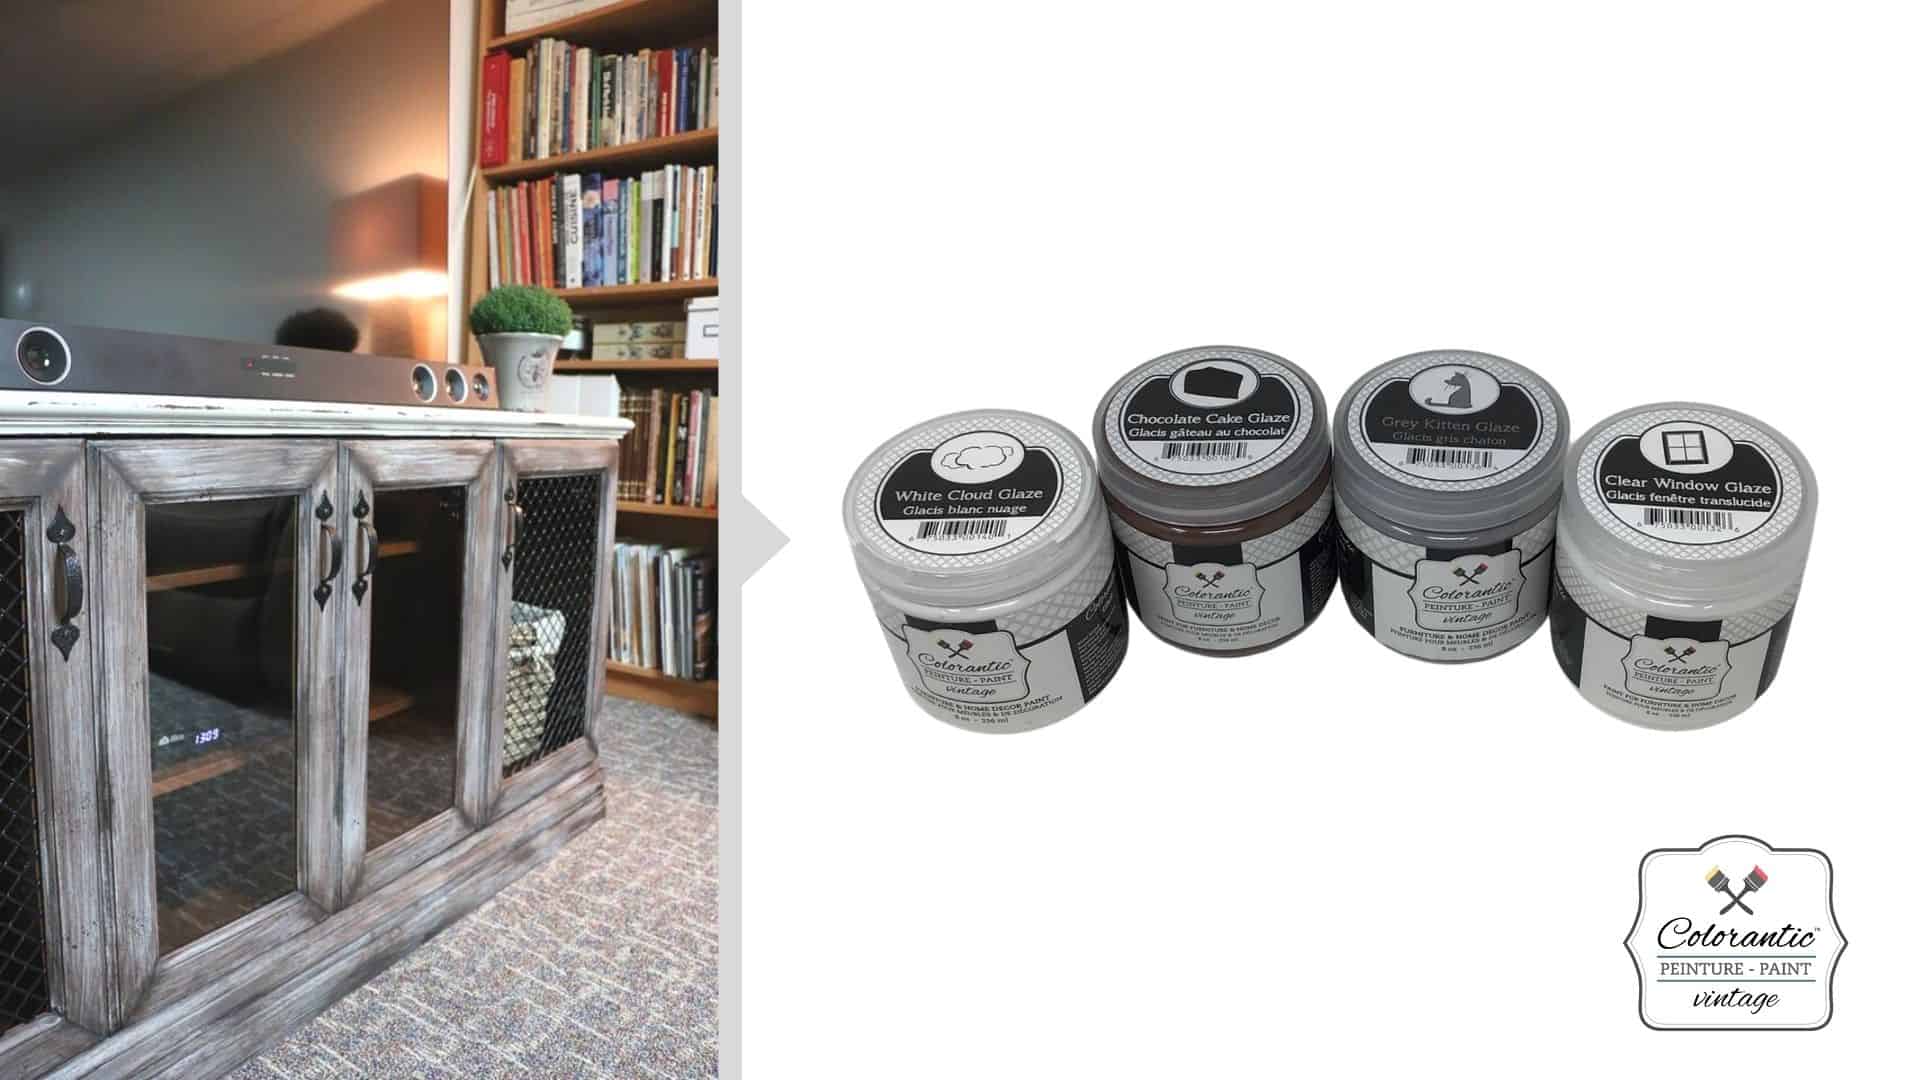
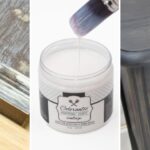
First of all, in this article, we’ll demystify the many uses of glaze. Firstly, they are available in several colors: Chocolate Cake, Translucent Window, White Cloud and Kitten Grey. They are also available in different formats (8oz, 16oz, 32oz, 58oz and gallon).
What is a glaze?
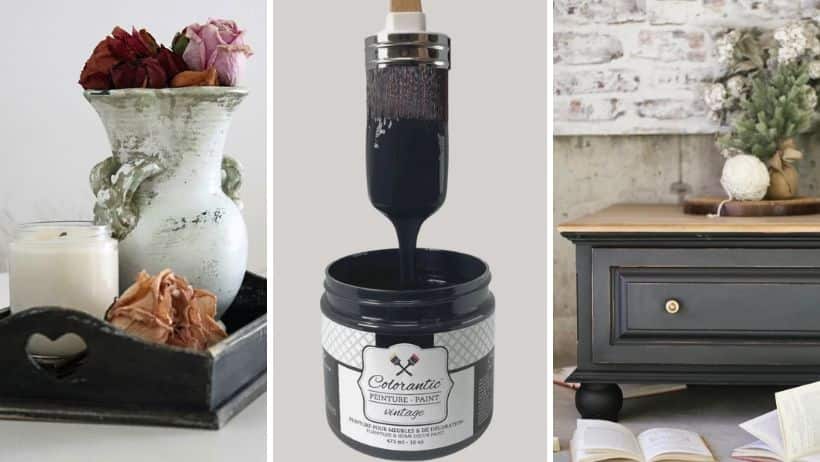
Long before varnish was invented and put on the market, glaze was the product used to protect furniture (like wax). So the only difference with varnish is that it dries a little more slowly than varnish.


The different uses of glaze
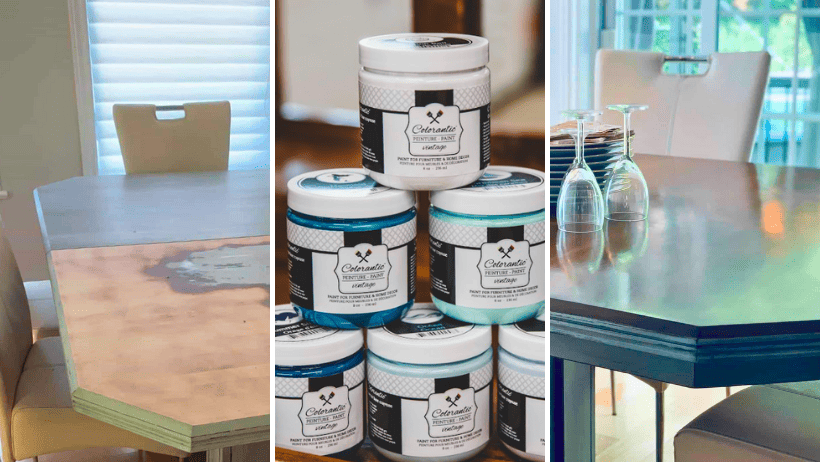
Wood staining
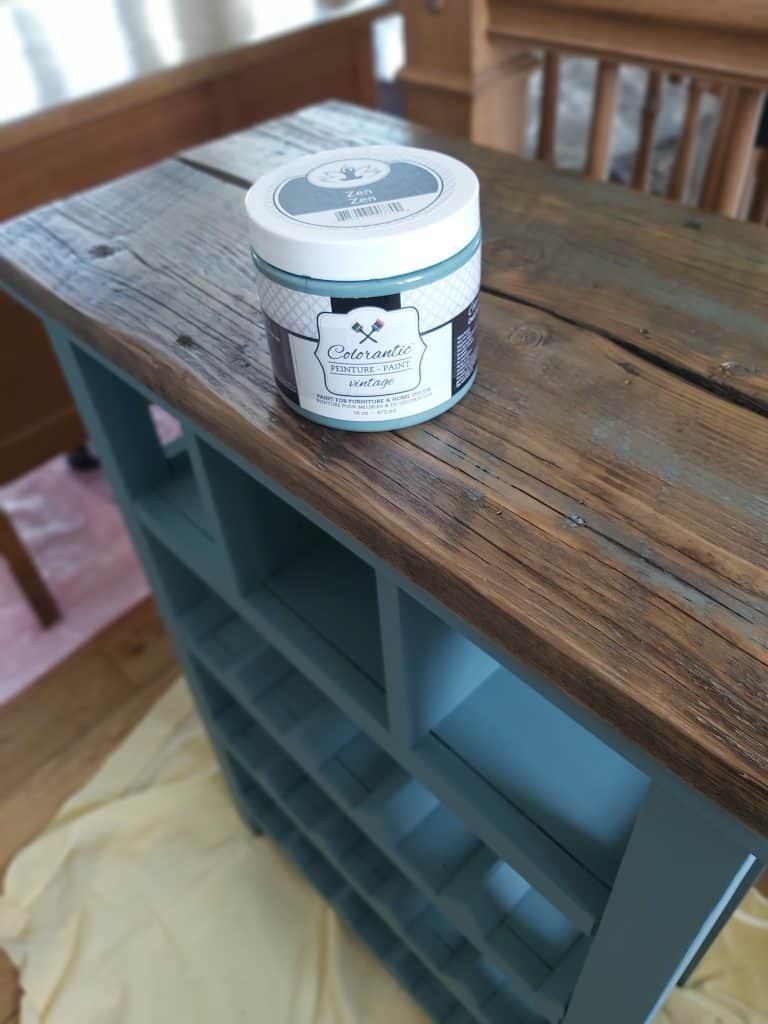
Chocolate Cake, White Cloud and Kitten Grey are also pre-mixed. They can also be used as a more or less opaque dye, depending on the number of coats applied. For example, if you want to see the wood grain, just apply one coat of your tinted glaze and you’re done!
So the clear (Translucent Window) can be mixed with any Colorantic™ chalk paint color. The recipe is simple: 3/4 glaze to 1/4 paint. Then you can create your own ‘colored opaque dye’ to suit your needs.


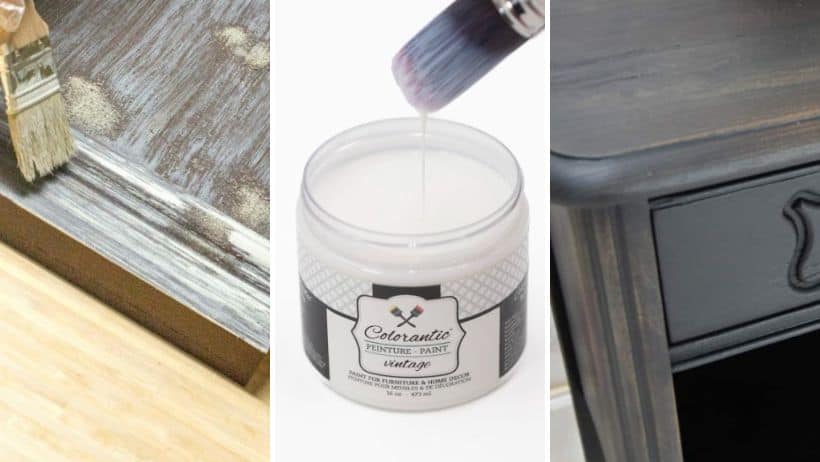
Create a linear effect
What’s more, you can therefore use a coloured glaze over a coat of Colorantic™ paint. Simply wipe with a clean, dry cloth and you’ll see a linear effect.
Layering technique
Another technique is to apply 2 coats of tinted glaze to your wood surface. Wipe off any excess with a clean, dry cloth. When this is completely dry (dries very quickly), you can also apply your color coat and then sand or wipe your paint with a damp cloth.
You can then see through the paint to the tinted glaze in places.


Painting fabric
For the 1st coat, mix: 1 part paint, 1 part glaze and 1 part water, except for leather and vinyl (1 part paint, 1 part glaze).
From the 2nd layer onwards, the amount of water is reduced according to the fabric’s absorption capacity. In addition, more water for thicker fabrics and less water for thinner fabrics.
Apply glitter
Not to mention that this technique is quite simple, mixing the translucent Window glaze with glitter. Moreover, you decide on the glaze/glitter ratio according to the desired effect. Especially as the greater the quantity of glitter in relation to the glaze, the more visible the glitter will be.

Finally, it’s fascinating to see how versatile this product is! Don’t you think? Then all you have to do is put these techniques into practice. So for those of you who are just starting out, we advise you to test some mouldings or pieces of wood before undertaking a major project. So don’t hesitate!
Enjoy the project!
The Colorantic team
Related Posts
Angela McKenzie
Can you use your glaze over chalk painted furniture that has been waxed ? ??♀️?
Colorantic
Yes but you need to remove the wax with our TSP-E (Cleaner) first, then apply the glaze.