Upgrade your TV stand
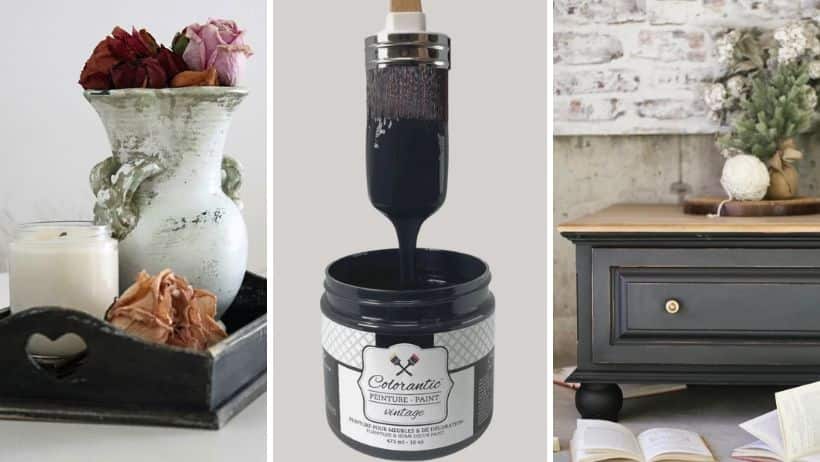
Who loves the farmhouse style? Lisa-Marie shows us an impresssive tranformation of an old TV stand using chalk based paint. Would you like to know how she acheived this magnificent tranformation? This article with answer all of your questions.
Most recently, I changed the doors of our century-old house. This house required a lot of work, now all that was missing were the finishing touches on the interior and exterior.
Since this was a big project it required someone with experience in this field. What luck, my brother has experience in finishing! So why not offer to redo his TV stand, in exchange for the time that he worked at my place.

Products used
- Oil Based primer
- Colorantic colour Night
- Colorantic Metallic Jewel
- Matte Varnish
- Paintbrush
- Sanding block
- Electric sander
- Varnish Remover and Cleaner
- Portable propane torch
- Wood planer
- Air compressor and nail gun

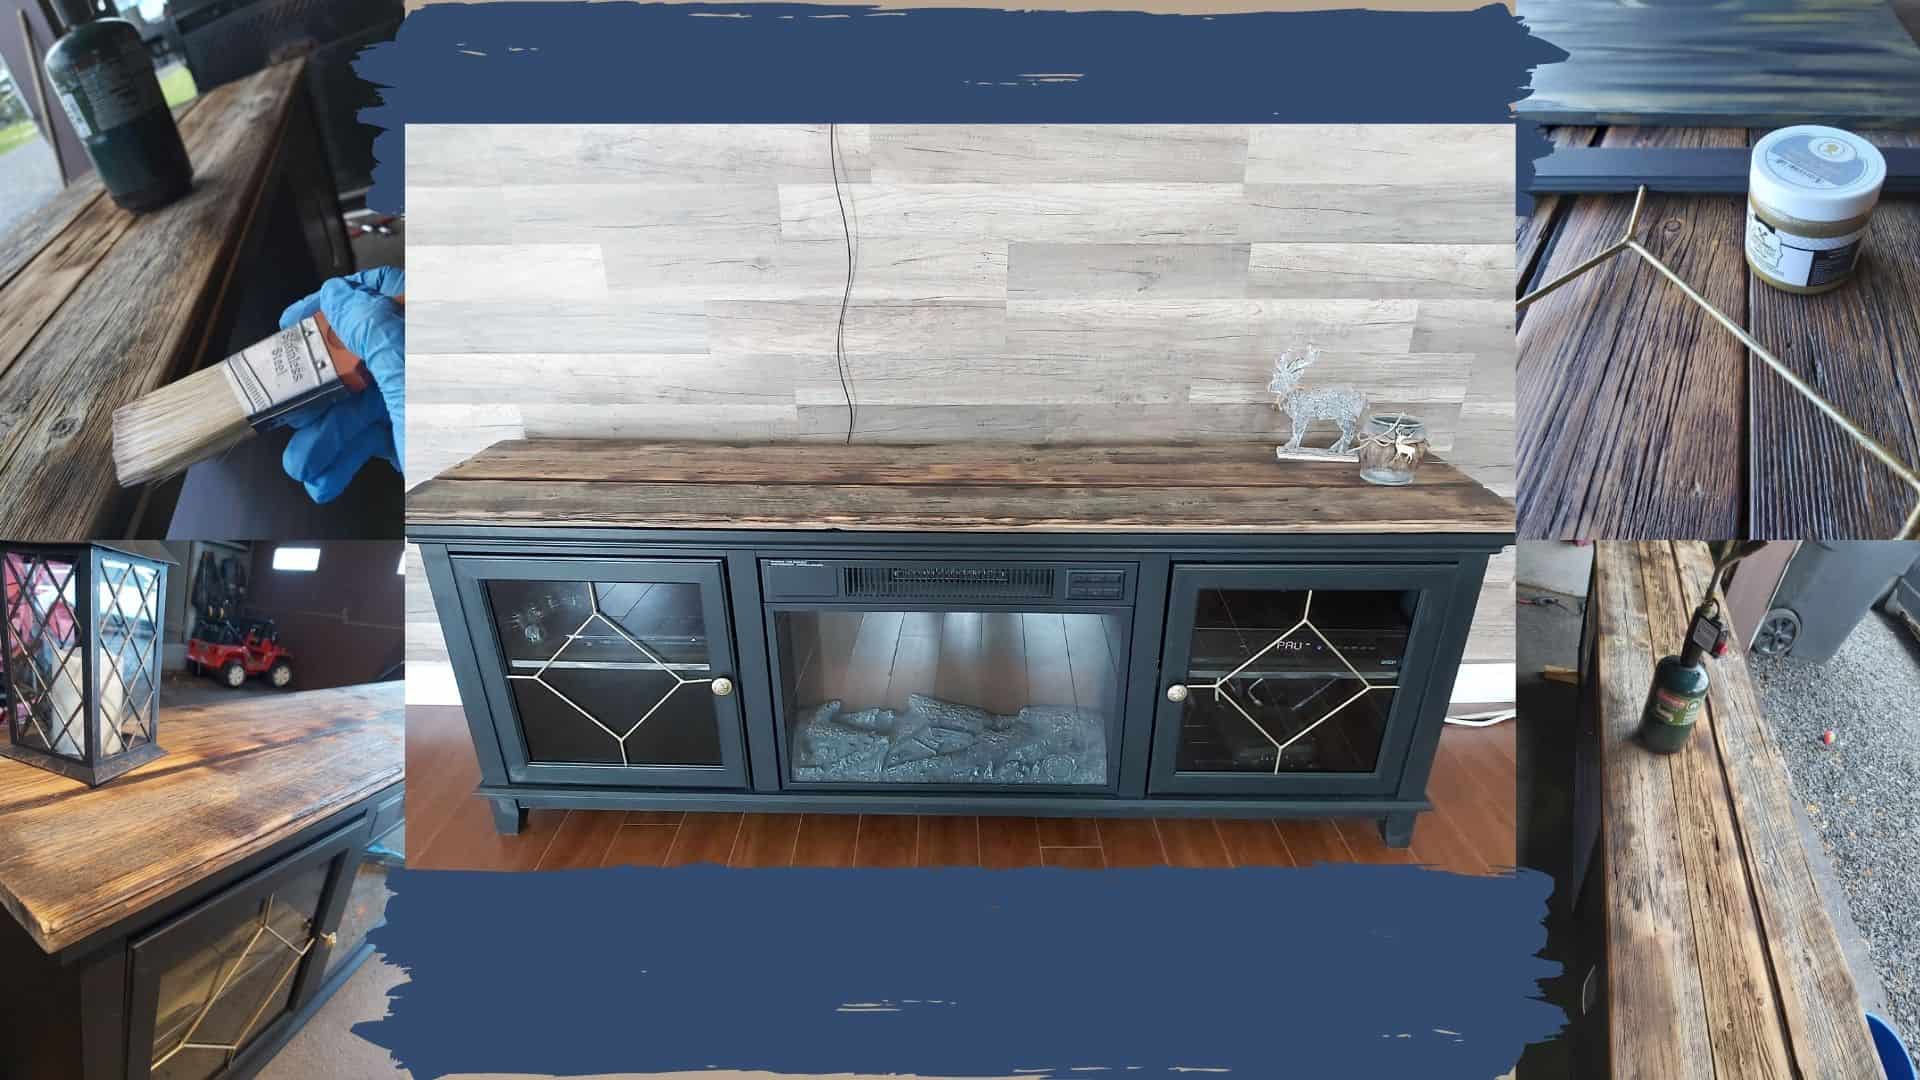
Step 1: Installing wood boards
I started with the top of the TV stand. since this step creates lots of wood shavings and dust, I didn’t want to risk getting any in my fresh paint.
I started by covering the top of my TV stand with wood from an old sugar camp. We used a nail gun to fix it to the top of our stand, then used our planer to smooth out the boards as much as possible.
Step 2: Sanding and finishing the boards
To resemble the rest of the boards I used a torch on the places where I wanted to achieve this look, blackening certain areas and giving it a rustic look.
To get it as smooth as possible, I used my electric sander with fine-grit paper, making sure the sides are safe for young children. When it was to my liking, I used my air compressor to remove all the access dust.
Next, I applied three coats of Saman varnish on the boards, sanding lightly between each coat.
Step 3: Preparing to paint
I removed the electric fireplace, the back panel, the doors and the handles. I applied the Varnish Remover and Cleaner on all of the surfaces that I wanted to paint. Then I rinsed it off to make sure there was no residue remaining. I then applied my oil primer on all of the surfaces to ensure better adhesion for my chalk based paint.
Step 4: Applying the paint
I proceeded to apply two coats of the colour Night using my paintbrush. Using a small brush, I gave it a metallic look using the colour Metallic Jewel on the handles and the door tiles(I used two coats)
Step 5: Varnishing and reassembling the TV stand
Once the colour Night has had time to dry, I applied a coat of Colorantic Matte Varnish. I waited 24 hours for it to dry.
Now my favourite moment has arrived: time to reinstall the fireplace, the handles and the doors!

Conclusion
My brothers TV stand is finally done, and the bartering of services was beneficial for both of us! We love this transformation, a perfect example of how we can achieve this using chalk based paint.
LISA-MARIE POULIOT
Blogger
Related Posts