Marrying Vintage and Romance
While all my projects were finished, I was looking for a piece of furniture to upgrade when I saw this magnificent curiotfor sale on Marketplace. It was impossible for me tohis resist ! I contacted the seller to find out if it was still available and I rushed to purchase this piece of jewelry.
Once home, its format left me a little perplexed and I had to face the fact that it would not fit in the dining room. Being disappointed that he wouldn’t furnish this room in the house, I was now out of ideas for repurposing it.
With suggestions from a friend, I finally decided to upgrade it by mixing vintage style and romance.
")
List of Products used:
- Colorantic Cleaner and Varnish Remover
- Colorantic Oil-Based Primer
- Colorantic Chalk Paint: Grapefruit
- Colorantic Chalk Paint: Dusty Rose
- Colorantic Wax: Bee Natural
- Purple Oval Synthetic Bristle Brush #6
- Snow White Brush
- Colorantic Two Grain Sanding Block
- Decorative handles
- T-shirt type rags
- Modpodge matte varnish/glue
- Spatula
- Scissors
- Screwdriver
Step 1 : Preparation
I had underestimated all of the work that goes into preparing this style of furniture. This glazed curiot with glass shelves allows you to you see its entire interior. This is why I had to take the time to remove each shelf as well as all the hardware, hinges, handles, etc.!
It was obvious that the previous owners had been generous with various greasy cleaners. In order to have no surprises during the makeover, a good deep cleaning was essential!
It was by using the cleaner and varnish remover that the project began.

I sprayed all the surfaces, leaving it to act for around thirty minutes. Once the time was up, I rinsed all surfaces thoroughly twice using a well wrung out warm water cloth.
It’s impressive to see how effective this cleaner is!
To allow the paint to adhere well, I roughly sanded each surface to be painted. This allows the primer, which binds everything to the oil, to adhere perfectly to it. As the furniture is made of MDF, it was the safest choice to ensure the best possible grip.
![]()
Step 2 : Painting
I imagined painting this curiot pink with a few slightly darker touches to harmonize it with the printed background. To do this, I painted a few sections using the very beautiful colour, Grapefruit.
Before the paint dried, I immediately applied the other colour, Dusty Rose, in order to obtain a nice mixture of colour. By doing it this way, one small section at a time, the colours blended perfectly.
Once the paint was completely dry, I applied a second coat of Dusty Rose, taking care to always leave a few sections of Grapefruit exposed. With a small brush, I made touch-ups in the someareas to obtain the desired result.
")
Step 3: Protection
The next day, using natural beeswax and the 16mm wax brush I was able to protect all of the painted surfaces.
Small sections at a time I applied the wax and buffed it using the rags. It is very important to use t-shirt type cloths that do not form foam. It is also very important to change the cloth at each step, as it becomes saturated with wax.
Clear varnish or glaze, Translucent Window could have been used as well.
We must admit, the drying time is longer for wax. Depending on the amount of wax applied and weather conditions, drying time can take anywhere from seven days to a few weeks.
")
Step 4: The Finshing Touches
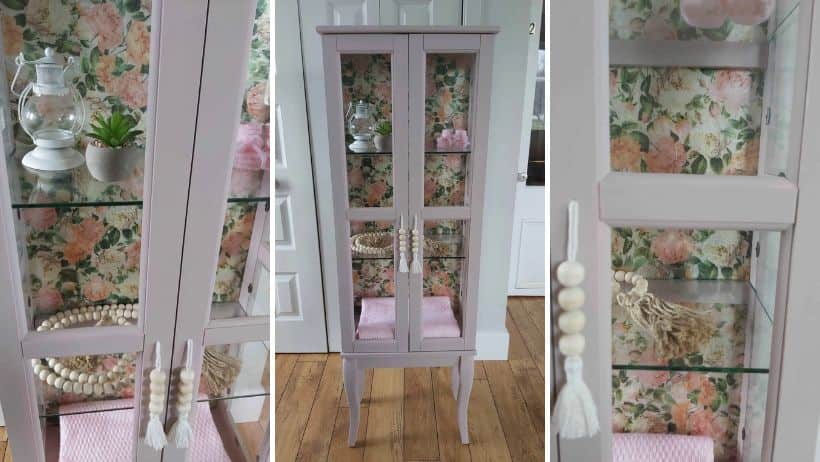
It was with excitement that I carried out the last step, that of applying the floral paper as a background decoration. I didn’t remove the mirror that was there, I applied the wallpaper directly on it. One section at a time, I cut the paper to the desired size before covering the back surface with Mod Podge glue, using the Snow White brush. Once the wallpaper was in place, I applied two coats of Mod Podge to protect the paper.
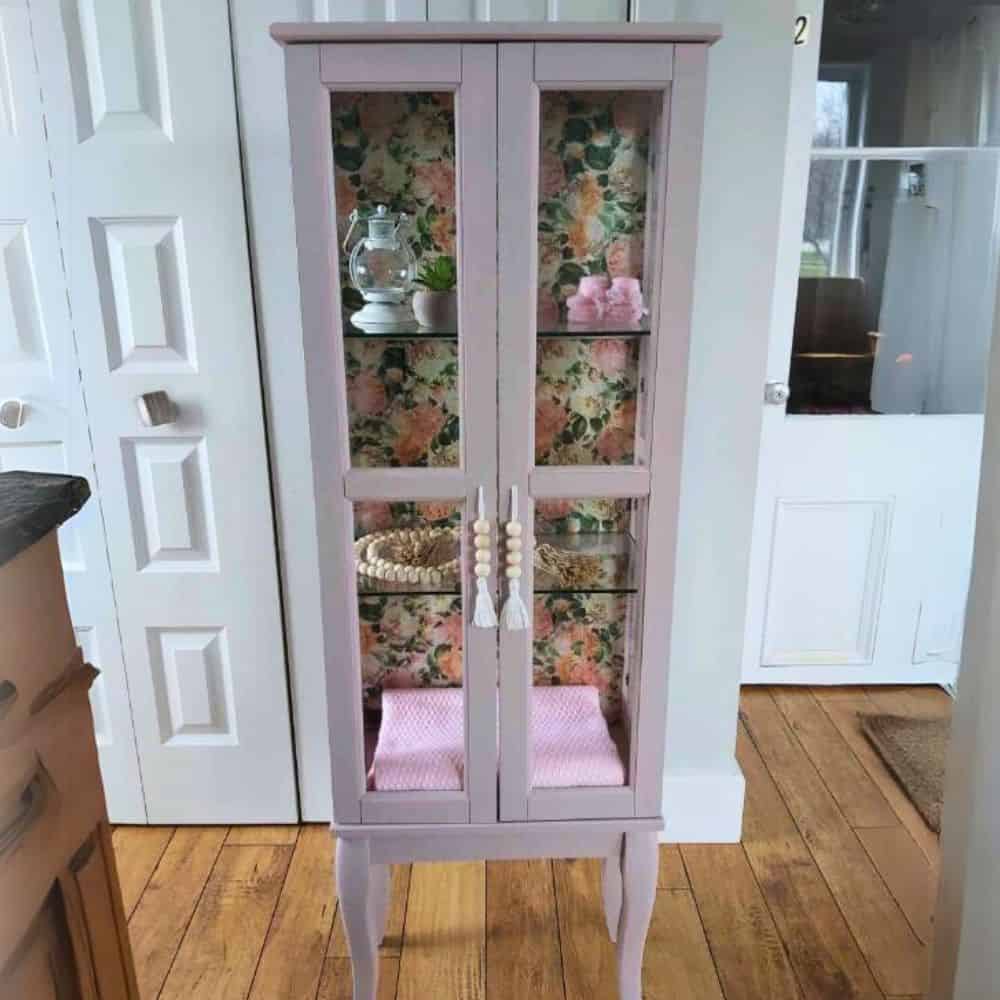
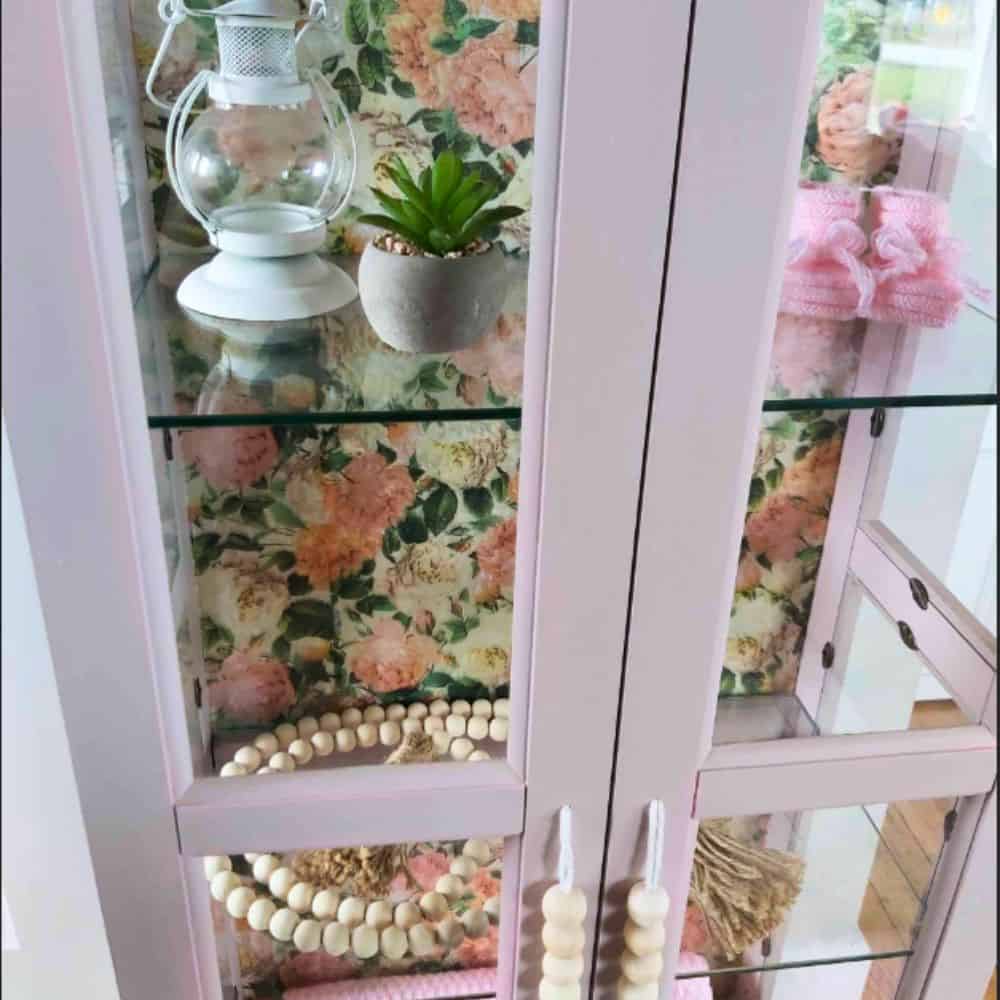
Finale: Vintage and Romance
The curiot now has a soft and romantic look. Of course you have to have a little patience to put the hardware back in place and wash each of the windows, but these are necessary steps if you want your creation to be perfect. It is necessary to take your time if you want to not be disappointed with the result.
It will shine brightly! And the satisfaction you will have when you look at your finished project is worth investing the time in!
Join our English Colorantic group
Subscribe to our newsletter:
Newsletter
Facebook
Instagram
Pinterest
Etsy
Amazon Canada
YouTube
Tiktok
Related Posts